Your next souvenir fits in a pocket. In Montreal, you’ll spend about three hours making a wooden pen on a lathe, with safety steps, clear guidance, and a finish you can actually use day to day. I like that this is hands-on, not just a demo, so you get real practice while learning the turning basics.
I also really value the teaching style. Jonathan keeps the pace relaxed and fun, while still walking you through each stage so the process feels manageable even if you’ve never touched a wood lathe before. One thing to keep in mind: with only about 3 hours, you’ll focus on creating one finished pen, not a large multi-part project or extra custom pieces.
In This Review
- Key Takeaways Before You Go
- A Montreal Workshop Where You Run the Lathe
- Meeting at 4710 Rue Saint-Ambroise: Simple Start, Straight End
- Lathe History and Parts, Plus a Safety Briefing You’ll Be Glad You Heard
- Choosing Your Wood: Exotic Look, Local Character
- Watching the Full Process, Then Doing It Yourself
- Turning and Profiling: Where the Pen’s Shape Happens
- Sanding and Polishing: Making Wood Feel Like Something Special
- Assembling the Pen: The Moment It Becomes a Real Keepsake
- Price and Value: What $161.10 Buys You in Real Terms
- Scheduling Flexibility and What to Expect Day-Of
- Who This Pen-Making Class Is For
- Who Might Skip It
- Should You Book Pen Making With The Woodworker Himself?
- FAQ
- How long does the pen making experience last?
- Where does the experience meet in Montreal?
- Is the workshop offered in English?
- Do I get to take home a pen I make?
- What is the group size?
- Can most travelers participate?
- Can I cancel for a full refund?
Key Takeaways Before You Go
- Hands-on lathe time: You operate the equipment yourself with guidance.
- Wood choice matters: Pick from exotic and local woods for a pen that looks like you.
- Learn the full workflow: turning, profiling, sanding, polishing, and assembling.
- Safety comes first: a thorough briefing before you start cutting and shaping.
- Small group setting: maximum of 9 travelers, so questions don’t get lost.
- Made for beginners: most travelers can participate, even if you’re new to woodworking.
A Montreal Workshop Where You Run the Lathe
This is the kind of activity that hits two travel cravings at once: a hands-on craft you can bring home, and a real local skill you can learn in plain steps. You’re not just watching someone else make something. You’re there to shape your own wooden pen from the start, using the lathe and a finish that makes the wood look great up close.
What makes it satisfying is the full chain of skills. You’ll get a quick intro to how the lathe works, then you’ll learn the sequence that turns a plain piece of wood into a pen with clean curves and a smooth surface. And since you choose your wood, the result isn’t a generic souvenir.
You can also read our reviews of more tours and experiences in Montreal.



Meeting at 4710 Rue Saint-Ambroise: Simple Start, Straight End
You’ll meet at 4710 Rue Saint-Ambroise, Montréal, QC H4C 2C7, Canada, and the experience ends back at the same meeting point. That’s a small detail, but it matters: you don’t need to plan a second transfer or figure out where to go after class.
Bring a mobile ticket, since you’ll need it for check-in. The location is described as near public transportation, which is helpful if you don’t want to rely on parking. Also, service animals are allowed, so you’ll have a straightforward, welcoming setup.
Lathe History and Parts, Plus a Safety Briefing You’ll Be Glad You Heard
Before you start shaping wood, you’ll go through two key pieces: a brief look at the lathe’s history and an intro to the lathe parts, plus a safety-first briefing. Even if you’re a total beginner, that combination pays off because it helps you understand what you’re looking at and why the setup matters.
The lathe part basics are practical. You’ll learn enough about the machine to follow along during turning and profiling, rather than guessing. The safety briefing is also crucial because pen making involves sharp tools and rotating equipment. You should expect a careful pace and clear instructions so you can focus on learning instead of worrying.
Choosing Your Wood: Exotic Look, Local Character
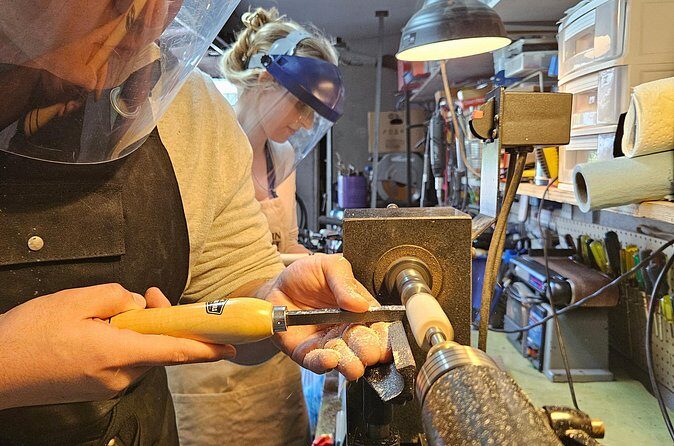
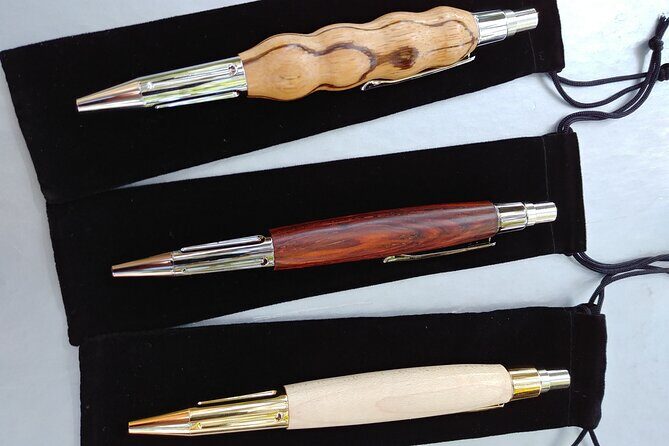
One of my favorite parts of this kind of workshop is the wood selection, and here you get options. You’ll choose from a variety of exotic and local woods, which means you’re not stuck with one color or one grain pattern.
This choice affects everything about the final pen:
- The way the grain shows after sanding and polishing
- How the pen’s color reads in different light
- Whether your pen feels bold or subtle in hand
Even with the same turning steps, wood makes each finished pen feel personal. If you like souvenirs that don’t look mass-produced, this is a big win.
Watching the Full Process, Then Doing It Yourself
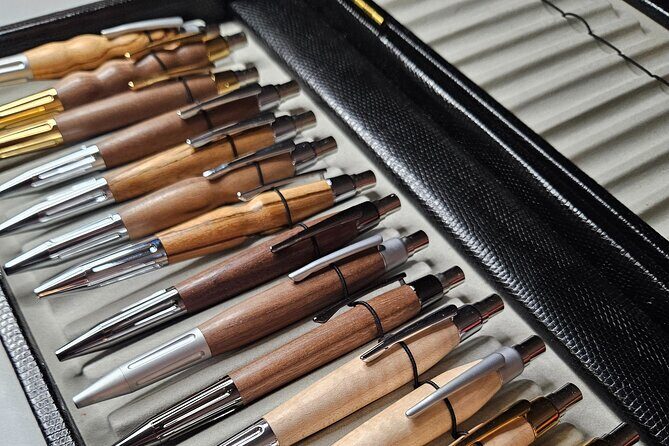
You’ll start with a detailed demonstration that covers the pen-making process from start to finish. The steps you’re taught include turning, profiling, sanding, polishing, and assembling. The order matters. Each stage supports the next one, and when you see the full workflow first, the hands-on portion clicks faster.
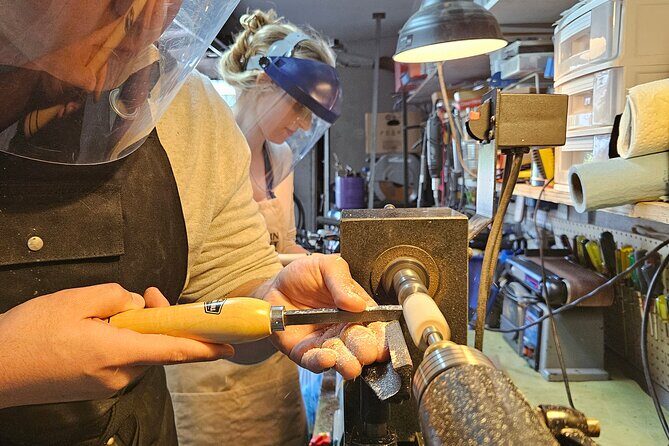
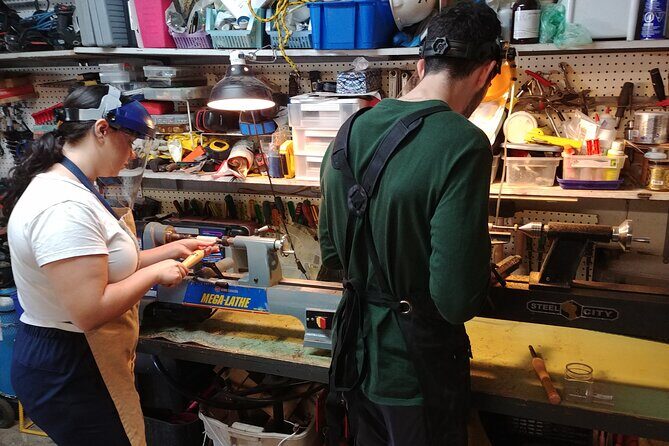
Then comes the best part: you take the reins. You operate the lathe yourself, with guidance. That’s where the workshop stops being a passive activity and becomes a skill-building session. You’ll learn by doing, while someone knowledgeable guides your setup and helps you correct issues before they become mistakes.
And because Jonathan teaches with a relaxed, fun vibe, the learning feels more like a friendly workshop than a stiff class. That matters when you’re trying something new and want to stay confident.




Turning and Profiling: Where the Pen’s Shape Happens
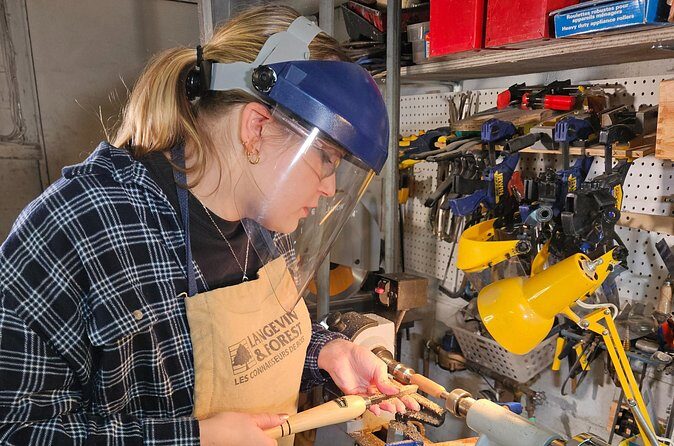
Turning is where the pen starts to look like a pen. On the lathe, you’ll shape the blank into the right form, using controlled passes to create smooth, rounded details. Profiling comes next, and this step is about getting the contours and fit right for the pen components.
This phase is also why the earlier parts and safety briefing are worth it. Understanding the lathe and how to handle the cutting process helps you focus on getting clean lines and consistent results. Since the goal is a finished pen you can take home, attention to these steps is the difference between a pen that looks polished and one that looks unfinished.
If you’ve never used machinery before, don’t worry about being fast. The workshop is designed so you can move at a steady learning pace, guided through what to do and what to watch for.
Sanding and Polishing: Making Wood Feel Like Something Special
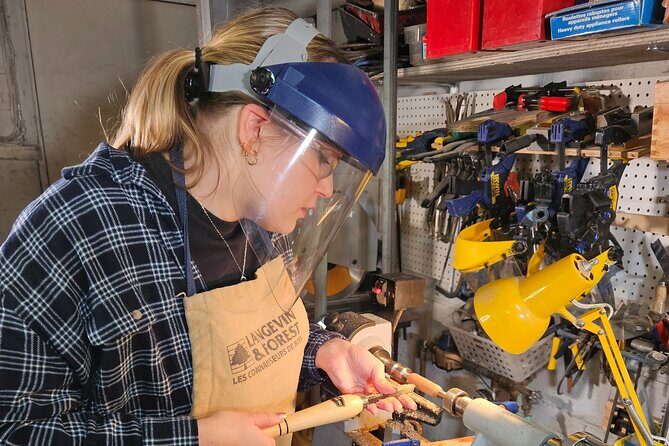
After turning and profiling, the work shifts from shaping to refinement. You’ll learn the steps for sanding and polishing, which is where the wood transforms from shaped to silky-smooth.
Sanding helps erase tool marks and evens out the surface. Polishing then boosts the finish so the grain looks richer and the pen feels pleasant in hand. This is the stage where you can see progress quickly, because small improvements in surface quality become obvious as you go.
For most people, this is the part that makes the final piece feel like more than a craft project. A well-finished pen feels good to hold. It also photographs better, especially when you picked wood with interesting grain.
Assembling the Pen: The Moment It Becomes a Real Keepsake
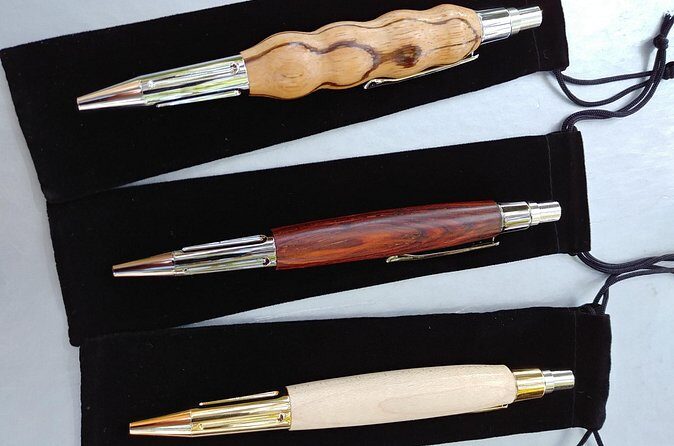
Once the wood pieces are shaped and finished, you assemble the pen. The workshop specifically includes assembling as part of the process, so you’re not leaving with only a half-done item.
This matters for value. You’re paying for the whole end-to-end experience, not just one step. By the time you’re done, you should have a pen that’s ready to use or gift.
And since the pen is based on your wood choice and your shaped results, it feels like a one-of-a-kind keepsake. That’s the difference between buying a souvenir and making one.
Price and Value: What $161.10 Buys You in Real Terms
The price is $161.10 per person for about 3 hours. That sounds simple, but value comes from what’s included in that time.
Here’s what you’re paying for, based on how the experience is run:
- Guided instruction through the full process
- Safety briefing plus lathe introduction
- A demonstration from start to finish
- Time operating the lathe yourself
- Learning the complete sequence (turning through assembly)
- Picking from exotic and local woods
- Taking home a finished pen
With a maximum group size of 9 travelers, you also get a more personal teaching environment than the big, fast “watch and leave” workshops. And since it’s booked on average 61 days in advance, it suggests real demand for this type of hands-on craft in Montreal.
If you’re deciding between buying a ready-made souvenir and investing in a skill-based making experience, this is the kind of class that justifies the cost because the final item is the product of your work, not an off-the-shelf purchase.
Scheduling Flexibility and What to Expect Day-Of
Dates and times can fill up, so planning ahead is smart. If you don’t see a time that fits, you can reach out and they’ll do their best to accommodate your schedule.
You’ll receive confirmation at booking time. You’ll also have a straightforward flow: arrive at the meeting point, go through safety and intro steps, learn the process, craft your pen, and finish back where you started. That clean structure makes the experience easy to fit into a Montreal day.
One more small but useful detail: the workshop is offered in English, so you can follow instructions comfortably.
Who This Pen-Making Class Is For
This workshop is a good match if you:
- Want an authentic craft experience in Montreal, not a standard city tour
- Like making a tangible item you can use right away
- Enjoy learning a new skill step-by-step
- Prefer small group settings where you can ask questions
It’s also a solid option for beginners since the experience notes that most travelers can participate and includes a safety briefing plus guidance while operating the lathe.
Who Might Skip It
The biggest mismatch is time expectations. In about 3 hours, you’ll focus on creating one finished pen. If you’re hoping for a longer, more expansive woodworking project or multiple items in one session, this probably won’t meet that goal.
Also, if you strongly prefer to avoid any hands-on work with tools, the “operate the lathe yourself” approach may not be your ideal style.
Should You Book Pen Making With The Woodworker Himself?
If you want a souvenir with real meaning, this is a great pick. You get a practical skill set in one session: wood selection, lathe turning, profiling, sanding, polishing, and final assembly. And the best part is that someone like Jonathan can keep the room relaxed and supportive while still guiding you through the steps that matter.
Book it if you like learning by doing and you want something you made with your hands, chosen from exotic and local wood options, finished into a pen you’ll actually want to use.
If you prefer passive experiences, or you need a huge project with lots of extra extras, you may find the short format limiting. For most people looking for a smart, personal Montreal activity, though, this one is worth your time.
FAQ
How long does the pen making experience last?
It lasts about 3 hours.
Where does the experience meet in Montreal?
It meets at 4710 Rue Saint-Ambroise, Montréal, QC H4C 2C7, Canada, and ends back at the same meeting point.
Is the workshop offered in English?
Yes, it’s offered in English.
Do I get to take home a pen I make?
Yes. You choose your wood, operate the lathe with guidance, and assemble your own wooden pen that you take home.
What is the group size?
The experience has a maximum of 9 travelers.
Can most travelers participate?
Yes, it states that most travelers can participate.
Can I cancel for a full refund?
Yes. It offers free cancellation, and you must cancel at least 24 hours before the experience start time for a full refund.