REVIEW · WHISTLER
Whistler: Sky-Walk Mountain Climbing Tour
Book on GetYourGuide →Operated by Mountain Skills Academy & Adventures · Bookable on GetYourGuide
There’s something about walking on snow and ice that wakes you up fast. This Whistler Mountain climb tour pairs a guided winter route with glacier viewpoints, a hanging bridge moment, and cliffside cable sections that feel adventurous but controlled. You also get panoramic stops aimed at real sightlines over the Spearhead Range and mountain glaciers.
I especially like that the operator handles the basics for you: you’re fitted with a helmet and harness, plus the right footwear is part of the setup. I also like the pacing, because the experience is short enough to stay fun, yet long enough to feel like you actually earned the views. One consideration: this is rain-or-shine on snow and ice, and the route has restrictions, so you’ll want to be sure it matches your comfort and mobility.
In This Review
- Key things that make this tour worth your time
- Why walking Whistler Glacier feels different from a basic viewpoint
- What your 2-hour outing looks like on the mountain
- 1) Start with gear and a safety fit
- 2) Travel up: Gondola or a pleasant hike
- 3) Cable pathway, suspension bridges, and cliffside travel
- 4) The glacier lesson: time travel for your eyes
- 5) Return and photo time
- The safety gear and clothing rules you should actually pay attention to
- What’s provided (and what that means for you)
- What you should bring
- What not to wear or bring
- Weather reality check
- The views: Spearhead Range, glacier country, and that “right element of danger”
- Price and value: what you’re paying for (and what you’re not)
- Skip-the-line benefit
- Who this tour suits best (and who should skip it)
- Quick practical notes before you choose your time slot
- Meeting points (morning vs afternoon)
- Lift access and gondola connections
- Don’t forget your own essentials
- Should you book the Whistler Sky-Walk Mountain Climbing Tour?
- FAQ
- How long is the Whistler Sky-Walk Mountain Climbing Tour?
- Is the Gondola ride included?
- What’s included in the price?
- What should I bring for the tour?
- Does the tour run in bad weather?
- Where do I meet for the morning tour?
- Where do I meet for the afternoon tour?
- Is hotel pickup or drop-off included?
Key things that make this tour worth your time
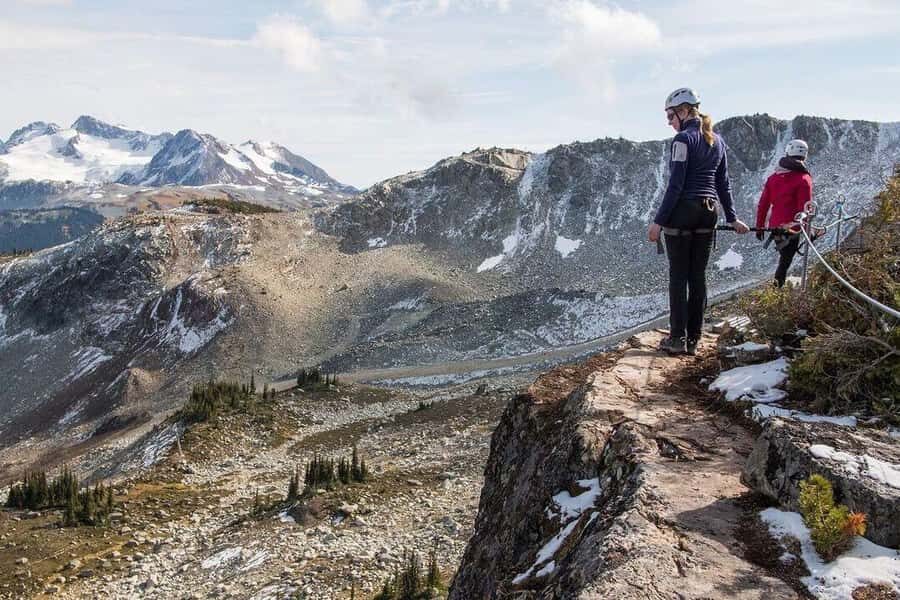
- Small group (up to 8): you get more attention at the cable and suspension sections
- Real glacier walking: you’ll move through snow-and-ice terrain while learning how the ice shaped the Coast Mountains
- Hanging bridge + cliffside cable pathway: this is where the excitement lands
- Helmet/harness and hiking boots included: you’re not gambling on what you brought
- Gondola ride option: helps cut effort and adds time for photos and views
- Guide commentary on mountain formation: not just scenery, but why it looks this way
Why walking Whistler Glacier feels different from a basic viewpoint
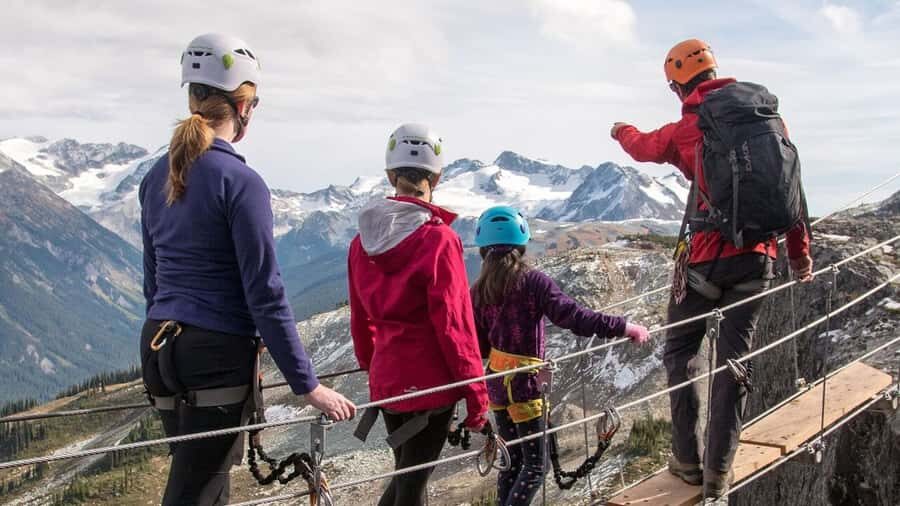
If you’ve done a typical Gondola-and-photos plan, this tour changes the game. You’re not just standing on an overlook. You’ll walk on snow and ice atop Whistler Mountain, following an experienced guide along a route shaped by ancient glaciers. It’s the kind of experience where you feel the terrain under your boots, then you look out and realize why the mountains look the way they do.
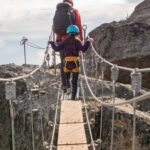
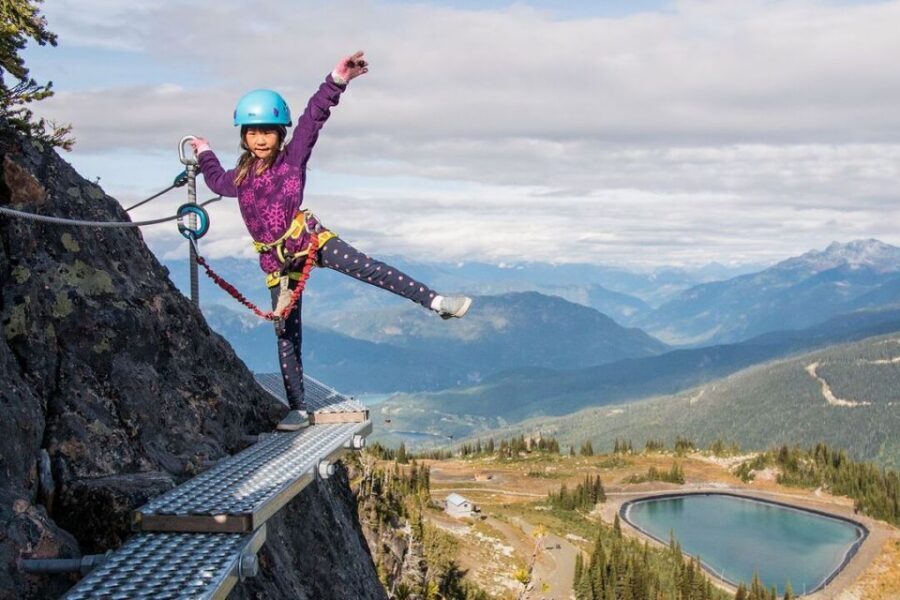
The route is designed around a series of viewpoint moments. The most memorable ones come from the cliffside travel: sections where you move along a path, then clip into a cable system so you can pass more exposed areas with confidence. The hanging bridge adds that extra dose of nerves in a good way, like the thrill of height without the chaos of trying to do it alone.
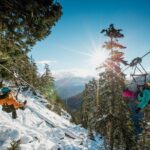
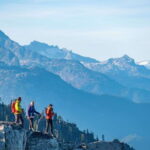
And then there are the scenic payoffs. You’re set up to gaze across the Spearhead Range and see glacier country up close. You’ll also get holiday-photo opportunities, which matters because Whistler viewpoints can be crowded during peak season.
You can also read our reviews of more walking tours in Whistler

What your 2-hour outing looks like on the mountain
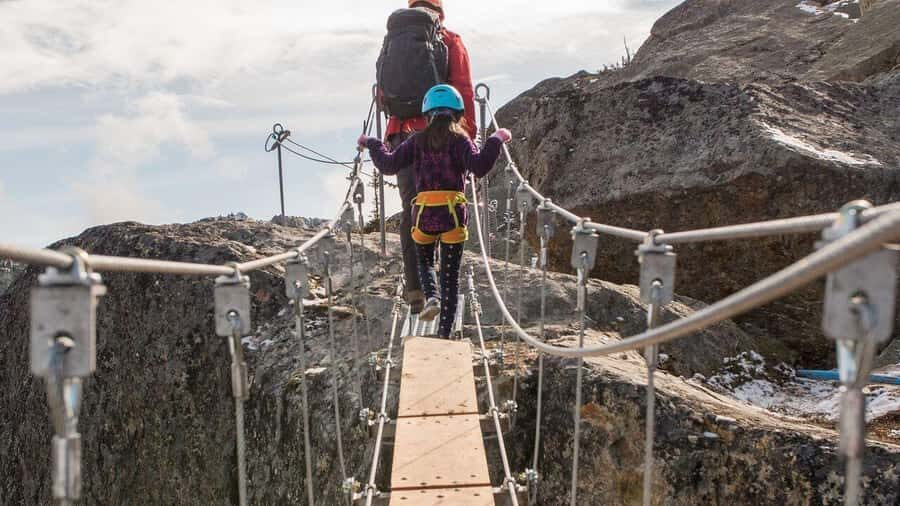
The activity runs about 2 hours overall. Within that window, you’ll spend about 1.5 hours on the guided adventure on the snow-and-ice route.
1) Start with gear and a safety fit
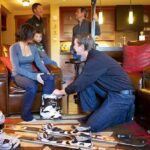
Right at the beginning, you get fitted with a helmet and harness. You’ll also get hiking boots as part of the package. This matters because it removes a big guessing game for travelers who don’t already own winter traction footwear or a properly fitted harness.
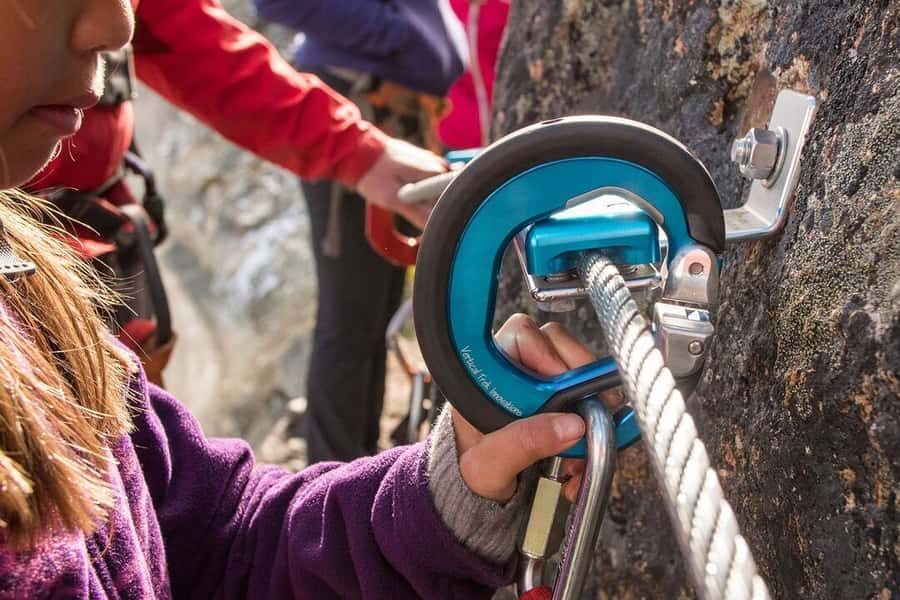
The guide also shows you how the system works—how you’ll clip in when you reach the cable sections and how to move safely along the pathway. Even if you’re nervous at first, the whole thing is set up to go step-by-step.
2) Travel up: Gondola or a pleasant hike
Depending on your chosen option, you’ll either take a Gondola ride up the mountainside or go by a hike. If you want to preserve energy for the glacier walk, the Gondola option can make the rest of the tour feel smoother. If you prefer more movement right away, you can start on foot and treat the ascent as part of your warm-up.
Either way, the goal is the same: get you to the starting point for the cable and bridge sections without wasting time.
3) Cable pathway, suspension bridges, and cliffside travel
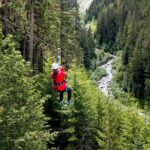
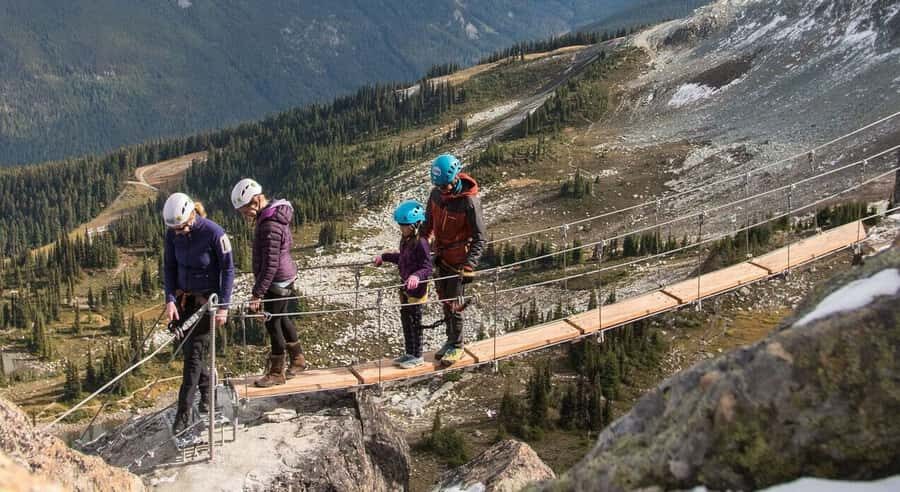
Here’s where the tour earns its Sky-Walk name. You follow the guide along a cliffside pathway where you’ll clip into the cable system to pass along exposed tops and suspension bridge segments. The experience isn’t described as a free-for-all scramble. It’s guided movement through specific zones—so you know what’s next and how to handle it.
This is also the segment where you’ll notice why the harness and helmet matter. You’re dealing with real height and winter conditions, but the tour is built around the idea that safety gear and guidance do the heavy lifting.


4) The glacier lesson: time travel for your eyes
As you move through the route, you’ll get commentary on how the ice shaped the Coast Mountains glaciers—taking you back around 10,000 years in the story of formation. I like tours that explain what I’m seeing, because otherwise “stunning views” can turn into a vague postcard moment.
Here, the learning is tied to the terrain. You’ll look at glaciers and mountain ranges while the guide helps you understand how the ice molded the area. That makes the scenery feel more grounded in reality, not just pretty.
5) Return and photo time
The tour winds back down after the guided segments. If you’re thinking about photos, take your time during the viewpoint pauses. This is the part where you can capture the wider Spearhead Range views and get holiday-style shots in a way that feels organized rather than rushed.
The safety gear and clothing rules you should actually pay attention to
This tour is fun, but it’s not casual footwear territory. The operator is strict because you’re on snow and ice with exposed sections.
What’s provided (and what that means for you)
Included gear:
- Helmet and harness
- Hiking boots
- Professional guide
That’s a lot of the expensive or hard-to-get gear handled for you. You don’t need to source a harness rental or hunt down winter boots right before the trip.
What you should bring
Bring warm clothing, sunglasses, sunscreen, and rain gear. Whistler weather can shift, and being on exposed paths means you’ll feel wind. The tour runs rain or shine, so pack for the wet day as if it’s the only day.
What not to wear or bring
The list is detailed, and it’s worth scanning it twice:
- No sandals or flip-flops
- No high-heeled shoes
- No luggage or large bags
- No drones
- No pets, baby strollers, mobility scooters, or similar gear
There are also restrictions on alcohol and certain items in vehicles. I’m not saying you’ll want those things. I am saying the rules are there for a reason, so don’t plan on bending them.
Weather reality check
One more safety note: if lightning strikes within 60 km of the mountain, the tour is cancelled. That’s the kind of rule you’ll be glad exists once you’re on the cliffside sections. Plan your day with a little flexibility if storms roll in.
The views: Spearhead Range, glacier country, and that “right element of danger”
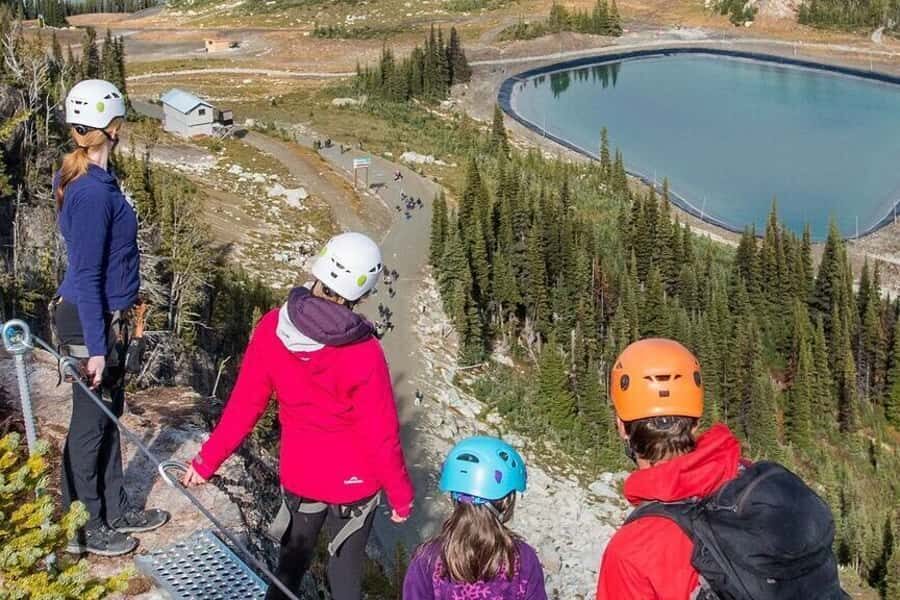
Let’s talk about the star of the show: the scenery. This tour is clearly designed for panoramic payoff, especially once you reach the cliffside pathway points.
You’ll gaze at:
- The Spearhead Range
- Mountain glaciers
- Wide vantage views from atop Whistler Mountain
The memorable part isn’t just distance. It’s the feeling of standing in a place that’s actively telling you a story about ice, elevation, and how the Coast Mountains were shaped over thousands of years.
And yes, the route has that described right element of danger. Here’s what that means in practical terms: you’ll feel height and exposure during cable/passage and hanging bridge moments, but the tour is built around guided technique and safety systems. You get the excitement without the chaos of improvising.
Price and value: what you’re paying for (and what you’re not)
The price is $452 per group for up to 8 people, for an experience running about 2 hours. That group pricing is a big deal compared with tours that charge per person with no gear support.
You’re paying for:
- Guide time and instruction (including cable clip support)
- Included safety gear (helmet, harness)
- Included boots
- A curated route that includes cable pathway and a hanging bridge moment
- Optional Gondola ticket depending on your selected option
What you’re not paying for:
- Water and snacks
- Admission to Whistler Mountain
- Hotel pickup and drop-off
So the value question comes down to one thing: if you want a guided, gear-included glacier walk with actual exposure elements and you’re not trying to DIY it, the group price can work out well. If you’re the type who prefers to stroll, this price might feel steep for a short “walk to a view.” But if you want more than a lookout photo, this delivers.
Skip-the-line benefit
There’s also a separate entrance that helps you skip the line, which can save time when Whistler feels crowded.
Who this tour suits best (and who should skip it)
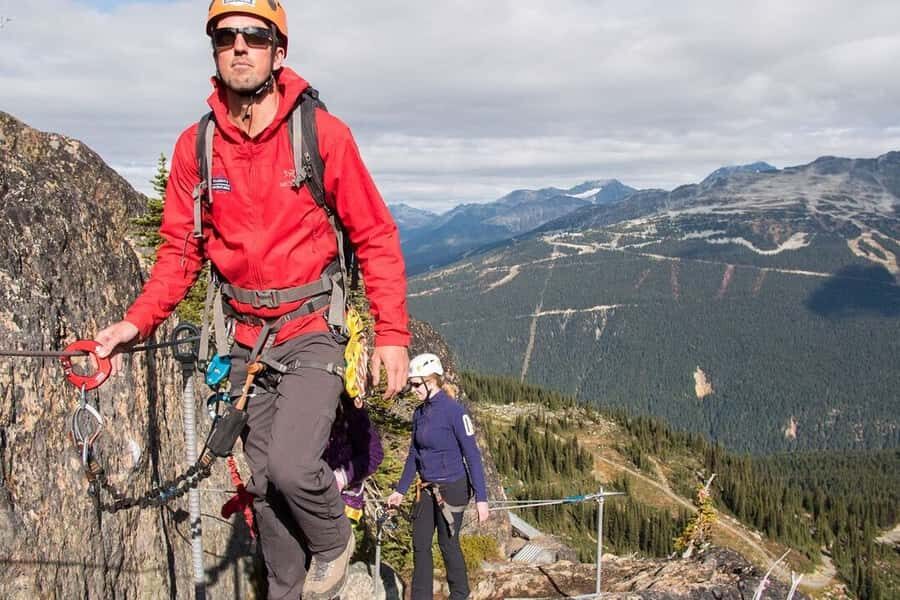
This experience is best for people who can handle winter terrain with some exposure, follow guide instructions, and keep moving at a steady pace.
Good fit:
- You want glacier scenery plus a thrilling but guided bridge/cable component
- You’re comfortable with being outside in cold or wet weather
- You like short, structured outdoor adventures rather than a long all-day hike
Not a fit based on operator rules:
- People with mobility impairments or wheelchair users
- Cruise ship guests
- People who are visually impaired
- People who are vegetarians or vegans (listed as not suitable)
- People over 350 lbs / 159 kg
- People who can’t drive manual transmission
That last one is surprising on first read, but it’s explicitly listed—so it’s a hard stop. If you’re in any of these categories, it’s worth looking for a different Whistler experience.
Quick practical notes before you choose your time slot
You’ll need to think about what “logistics” look like because this isn’t a hotel-pickup tour.
Meeting points (morning vs afternoon)
- Morning tours: Garbanzo Bike & Bean Patio, opposite Whistler Village Gondola, at 9:15 am
- Afternoon tours: Mountain Top Office, about a 50 m walk from the Whistler Peak 2 Peak terminal, at 13:30
If you bought your lift ticket through the operator, your guide handles it for morning tours. For afternoon tours, you must pick up your ticket no later than 11:30 am from the Carleton Lodge Desk, and you’ll upload gondola access as directed.
Lift access and gondola connections
For 2023, afternoon tours note uploading Blackcomb Gondola and then taking Peak 2 Peak across to Whistler Mountain. If you’re traveling with your own lift arrangements, confirm the exact connection steps when you book.
Don’t forget your own essentials
Water and snacks are not included. Bring your own water plan even if the tour feels short. You’ll also want sunglasses, sunscreen, and rain gear.
Should you book the Whistler Sky-Walk Mountain Climbing Tour?
My take: book it if you want a guided winter adventure that mixes glacier walking with real “hold-the-breath” thrills like a hanging bridge and cliffside cable travel—without needing to figure out safety gear on your own. The included helmet/harness and boots make it feel fair for travelers who don’t want to buy gear just for a vacation moment.
Skip it if your ideal Whistler day is a gentle stroll, or if you don’t feel comfortable in exposed winter conditions. Also, double-check the operator’s restrictions up front—this one is clearly not designed for everyone.
If you’re deciding between options, I’d pick the one that best matches your energy. The Gondola option can make the adventure feel more manageable, while the hike option can add a warm-up and help you feel settled before the cable sections.
FAQ
How long is the Whistler Sky-Walk Mountain Climbing Tour?
The tour is about 2 hours total, with roughly 1.5 hours described as the guided adventure on the mountain.
Is the Gondola ride included?
A Gondola ticket is included only if you choose the option that selects it. (If you choose the other option, you start with a hike.)
What’s included in the price?
Included items are a professional guide, use of a helmet and harness, and hiking boots. A Gondola ticket is included only when that option is selected.
What should I bring for the tour?
Bring warm clothing, sunglasses, hiking shoes, sunscreen, and rain gear.
Does the tour run in bad weather?
Yes, it operates rain or shine. However, it will be cancelled if lightning strikes within 60 km of the mountain.
Where do I meet for the morning tour?
Morning tours meet at the Garbanzo Bike & Bean Patio, opposite Whistler Village Gondola, with a meeting time of 9:15 am.
Where do I meet for the afternoon tour?
Afternoon tours meet at the Mountain Top Office, about a 50 m walk from the Whistler Peak 2 Peak terminal, with a meeting time of 13:30.
Is hotel pickup or drop-off included?
No. Hotel pickup and drop-off are not included.