REVIEW · VANCOUVER
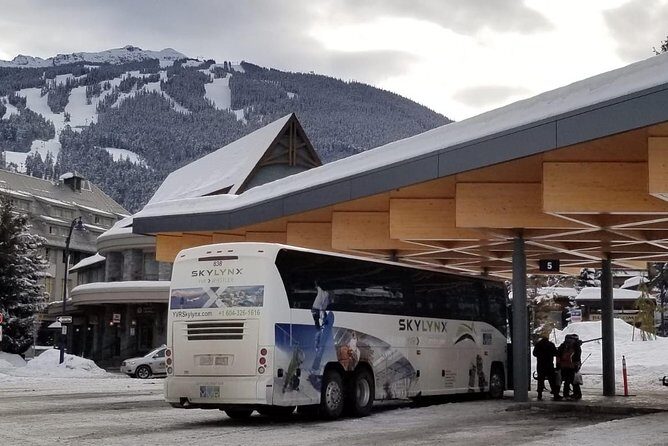
Vancouver Airport to-or-from Whistler or Squamish by Bus (Single trip)
Book on Viator →Operated by YVR Skylynx · Bookable on Viator
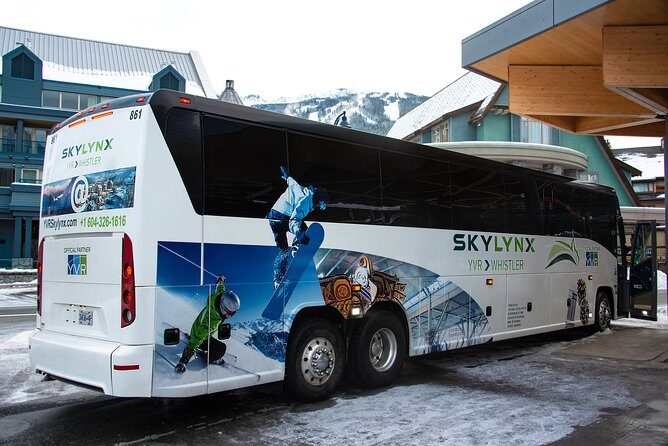
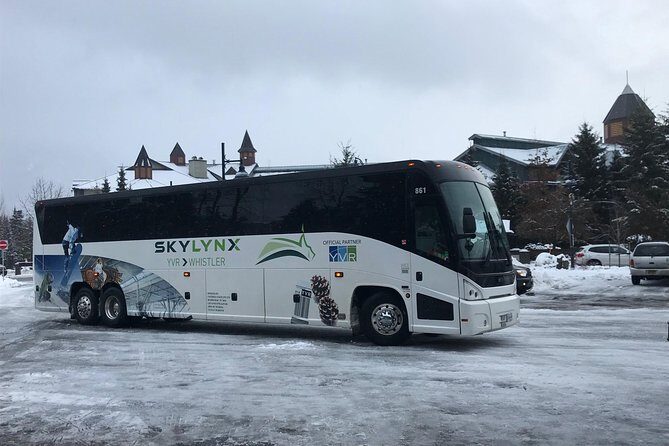
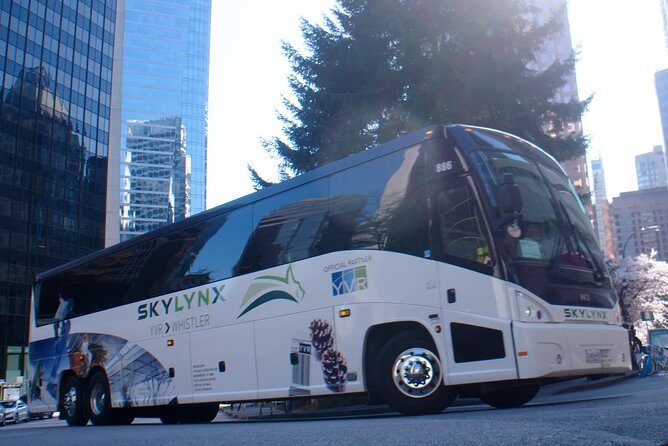
One bus ride can save a lot of airport stress. This YVR to Whistler service is interesting because you start at the airport itself, get on-board Wi‑Fi, and ride with regular stops in Squamish before reaching Whistler. Two things I especially like are the no-fuss YVR pickup at the Skylynx kiosk and the fact you’re not stuck hunting for a local transfer downtown first. One caution: the schedule can be a little slower on the return if weather or routing adds time, so you’ll want a buffer for tight flights.
This is also the kind of transfer that works well even when the weather turns. The ride is about 3 hours end to end, and it comes with a professional driver, air-conditioning, and a restroom on board. If you’re traveling with lots of sports gear (skis, snowboards, bikes) or multiple luggage pieces, read the rules carefully so you’re not surprised by extra fees.
In This Review
- Key things to notice before you go
- Entering The Route: YVR to Whistler Without Downtown Detours
- Finding The Bus: YVR Skylynx Kiosk and Whistler Gateway Loop
- The 3-Hour Ride: Wi‑Fi, Restroom, and the Squamish Stop
- Drop-Off Reality: Whistler Village vs. Creekside Convenience
- Price and Value: When $59 Feels Like a Win
- Luggage, Skis, Snowboards, and Bikes: The Rules That Save You Money
- Driver Experience and On-Time Tips in Real Weather
- Wi‑Fi and Charging: Nice If It Works
- Who This Shuttle Fits Best
- My Decision Guide: Should You Book This Bus?
- FAQ
- How long is the bus trip from Vancouver to Whistler?
- Where do I board at Vancouver International Airport?
- Where do I get dropped off in Whistler?
- Is Wi‑Fi included on board?
- Is there a restroom on board?
- What luggage is included in the price?
- Is skis or a snowboard included?
- Are bikes allowed?
- What is the cancellation policy?
Key things to notice before you go
- Airport pickup at YVR: You board at the Skylynx Kiosk in Arrivals Level 2, so you avoid getting into Vancouver first.
- Whistler drop-off is simple: Most people go to the Whistler Gateway loop by the Visitor Center.
- Squamish stop along the way: The route includes stops in Squamish as well as Whistler.
- Wi‑Fi and restroom onboard: Plan to work or unwind mid-ride, with basic comfort built in.
- Luggage limits matter: One large piece plus one hand bag are included; extras cost more.
- Small coach vibe: The service runs with a maximum of 46 travelers, which often feels manageable compared with bigger transfers.
Entering The Route: YVR to Whistler Without Downtown Detours
If you land at YVR and want to go straight to the mountains, this route makes sense. You’re picked up at the airport arrivals area, not from some far-off street stop. That alone reduces the classic travel problem: arriving tired, then spending energy figuring out where the bus is.
The ride itself is built around comfort for a longer drive—think air-conditioned seating, a restroom onboard, and the option to use the provided Wi‑Fi. The overall trip time is about 3 hours on average, but the real-world timing can vary based on how efficiently people board and how much time the bus spends on stops.
This is also a practical choice if you’re staying in Whistler and want a reliable “get there” plan. You won’t get door-to-door service to every building, but you will get a clear Whistler-area drop location and a shuttle-style flow.
A few more Vancouver tours and experiences worth a look

Finding The Bus: YVR Skylynx Kiosk and Whistler Gateway Loop
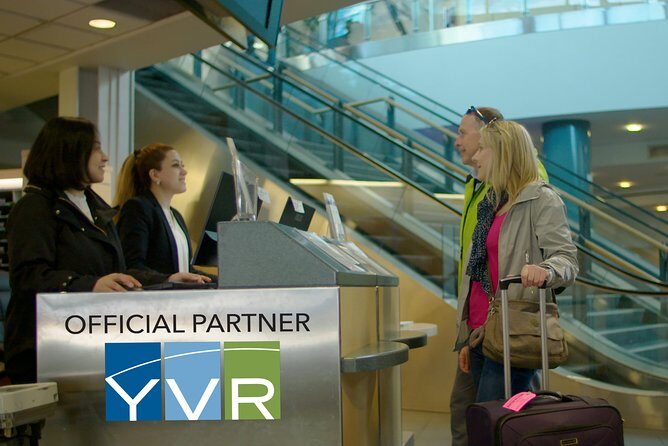
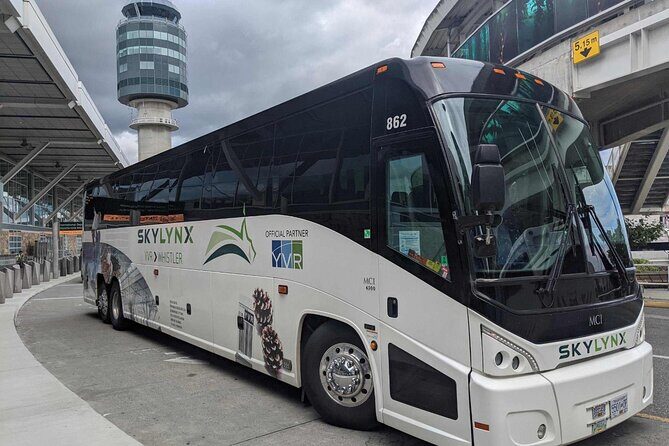
Pickup clarity is everything on a transfer like this. At YVR, the stop is at the Skylynx Kiosk at Vancouver International Airport Arrivals on Level 2. I’d treat this like a checklist item. Arrive about 15 minutes early so you’re not sprinting with luggage through the airport.
In Whistler, your primary drop-off is the Whistler Gateway loop next to the Whistler Visitor Center. There’s also an alternate drop option: Creekside Village, outside of Legends hotel. That’s handy if you’re closer to Creekside and can walk less with ski bags or suitcases.
One more detail to understand: the instructions for boarding are specific to the origin trip, but for the return journey, the service reaches out by email to ask your chosen departure time. So if you’re flying out on a strict schedule, plan to respond quickly.
The 3-Hour Ride: Wi‑Fi, Restroom, and the Squamish Stop
The trip is designed to let you use the time instead of just enduring it. You’ll have a restroom on board, which is a big deal on a mountain drive where you don’t want to wait for an extended layover. And because there’s Wi‑Fi, you can handle email, messages, or simple planning while you watch the scenery roll by.
The route includes stops in Squamish as well as Whistler. That’s not just random sightseeing. Stops help the bus handle multiple pickup and drop points in the area, and they can reduce the need for each passenger to reposition themselves around town.
Some people also note that the ride can take longer on the way back. That usually comes down to traffic, weather, and additional stops. If you’re connecting to a flight, build in extra time rather than hoping for the fastest possible timing.
Drop-Off Reality: Whistler Village vs. Creekside Convenience
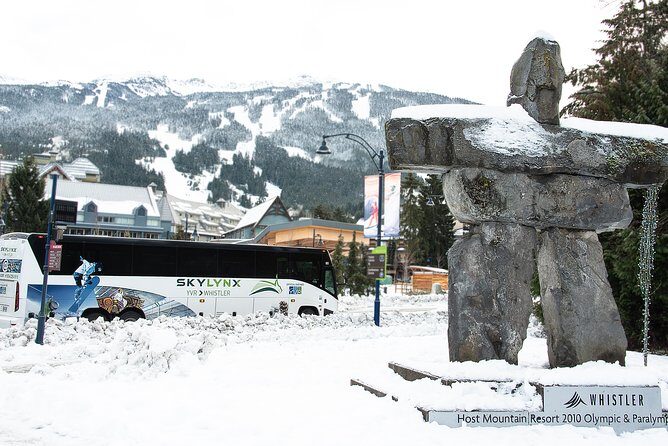
Whistler is compact, but carrying gear is not. A shuttle that drops you at the right zone can turn a stressful arrival into a straightforward one. The Gateway loop near the Visitor Center is convenient because it’s a central point where you can orient quickly and head toward your lodging with less wandering.
The Creekside Village option is useful if your hotel or rental is outside the main hub area. It can reduce the “luggage shuffle” that often happens when you land at one end of town and your place is at the other.
Still, do not assume all stops are identical for everyone. The bus can drop people in different locations depending on the routing. If you’re trying to minimize walking with skis, boots, or two rolling suitcases, double-check your specific drop point when you book.
Price and Value: When $59 Feels Like a Win
At $59.08 per person for a single trip, this is priced like a solid middle-ground option. It’s often cheaper than a private transfer, and it’s usually more straightforward than relying on public transit with heavy luggage.
The value is strongest when:
- you’re landing at YVR and want to avoid complicated city transfers,
- you care about comfort basics like AC, restroom, and Wi‑Fi,
- you’re traveling with standard luggage (within the included allowance).
It gets less perfect if you have more than the included luggage, because additional bags cost extra. Sports equipment also has specific fees beyond the first included set of skis or snowboard. Bikes can be pricey too, since a bike fee is charged per trip.
So the real question for your math is not the $59 ticket price alone. It’s whether your luggage and gear fit the included limits. If yes, you’re likely getting good value. If no, the “cheap bus” can start feeling expensive after add-ons.


Luggage, Skis, Snowboards, and Bikes: The Rules That Save You Money
Here’s where I’d be strict with your planning. The service includes one large piece of luggage and one hand luggage. If you bring extra bags, there’s an additional fee of $15 for a return trip for excess baggage.
For winter sports, one set of skis or a snowboard is allowed. Additional skis/snowboards cost $15 for a trip each. If you’re bringing multiple sets—like a family with several kids—those extra fees can add up quickly.
Bikes are allowed, but there’s an additional $20 fee per trip for each bike. If biking is your priority, do a quick cost check versus other transport options before you commit.
Also keep in mind that loading matters. On the positive side, there are clear examples of drivers taking care with luggage and sports gear, including people who use mobility aids. On the risk side, crowded timing can make boarding slower, especially in winter when multiple passengers are carrying bulky gear.
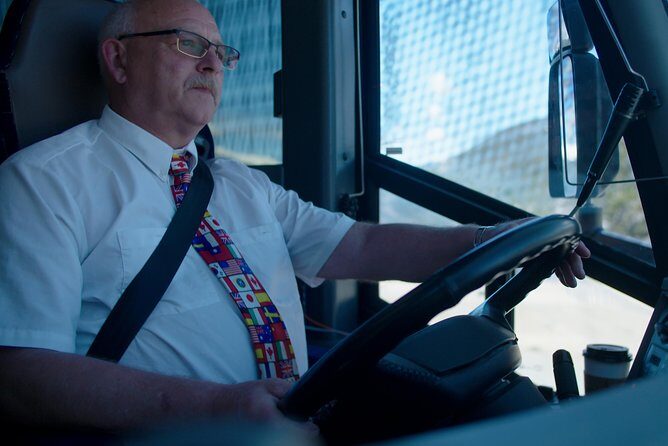
Driver Experience and On-Time Tips in Real Weather
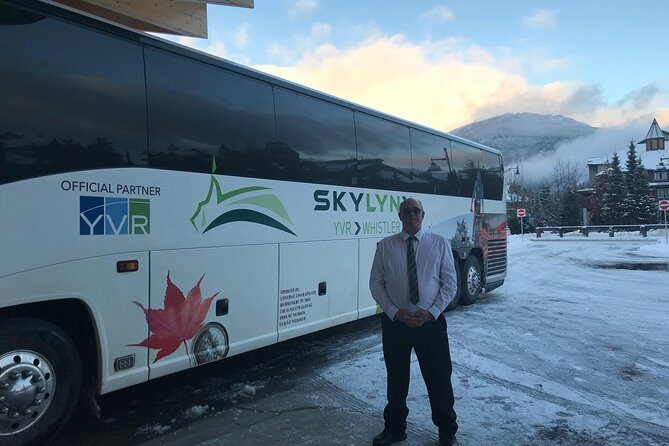
One of the best parts of this kind of transfer is the driver. When things go smoothly, a good driver makes boarding fast and helps everyone understand stops. In the feedback data, you’ll see names like Amanda, Cliff, Harry, and Bob mentioned for calm, clear communication and helpful driving.
In winter conditions, drivers also matter for safety. There’s at least one note about cautious driving when weather makes road conditions tricky. That’s exactly what you want on a mountain route, even if it means you arrive with a bit less stress.
Here’s my practical advice: you should assume you’ll need some buffer for flight connections. Build time for boarding and for possible delays from routing. If your flight is tight, don’t count on a perfect run without extra time.
Wi‑Fi and Charging: Nice If It Works
The service advertises Wi‑Fi on board, and many people like the idea of getting work done during the ride. That said, there are also mixed mentions about Wi‑Fi or charging ports not working reliably on some trips.
So I treat Wi‑Fi as a bonus, not a guarantee. If you’re planning to do real work, download what you need before you board, and bring an offline plan. Bring a fully charged phone or laptop too, just in case the “on-board power” situation is underperforming that day.
Who This Shuttle Fits Best
This is a strong match if you:
- want direct transport from YVR to Whistler without dealing with local transit,
- like a set pickup point and predictable drop zones,
- have a moderate amount of luggage or one standard winter sports set,
- want a calmer way to handle a longer drive with restroom access.
It may be less ideal if you:
- have multiple extra bags or multiple sports sets and want the simplest pricing,
- are extremely time-pressured for flights and don’t have buffer,
- expect precise, door-to-door delivery to your exact lodging front door.
If you’re staying near the main Whistler hub or you’re comfortable walking a bit with gear, the Gateway loop drop-off is a good fit. If your place is near Creekside, that alternate drop can reduce walking and hassle.
My Decision Guide: Should You Book This Bus?
Book it if you want a straightforward, airport-to-mountains transfer that includes the basics you’ll care about on arrival day. The airport pickup at YVR, the Whistler-area drop points, and the included onboard comfort (AC, restroom, Wi‑Fi) make this a practical choice for most people.
Consider another option if your trip depends on absolute timing with no slack, or if you’re bringing gear beyond the included luggage and sports limits. In those cases, do the math first and plan for possible extra fees and the fact that boarding can take longer when a bus is full.
Most importantly: confirm your pickup and drop details before you show up. Arriving at the wrong place or relying on outdated pickup assumptions can waste time fast—especially early in the morning with ski luggage in tow.
FAQ
How long is the bus trip from Vancouver to Whistler?
It’s listed as approximately 3 hours.
Where do I board at Vancouver International Airport?
You pick up at the Skylynx Kiosk at YVR in Arrivals on Level 2.
Where do I get dropped off in Whistler?
The main drop-off is the Whistler Gateway loop next to the Whistler Visitor Center. You can also be dropped off at Creekside Village outside of Legends hotel.
Is Wi‑Fi included on board?
Yes. Wi‑Fi is included on the bus.
Is there a restroom on board?
Yes, there is a restroom on board.
What luggage is included in the price?
You get allowance for one large piece of luggage plus one hand luggage.
Is skis or a snowboard included?
Yes, one set of skis or one snowboard is allowed. Additional sets cost extra.
Are bikes allowed?
Yes, bikes are allowed, and there is an additional charge of $20 per bike per trip.
What is the cancellation policy?
You can cancel for a full refund for free up to 24 hours in advance of the experience start time.