REVIEW · VANCOUVER
Photography & Hiking in Nature
Book on Viator →Operated by Nature PhotoHikes · Bookable on Viator
Vancouver looks better through a camera lens. This 7-hour outing pairs old-growth North Shore walks with the city’s most photogenic stops, planned around sunset at English Bay and night lighting in Gastown. You’ll also get hands-on guidance, so you’re not just visiting landmarks—you’re learning how to shoot them.
I especially like the mix of nature and city angles. Lynn Canyon brings that lush, waterfall-and-pool feel, then you pivot to totems, viewpoints, and waterfront promenades without the day turning into a checklist.
One thing to plan for: the pace includes stairs and plenty of walking, so pack for comfort and expect to move more than you would on a pure drive-and-photo day.
In This Review
- Key highlights for a Vancouver photo hike
- How the photo-and-hike rhythm works in Vancouver
- Meeting point and day rhythm from Hyatt Regency
- Lynn Canyon Park: old-growth atmosphere and waterfall-style shots
- Lions Gate Bridge, Stanley Park viewpoints, and Brockton Point Totem Pole
- Granville Island: lunch at the market and color-first photography
- Gastown at night: Steam Clock street scenes and low-light practice
- Prospect Point lookout, Hollow Tree, and Ilanaaq Inukshuk
- English Bay sunset: the payoff stop for your whole day
- Photography coaching that works for phones and DSLRs
- Pace, comfort, and what to pack for a 7-hour day
- Price and value for $147.87 per person
- Should you book this Vancouver photography and hiking tour?
- FAQ
- Is the tour suitable for smartphones and DSLRs?
- Where does the tour start and when?
- What’s included in the price?
- Is lunch included?
- How big is the group?
- Does the tour run in bad weather?
- What is the cancellation policy?
Key highlights for a Vancouver photo hike
- English Bay sunset timing for natural light you can actually plan around
- Small-group cap of 7 so your photographer guide can work with your camera needs
- North Shore old-growth + waterfalls plus viewpoints that are hard to reach on your own
- Granville Island market lunch stop with color, texture, and detail photo opportunities
- Gastown at night and the Steam Clock for low-light practice and city atmosphere
- You can borrow a DSLR (and photo gear) if you want to learn with more control
How the photo-and-hike rhythm works in Vancouver
This tour works because it doesn’t treat photography like a side quest. You’re walking in places that naturally offer different “lighting moods,” then stopping long enough to actually use them.
Morning is about green and detail—tree texture, shaded water, pools, and waterfalls—so you’ll get practice with composition and focus. After lunch, the city takes over: totem poles, viewpoints, and then Gastown’s night streets, where reflections and signage help you learn how to work with lower light.
And because the route includes a sunset stop at English Bay, you’re not stuck guessing when the light is right. Your guide is timing the day so you can shoot during the better part of the evening, not just arrive when the show is over.
You can also read our reviews of more hiking tours in Vancouver
Meeting point and day rhythm from Hyatt Regency
You start at the Hyatt Regency Vancouver, 655 Burrard St, with a 10:00 am departure. The trip loops back to the same meeting point at the end, which keeps the day simple if you’re staying downtown.
Pickup is offered from downtown Vancouver, east Vancouver, or Burnaby. If you’re not picked up, you’ll meet at a central location and then drive to the trail. That matters because the itinerary spans the North Shore plus Stanley Park and then back through the city—doing this by transit and rideshare would mean a lot of time you could spend photographing.
The duration is about 7 hours, which is long enough to learn and shoot, but short enough that you’re not constantly in transit. A small-group format (max 7) also helps—your guide can pause without the whole line getting stuck behind one slow camera bag.
Lynn Canyon Park: old-growth atmosphere and waterfall-style shots
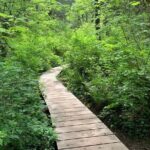
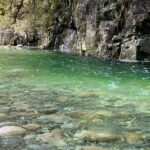
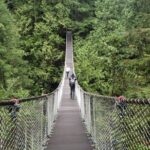
Your first stop is Lynn Canyon Park, a strong start for anyone who wants photos that feel like they came from somewhere other than downtown. This is where you get that old-growth feel—tall trees, filtered light under the canopy, and places where water creates motion blur and reflective surfaces.
Expect walking that’s light-to-moderate, but still active. There are stairs involved, and you’ll want shoes with grip. The payoff is that you can shoot multiple types of scenes without changing your plan every five minutes: shaded forest views, water textures, and framed compositions around natural shapes.
If you’re using a smartphone, this is a great early testing ground. You’ll likely get guidance on how to handle moving water and still objects—two things that are often tricky on phones because the camera keeps trying to be “helpful.” A guide’s instruction here makes the rest of the day much easier.
Lions Gate Bridge, Stanley Park viewpoints, and Brockton Point Totem Pole
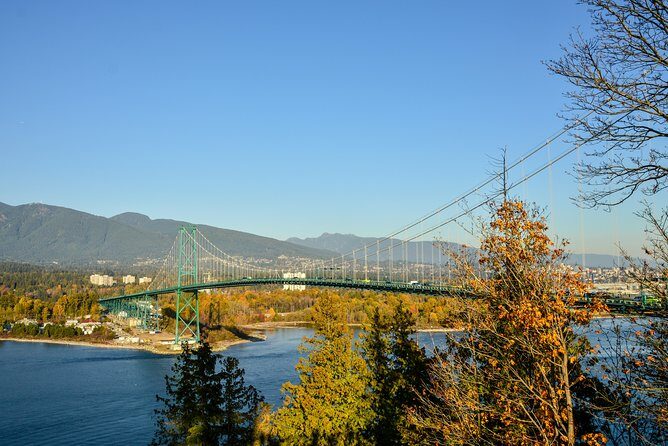
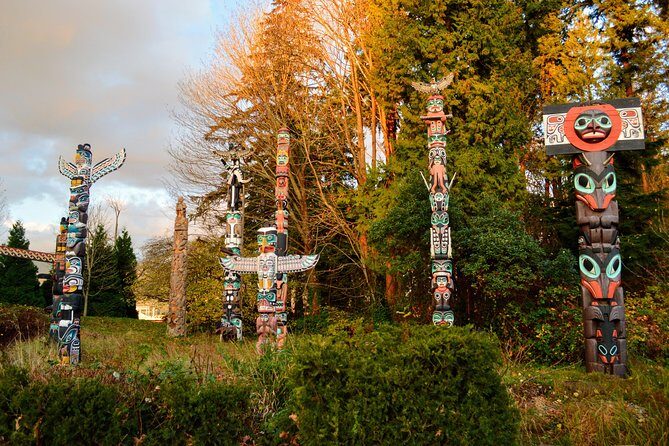
After Lynn Canyon, the route shifts toward iconic city structure. You’ll hit Lions Gate Bridge, then make your way through Stanley Park stops that include Brockton Point Totem Pole and the Vancouver Seawall.
Why this section matters for your photos: you go from organic textures (tree bark, moss, water) to bold graphic forms (bridge angles, carved totems, long lines along the seawall). That contrast helps you learn composition. It’s one thing to frame a waterfall; it’s another to line up bridge geometry or totem shapes against sky and trees.
At Brockton Point Totem Pole, aim for variety. Totems photograph well from different angles, especially when you can keep backgrounds simple—think water and greenery instead of a busy street view. On the Seawall, you’ll get longer sightlines, so you can play with leading lines and perspective (and learn how to keep buildings from stealing attention).
One practical note: this is also where you’ll want to slow down. The views are tempting, but the tour is built for photo practice. Taking 2–3 extra minutes to try a different angle often beats taking 10 identical shots.
Granville Island: lunch at the market and color-first photography
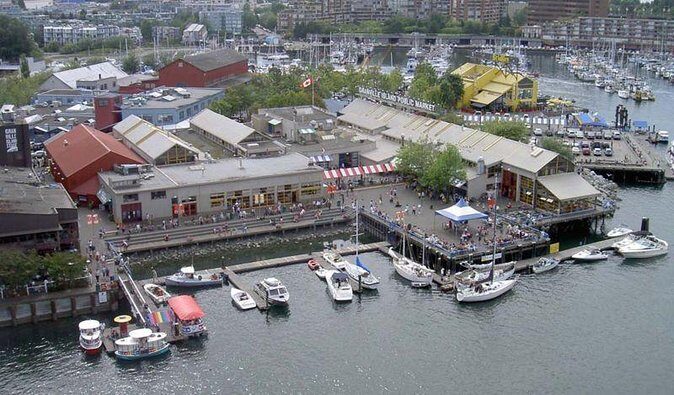
Granville Island is your mid-day reset. You’ll eat lunch at the market area, and it’s one of the best stops in the day for color, small details, and human-scale scenes.
Even if you’re not after street photography, this is a good place to practice close-ups and texture shots—signage, patterns, produce, hands, and craft details. If you’ve only shot landscapes until now, Granville helps you build skills for “real life” framing.
Because food and drinks are not included, you can choose what works for your budget and preferences. That flexibility is nice on a long day. I’d treat this as your chance to fuel up, then return to shooting with better energy.
Also, since the morning is more nature-heavy, Granville’s energy is a nice palate cleanser. It keeps the tour from feeling like the same kind of scene repeated for hours.
You can also read our reviews of more photography tours in Vancouver
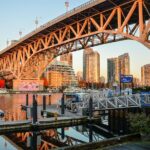
Gastown at night: Steam Clock street scenes and low-light practice
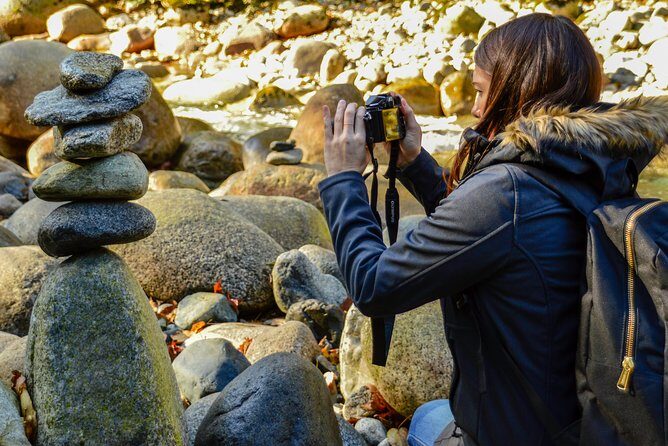
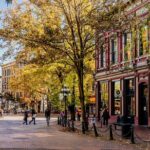
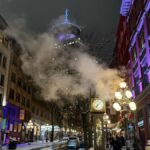
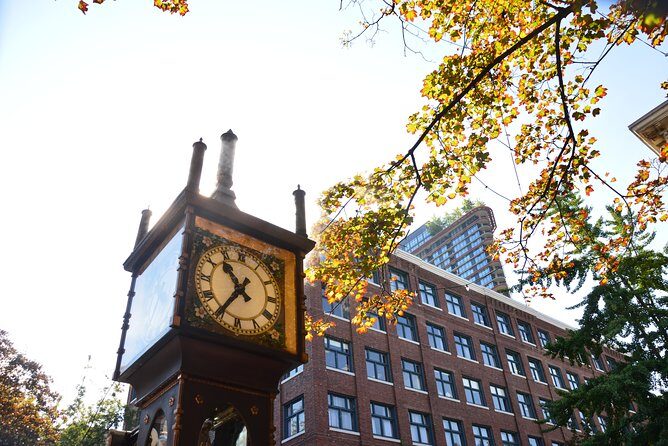
After lunch, you continue to Gastown, where the focus shifts toward atmosphere. You’ll walk through cobblestone streets at night and see the famous Steam clock.
Night photography is where a guide earns their keep. Low light pushes phones and cameras into modes that can blur subjects or crush shadow detail. A photographer guide can show you how to get a cleaner result—things like stabilizing your phone, choosing a better angle so bright areas don’t overpower the frame, and using the reflections that naturally happen in the street setting.
Gastown is also good because there are multiple “photo layers.” You can frame close details (clock mechanisms, stone texture), mid-range scenes (street lines and buildings), and wider shots that show the whole vibe. If you want to learn quickly, this stop gives you lots of chances to apply what you just heard in the earlier forest/water section.
One more reason I like this timing: night energy is often more consistent than sunset clouds. If the sky holds, you get both city glow and the clock’s highlight. If the sky is gray, you still get workable reflections.
Prospect Point lookout, Hollow Tree, and Ilanaaq Inukshuk
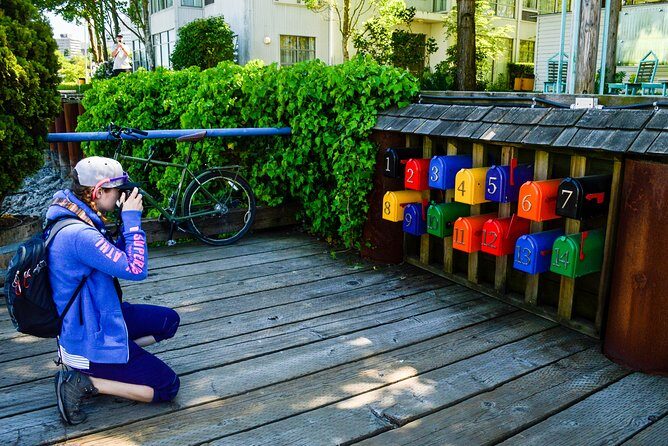
Back on the nature side again, you’ll hit several final stops built around views and distinct visual landmarks: Prospect Point Lookout, Hollow Tree, and Ilanaaq Inukshuk, before ending at English Bay.
Prospect Point is where you want to pay attention to viewpoint framing. Look for how the guide positions you so your subject has depth—foreground texture and a background that doesn’t turn into a flat wall. Viewpoints like this teach you to think in layers, which makes your photos look less like snapshots.
Hollow Tree is a fun kind of subject: it’s specific, it has shape, and it gives you an easy focal point. Stops like this are valuable because they remove the guesswork of what to photograph. You can focus on the craft—angle, distance, and light—rather than just hunting for something pretty.
Ilanaaq Inukshuk adds another visual style to the mix. It’s a good reminder that Vancouver isn’t only about water and trees; you also get moments that connect to local cultural presence. Treat it respectfully in your framing, and you’ll likely get photos that feel more meaningful than a generic tourist shot.
English Bay sunset: the payoff stop for your whole day
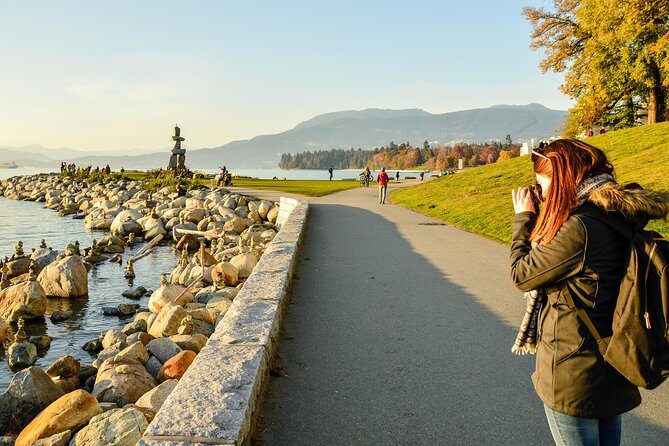
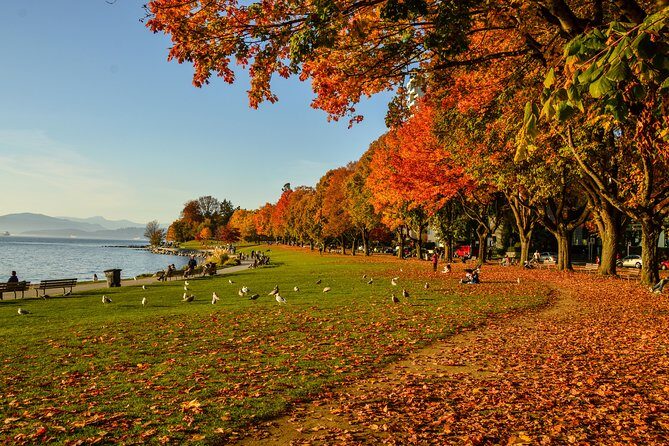
English Bay is where the tour cashes in on its best planning. You’ll photograph the sunset there, which is a big deal because sunset light is “directional” light—long shadows, warm tones, and contrast.
For shooting, you’ll want to pay attention to two things: the horizon line and the sky brightness. If you get those right, even a basic scene can look cinematic. If you get them wrong, the camera (or phone) can overexpose bright sky areas and flatten the entire image.
This is also a great stop to test what you learned earlier. If your guide taught you how to handle moving water, sunrise/sunset conditions give you a chance to apply it to waves and reflections. If you focused on still subjects earlier, the shore and horizon help you practice clean composition.
And since the tour ends near your starting point, you’re not stuck commuting while the best light disappears. You can actually work the scene without rushing to catch transport.
Photography coaching that works for phones and DSLRs
One of the strongest parts of this experience is the practical photo teaching. Your photographer guide covers basics while you’re at the places where those basics matter most.
If you’re shooting with a smartphone, you can still learn a lot. In particular, the guidance is aimed at real problems: how to shoot moving water, how to frame still objects, and how to make colors look more accurate and layered. You may also get editing tips that help reduce the “my photo looks nothing like what I saw” feeling.
If you have a DSLR (or want to try one), the tour can help you go beyond auto mode. A DSLR camera can be borrowed, and that’s a big advantage if you want more control over settings without renting gear.
What I like about this kind of coaching is that it’s not abstract. The guide can explain why one spot is better, then immediately show you how to set up your shot there. That saves you time and stops you from wasting the best golden hours fiddling with settings while nothing else happens.
Small bonus: the guide is willing to adjust to your pace. Even on days with stairs or more active sections, the instruction comes with breathing room—so you can shoot without feeling rushed.
Pace, comfort, and what to pack for a 7-hour day
This is an active day. Even though the hiking is described as guided and manageable, you still cover multiple stops, walk between viewpoints, and deal with stairs in the North Shore areas.
I’d plan on:
- comfortable walking shoes with grip
- water (you’ll want it during active stretches)
- layers for weather changes
- a camera strap or secure phone grip
The tour operates in all weather conditions, so dress appropriately. Vancouver can change fast, and rain can also be good for photos—wet stone and water reflections can look great. Just make sure you’re not underdressed when the day turns.
If you’re traveling with a service animal, the tour allows them. And most people can participate, but be honest with yourself about how you handle stairs and uneven ground.
The group size limit (max 7) helps here. With fewer people, your guide can pause, reposition, and keep the day from turning into a hurry-up-and-wait photo line.
Price and value for $147.87 per person
At $147.87 per person for about 7 hours, this pricing can be fair if you value convenience plus instruction.
What you’re paying for goes beyond basic sightseeing:
- Downtown pickup and drop-off (less hassle, less time wasted)
- Transportation across multiple districts
- A professional photographer guide who teaches during the stops
- Photoshoot time at key locations
- DSLR borrowing if you want to practice with more control
- A planned route that includes both nature settings and night city scenes
Food and drinks are not included, but lunch is built into the schedule at Granville Island’s market. That keeps the day from becoming a string of vending-machine lunches while you’re trying to run from one stop to another.
The value angle for me is this: you’re not paying to be dropped at a spot and left to figure out your camera. You’re paying to be taught where to stand, what to shoot first, and how to adjust for different lighting—then you get to apply it immediately.
If you already know every camera setting, you might not use all the coaching. But if you want better results faster—especially on a smartphone—this kind of structured day is where the price starts to make sense.
Should you book this Vancouver photography and hiking tour?
Book it if you want a day that feels like Vancouver’s “two worlds” in one go: old-growth forest drama and city-night glow. The best reason to choose it is the planning around sunset at English Bay and night photography in Gastown, plus the fact that you’ll get hands-on photo tips while you’re standing in the exact lighting you want.
Skip it if you hate walking or you want a strictly low-effort, mostly seated tour. This isn’t a drive-by photo op. You’ll be moving, and stairs are part of the experience.
If you’re on a short visit to Vancouver and you want one tour that covers a lot of ground without feeling random, this is a smart way to spend the day. You’ll come away with better photos and, more importantly, a clearer sense of how to take them.
FAQ
Is the tour suitable for smartphones and DSLRs?
Yes. The experience is described as suitable for any camera, from smartphones to DSLRs, and your guide will teach photography basics as you go.
Where does the tour start and when?
It starts at the Hyatt Regency Vancouver, 655 Burrard St, and it begins at 10:00 am. The tour ends back at the meeting point.
What’s included in the price?
Included items are downtown pickup and drop-off, a professional photographer guide, DSLR camera and trip (gear) borrowing, guided hiking and walking, a photoshoot, and transportation.
Is lunch included?
Lunch is part of the schedule at Granville Island’s market, but food and drinks are not included. You’ll choose what to eat.
How big is the group?
The maximum group size is 7 travelers.
Does the tour run in bad weather?
Yes. It operates in all weather conditions, and you’re advised to dress appropriately.
What is the cancellation policy?
You can cancel for a full refund up to 24 hours in advance of the experience start time. If you cancel less than 24 hours before, you won’t receive a refund.