REVIEW · WHISTLER
Whistler Backcountry Skiing and Splitboarding
Book on Viator →Operated by Mountain Skills Academy & Adventures · Bookable on Viator
A backcountry day in Whistler can feel like a secret. This one is run by Mountain Skills Academy & Adventures, with a local guide leading so you see more of Whistler Blackcomb’s side than most skiers ever get.
I love that the tour is designed to feel intimate: group size is capped at six, so you’re not just another number in the snow. You’ll also spend the day touring—skin out, pause often, refuel, then head back—so the outing stays both active and manageable.
The trade-off is big, though: this isn’t for beginners. You need strong intermediate skills in all snow conditions, good fitness for an 8-hour winter day, and you should plan on renting gear and sourcing avalanche equipment yourself since it’s not included.
In This Review
- Key Things I’d Zoom In On
- The Gondola Start That Sets Your Whole Day Up
- Skinning Out: How the Touring Portion Actually Works
- Safety With a Local Guide: What You’re Paying For
- Splitboarding or Skiing: Same Touring Day, Different Skills
- Gear and Rentals: What You’ll Need Before You Go
- Price and Value: Is $669.12 Worth It?
- Who This Whistler Backcountry Tour Suits Best
- The Meeting Point and Timing That Keep You from Running Late
- Quick Practical Tip: Confirm Details Directly With MSAA
- Should You Book This Whistler Backcountry Ski or Splitboard Tour?
- FAQ
- Where is the meeting point for the tour?
- What time does the tour start?
- How long is the experience?
- Is ski or splitboard gear included in the price?
- Do I need avalanche safety equipment?
- What skill level do I need?
- What should I pack or plan for food?
- What happens if the tour is canceled due to avalanche conditions?
- Is the experience refundable if I cancel?
Key Things I’d Zoom In On
- Small group limit (max 6): more personal guidance and a calmer day in the backcountry
- Pro guide up front: you stay focused on lines and movement instead of guessing routes
- Full touring rhythm: skin out, then tour with short water/food breaks
- Not beginner-friendly: strong intermediate ability in varied snow is required
- Plan equipment early: ski touring/splitboard gear and avalanche tools are not included
- Avalanche conditions decide the day: expect route and run choices to be weather- and safety-led
The Gondola Start That Sets Your Whole Day Up
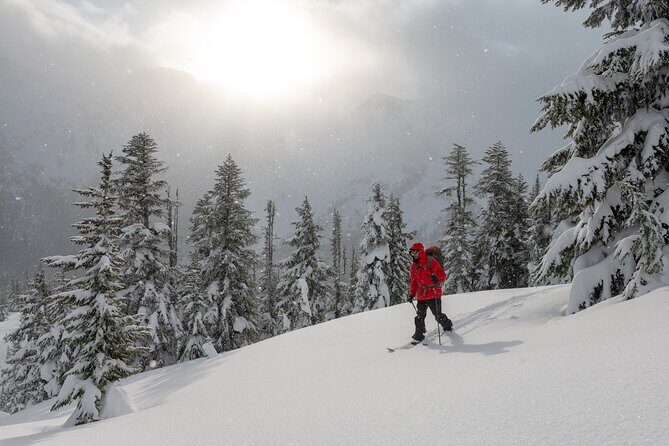
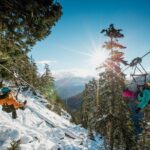
You kick things off by riding the gondola up the mountain at 8:30am, starting from the Le Chamois Hotel area in Upper Village (RMU Whistler, Plaza Level). That first lift matters more than it sounds. It compresses the morning so you’re not burning energy just getting into position for the touring work.
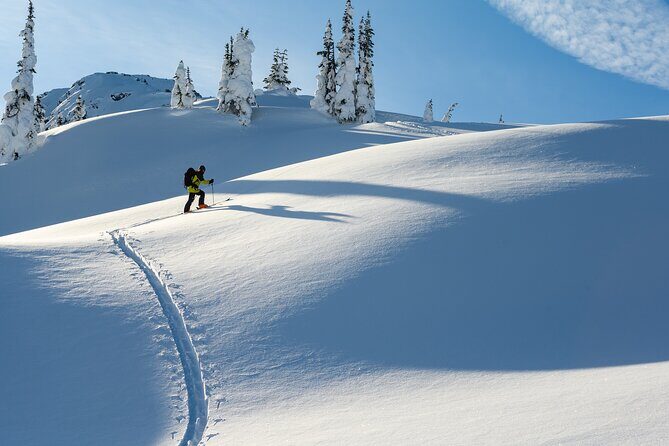
Once you’re up, the day shifts from resort skiing/riding into a touring mindset. You start skiing or riding, then begin skinning out to the backcountry. The practical benefit is simple: you get time to move efficiently, and you start the touring portion before the day gets too long and tiring.
It’s also a confidence builder for people who are capable but not yet comfortable in the backcountry flow. Going up by gondola means you’re starting with the mountain already behind you—then the guide helps manage the transition into skins, terrain choices, and staying together.
A few more Whistler tours and experiences worth a look
Skinning Out: How the Touring Portion Actually Works
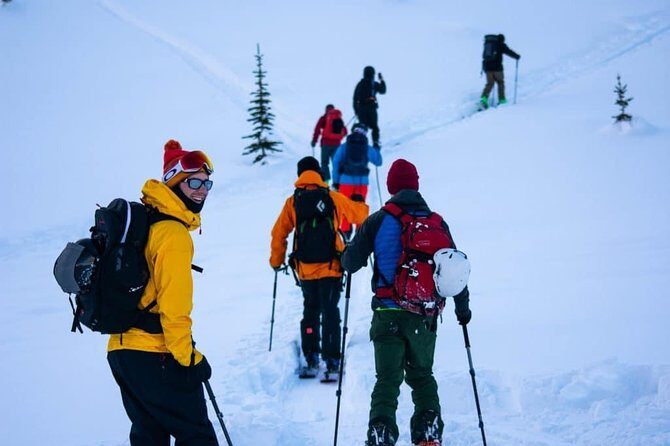
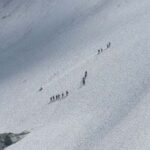
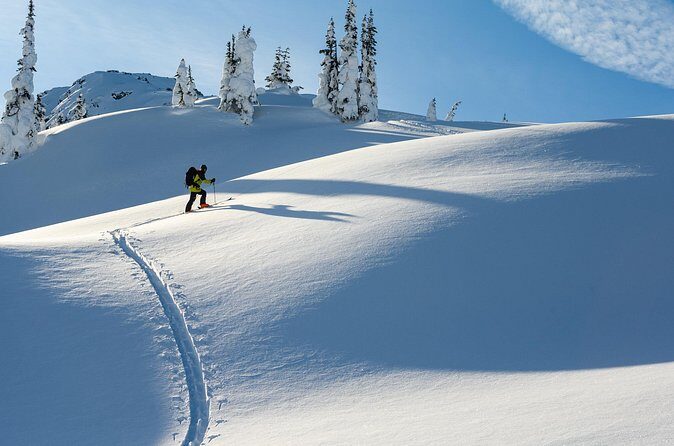
After the gondola, you’ll ski or ride and begin skinning out toward the backcountry. That’s the core of the experience: you’re not just doing one descent. You’re moving through different sections with a pace that supports uphill work, controlled stops, and regrouping.
The tour runs about 8 hours (approx.), and it’s not a nonstop grind. You’ll get short breaks for water and food during the day. Those breaks are more than comfort. In backcountry travel, hydration and calories protect decision-making. When you’re tired, you’re more likely to rush equipment steps or ignore changing snow feel.
One thing to keep in mind: this is touring with short stops, not a slow sightseeing walk. Your guide is leading you through an active day, so you should dress and pack like you’re going to be working the whole time—warm layers that still let you move well, plus enough food and water planning to match a full winter outing.
Safety With a Local Guide: What You’re Paying For
The highlight here is straightforward: stay safe with an experienced local guide in the lead. In a backcountry setting, that means someone is actively managing the group, the route, and the day’s conditions—so you can focus on movement and technique rather than second-guessing what comes next.
The group size cap at six supports that. Smaller groups tend to move and communicate better, especially when the terrain or snow changes. You’ll also have an easier time staying aware of what the group is doing, instead of getting separated and turning the day into a stressful scavenger hunt.
There’s a key safety point, though: avalanche safety equipment is not included (transceiver, probe, shovel). And avalanche conditions are part of the equation—tours are subject to those conditions, and extreme conditions can trigger cancellation with an option for an alternative date or a full refund.
So the value is not just that there’s a guide. The real value is that the guide’s presence comes with a responsibility for you to show up ready for the terrain. Plan your avalanche kit like it’s as important as your skis or splitboard.
Splitboarding or Skiing: Same Touring Day, Different Skills
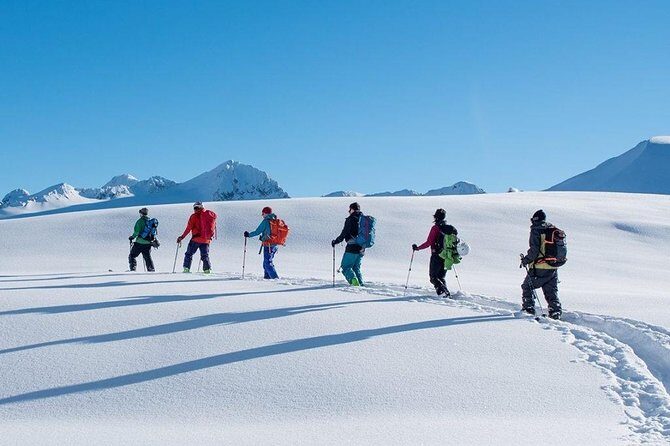
This experience runs for both ski touring and splitboarding, depending on what you choose. The big common thread is the touring structure: gondola up, then skiing/riding, then skinning out, then touring with short breaks.
Your technique needs to match the gear, of course. Splitboarding adds its own transitions and timing concerns, while ski touring has its own uphill movement and skin management. The good news is that the tour is guided, so you’re not working out the day alone.
The requirement stays the same either way: this is not for beginner/green-run skiers or snowboarders. You need strong intermediate skills in all snow conditions. That phrasing matters. It’s not just about being comfortable on groomers. It’s about handling variable snow as conditions shift across the day and terrain.
If you’re solid technically and you can manage uphill effort without falling apart, you’ll likely get a great “flow state” from this kind of tour. If you’re still building basic control skills, you’ll feel rushed and stressed. And backcountry stress is the enemy.
Gear and Rentals: What You’ll Need Before You Go
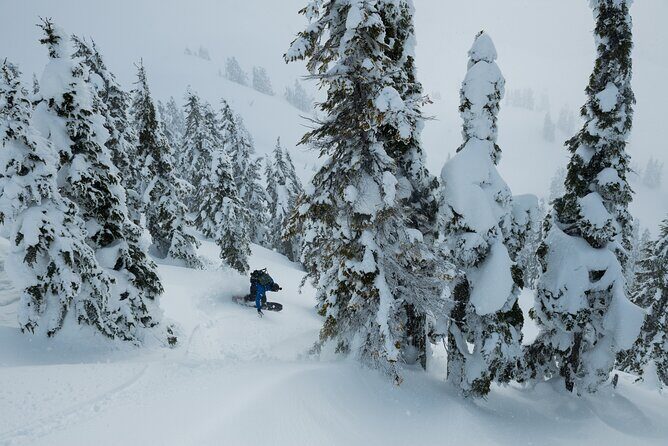
Here’s what the tour does not include, and it affects your planning more than the headline price:
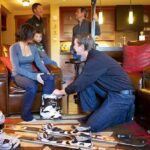
- Ski touring or splitboarding gear (rentals are available, but reserve well in advance)
- Avalanche safety equipment (transceiver, probe, shovel)
- Lunch, snacks, and beverages
- Transportation and parking
- Gratuity/tip for the guide
That means your real prep checklist starts well before the meeting point. Don’t show up thinking you can grab gear last minute. Backcountry gear rental is a timing game in winter, and you don’t want your day to hinge on availability.
Also, you should plan food. The tour includes short breaks for water and food, but it doesn’t include lunch, snacks, or beverages. So you’ll want to bring enough to cover an 8-hour day without relying on a quick buy along the way.
One more practical thought: because avalanche equipment isn’t included, treat it like a must-arrive item. Renting the rest of your setup is one thing; missing the transceiver/probe/shovel is another.
A few more Whistler tours and experiences worth a look
Price and Value: Is $669.12 Worth It?
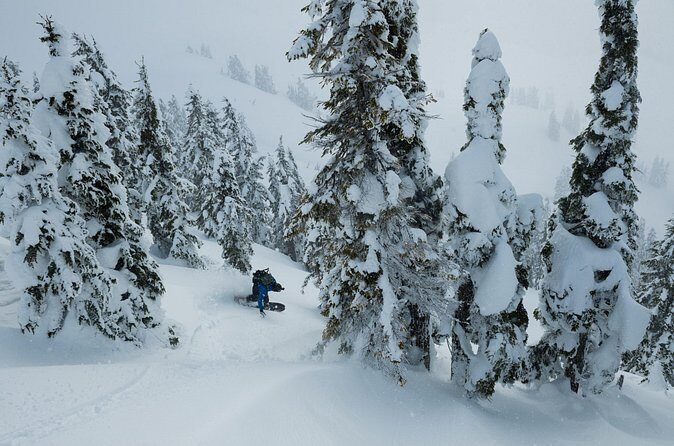
At $669.12 per person for roughly 8 hours, you’re paying for guided access to backcountry touring with a professional ski guide and a small group tour (max six). You’re also paying for the kind of decision-making that keeps a group safer: the guide leading, managing the day, and responding to avalanche conditions.
Here’s the honest angle: the tour price alone doesn’t cover everything you need for a backcountry day. Since gear rentals, avalanche safety equipment, and food are not included, your total cost depends on what you already own and what you still need to rent.
Still, I think the value makes sense if you’re the right fit—strong intermediate ability, decent fitness, and you want a guided day that gives you access to backcountry terrain under an experienced lead. When you’re learning the backcountry, paying for competent guidance is usually cheaper than paying for mistakes.
If you already own the right gear and kit, you’ll feel the value more clearly. If you need to rent a lot, plan your budget early so you don’t get surprised later.
Who This Whistler Backcountry Tour Suits Best
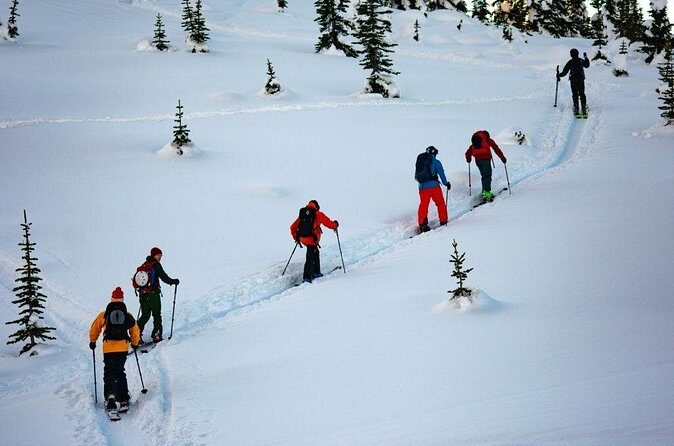
This is a winter day with real effort. The tour isn’t recommended for beginners, and it’s not for green-run only confidence. The requirement is strong intermediate skills in all snow conditions.
Fitness matters too. It’s not recommended for participants with heart conditions or other serious medical conditions. The tour also calls for good fitness and a moderate physical fitness level.
If you’re a skier or rider who can handle steeper terrain and variable snow, and you don’t mind touring uphill, you’ll probably enjoy the day’s rhythm: lift up, ski/ride out, skin to the backcountry, then tour with short breaks.
Also, dress appropriately for a full winter day in the backcountry where conditions can vary. That’s not a generic line. It’s your day-to-day reality up there—changing temps, wind, and snow feel. Layering is your friend.
The Meeting Point and Timing That Keep You from Running Late
Start time is 8:30am, and the tour ends back at the meeting point. The location is RMU Whistler, 113-4557 Blackcomb Way, at the Le Chamois Hotel, Plaza Level, Upper Village.
Why this matters: an early start is often the difference between a good snow feel and a long day that turns heavier. If you arrive stressed, you’ll bring that energy into skinning and the backcountry flow. Plan to show up with time to check your gear and get mentally ready.
This is also an activity with a mobile ticket. Have it ready so you’re not scrambling to find it when you’re already dealing with cold hands and gloves.
Quick Practical Tip: Confirm Details Directly With MSAA
One of the strongest signals from the experience feedback is this: information shown in an app can be wrong or conflicting. The fix is simple—contact Mountain Skills Academy & Adventures directly for the clearest answers.
If you want fewer headaches, do that early. Ask about what’s covered for your day, what gear you should rent, and what to bring for the avalanche kit requirement. That way you’re not guessing from mixed details.
This isn’t about paranoia. It’s about protecting your time and your confidence. In winter, confidence is safety.
Should You Book This Whistler Backcountry Ski or Splitboard Tour?
Book it if you check the boxes: strong intermediate skill in all snow conditions, you’re ready for a full day of touring effort, and you can show up equipped (or prepared to rent quickly) with your own ski/splitboard setup plus avalanche safety gear.
Don’t book it if you’re still building confidence on easier runs. This tour is explicitly not for beginners or green-run only riders. And if you’re unsure about your fitness for an 8-hour winter day, you’ll likely feel it during skinning and decision-making.
If you’re the right fit, I’d call this a high-value Whistler day because the tour is built around small group guiding and safety-led backcountry touring—not just a casual run. It’s also backed by a strong track record: 5/5 rating from 42 reviews, with 100% recommending the experience.
FAQ
Where is the meeting point for the tour?
You meet at RMU Whistler, 113-4557 Blackcomb Way, Le Chamois Hotel, Plaza Level, Upper Village, Whistler, BC V8E 0Y2. The tour also ends back at this same meeting point.
What time does the tour start?
The tour start time is 8:30am.
How long is the experience?
The duration is listed as about 8 hours.
Is ski or splitboard gear included in the price?
No. Ski touring or splitboarding gear is not included. Rentals are available, but you need to reserve well in advance.
Do I need avalanche safety equipment?
Yes. Avalanche safety equipment (transceiver, probe, shovel) is not included, so you need to have access to it.
What skill level do I need?
This tour is not for beginner/green-run skiers or snowboarders. Strong intermediate skills in all snow conditions are required.
What should I pack or plan for food?
Lunch, snacks, and beverages are not included. The day includes short breaks for water and food, so you should plan your own supplies for an 8-hour outing.
What happens if the tour is canceled due to avalanche conditions?
Tours are subject to avalanche conditions. If canceled due to extreme conditions, you’ll have the option of an alternative date or a full refund.
Is the experience refundable if I cancel?
This experience is non-refundable and cannot be changed for any reason.