REVIEW · VANCOUVER
Photography & Walk at Night
Book on Viator →Operated by Nature PhotoHikes · Bookable on Viator
Gastown at night turns your camera into a tool. This small-group photo walk gives you hands-on guidance for shooting street scenes after dark, and it’s paced for beginners and phone photographers too. I especially like that you get real night photography technique (not just where to stand), and you can borrow a DSLR and tripod if you want cleaner long-exposure results.
One thing to keep in mind: it’s mostly about photography and walking, and no food or drinks are included. If you’re hungry, plan to grab something before you arrive—or after you’re done.
In This Review
- Key highlights if night photography is your goal
- Why Gastown at dusk teaches faster than a classroom
- Starting at the Steam Clock: what the first stop really sets up
- Nafee’s coaching: how the guide helps you shoot with confidence
- Long exposures and phone shots: using the same city twice
- If you use a DSLR and tripod
- If you use a phone
- The walk route in Gastown: what to watch for while you’re moving
- Photoshoot time: turning lessons into keepers
- Value check: why $38.16 can make sense for night coaching
- Practical tips so you get better results on your first try
- If you’re comparing this with longer photo trips to Victoria
- Who should book this night photo walk
- Should you book this Gastown Night Photography Tour?
- FAQ
- What time does the tour start, and how long is it?
- Where do I meet for the tour?
- Is the tour group small?
- What camera gear is included?
- Is food and drink included?
- What language is the tour offered in?
- What happens if weather is poor?
Key highlights if night photography is your goal
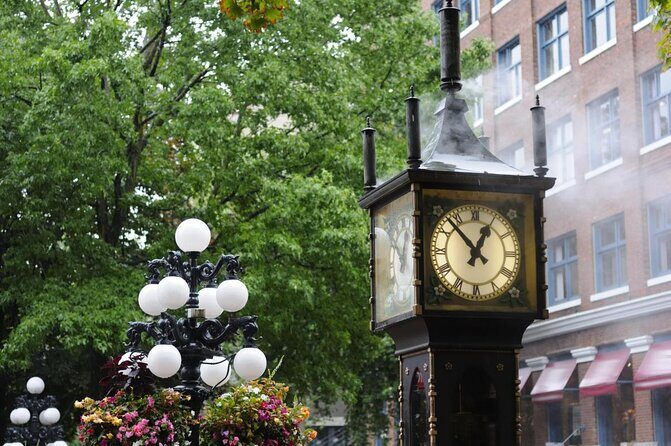
- Steam Clock glow as your first subject: you start right where the light and angles are easiest to learn.
- A small group (max 7): you get time for questions and quick feedback.
- Nafee’s coaching style: practical tips plus local Gastown context that helps your photos feel intentional.
- Long-exposure practice plus phone-friendly methods: you can use whatever camera you’ve got.
- Comfortable-walk setup matters: layered clothing and good shoes help you stay focused while shooting.
Why Gastown at dusk teaches faster than a classroom
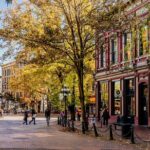
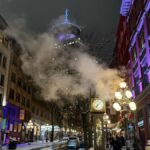
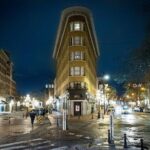
Gastown is built for night photography. The cobblestones, the streetlamp spacing, and that familiar Steam Clock glow create a repeating pattern of lights and shadows that you can learn from quickly. You don’t need to chase perfect weather or far-off viewpoints. You just need to know how to aim, how to control exposure, and how to use the city’s lighting like a scene.
I like how this tour turns a normal neighborhood walk into a guided practice session. Instead of wandering and hoping for good shots, you’re learning techniques as you move. That means your photos improve while you’re still in the thick of it, not later when you’re stuck editing a bunch of blurry experiments.
Also, the “night” focus is a big deal for value. Daytime photography is common. Night photography is where most people feel stuck, especially on phones. Here, you’re given a path to make night images sharper and more dramatic without turning it into an all-night technical project.
You can also read our reviews of more walking tours in Vancouver

Starting at the Steam Clock: what the first stop really sets up
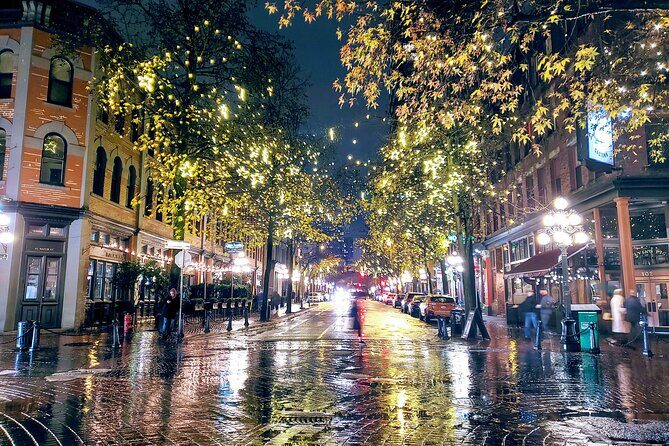
You meet at the Gastown Steam Clock area (305 Water St, Vancouver), with a 5:00 pm start time and about one hour on the clock. That timing is smart. Late afternoon light fades into street lighting, so you get the transition from softer skies to stronger artificial light. It’s the kind of change you can learn from quickly—because you can experiment as the scene evolves.
The tour also starts at a spot that’s instantly recognizable. That helps you relax and focus on the shooting. You’re not trying to find your way through an unfamiliar neighborhood before you even learn what settings to try.
In practical terms, the beginning is your warm-up and your “how to see” moment:
- You’ll learn where to position for better angles.
- You’ll get direction on camera behavior at night (especially exposure and steadiness).
- You’ll pick up quick history/context that you can use to compose more thoughtfully.
And if you’re using a phone, that first subject matters even more. You’ll learn how to stabilize and frame before you start moving deeper into side streets.
Nafee’s coaching: how the guide helps you shoot with confidence
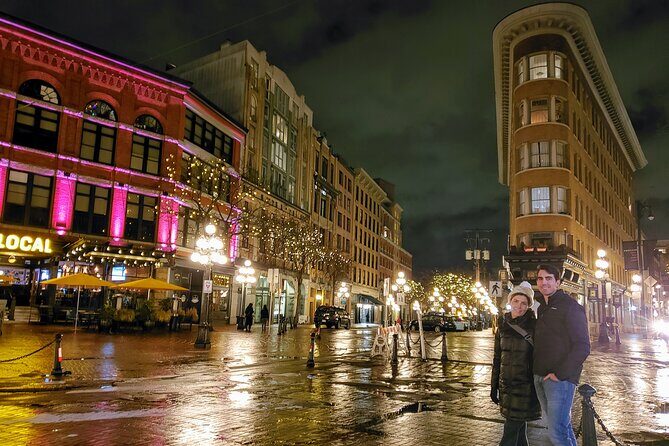
One of the best parts is the guide’s teaching approach. In the best moments, it feels like a coaching session, not a lecture. A guide named Nafee is called out in feedback for giving history as well as usable photography techniques, and that combo is exactly what you need for better night photos.
Here’s why that matters: night photography often fails for two reasons. Either your camera is set wrong for the light, or you’re not aiming with intention. When your guide connects what you’re seeing in Gastown to where to shoot (and why), you stop guessing and you start practicing with purpose.
From what you’re doing on the walk, the instruction tends to land fast:
- You learn technique, then you apply it immediately.
- You get spot-level guidance on where to frame.
- You can ask questions while you’re still there, not after the moment is gone.
This tour also helps you avoid the common beginner trap of treating night like a weaker version of daytime. Night is different. Light is different. Movement is different. The guide’s job is to translate that into simple actions you can repeat.
Long exposures and phone shots: using the same city twice
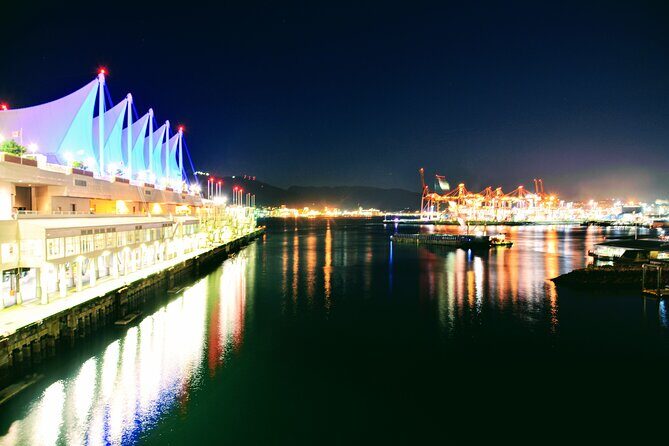
This is one of the most useful parts of the experience: it supports multiple camera styles. You can bring your own phone, or you can borrow a DSLR camera and tripod (it’s included). That means you’re not stuck depending on what gear you already own.
If you use a DSLR and tripod
Long-exposure shots benefit from steadiness, and a tripod is the fastest path to cleaner results. Even in an hour, you can learn what to do with the tripod, how to avoid motion blur, and how to take advantage of light trails or glowing street elements. The overall goal is simple: get exposure control so the lights look intentional rather than blown out.
You can also read our reviews of more evening experiences in Vancouver

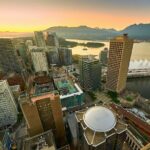
If you use a phone
Phone cameras are getting better, but night still exposes weaknesses. You’ll be taught night approaches that fit camera phones—so you can get sharper frames and better use of the lighting without needing DSLR-level technical knowledge.
What I like is that you don’t have to choose one “correct” method. You can try one technique for a subject, then switch for the next. The city gives you enough variety that your experiments don’t feel redundant.
Practical note: bring your camera preferences openly. If you love manual settings, great. If you prefer simple phone controls, that’s fine too. The point is to leave with images you’re happy to keep—not just a handful of “practice shots.”
The walk route in Gastown: what to watch for while you’re moving
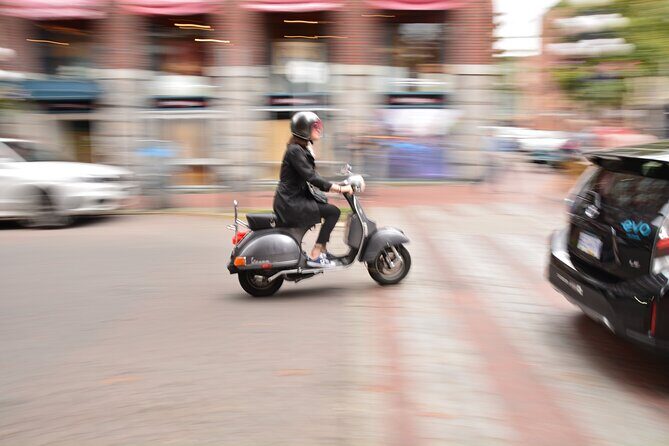
Even though the time is short, you’re guided through key Gastown streets and landmarks. You’ll spend time around the Steam Clock, plus other areas with character and corners that work well after dark. That includes the kind of alley-like streets and side-street angles where streetlamp light creates contrast and depth.
A big help on a short tour is that the guide knows how to pace the walking. Night photography punishes rushing—you’ll miss angles and your hands get shaky. So the walk is paced to give you shooting stops, not just transit.
As you go, you’ll also get recommendations for where to eat and hang out when you’re done. That’s not just “extra.” It changes your whole night plan. After shooting for an hour, you’ll want a place nearby where you can recharge and keep your evening going without having to figure everything out from scratch.
Photoshoot time: turning lessons into keepers
This experience includes a photoshoot component, and that’s where the tour’s value really shows. Technique without output can feel abstract. Here, you’re building images while you’re being coached, so you’re more likely to end with photos that look like you meant them.
I also like how this setup respects different comfort levels. If you’re a confident shooter, you can chase the technical look: steadier frames, controlled exposure, and deliberate composition. If you’re new, you can follow guidance and focus on getting something sharp and framed right.
The tour’s structure works especially well if you’re traveling with limited time. One hour is long enough to learn a couple moves and short enough that you don’t feel stuck in a slow group pace. That balance is perfect if you’re doing other Vancouver plans in the evening and want a photography add-on that doesn’t eat your whole night.
Value check: why $38.16 can make sense for night coaching
Price is $38.16 per person, and for a one-hour tour that sounds modest rather than “discount.” The value depends on what you’re buying.
You’re paying for:
- A professional photographer guide, not just a general city guide.
- Small-group attention with a maximum of 7 travelers, which matters when you’re learning camera technique.
- Included gear support: DSLR and tripod borrowing if you want it.
- Structured practice that covers night methods with both DSLRs and phones.
- A photoshoot component, so the session has an output, not just viewpoints.
If you’ve ever tried to learn night photography alone while walking a busy street, you know how frustrating it is. You can spend an hour taking random shots and still not understand why your results are noisy or blurry. Paying for coaching can be worth it because it compresses learning. You get to correct mistakes while the scenes are still there.
Where you might question the value is if you already know night photography inside and out and you’re primarily looking for a self-guided stroll with dramatic views. In that case, you could do similar shooting on your own. But if you want technique and real direction, this price is reasonable.
Practical tips so you get better results on your first try
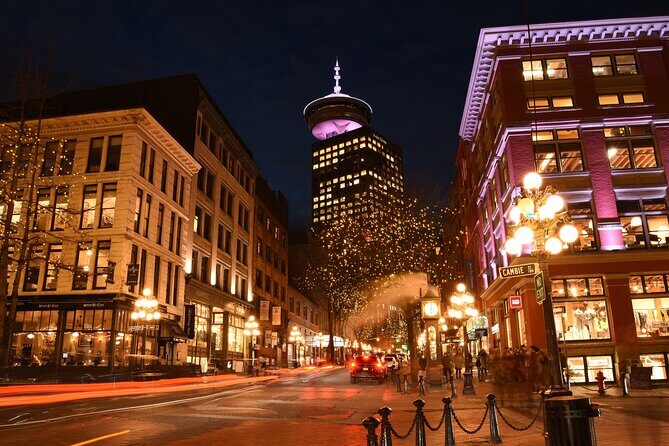
This kind of tour succeeds or fails based on your setup. Here’s how to show up and make the hour count.
- Wear layered clothing: you’ll be outside and moving.
- Bring comfortable walking shoes: cobblestones don’t forgive bad footwear.
- Bring your camera (any kind): phone is fine if that’s what you have.
- Be ready for instruction: you’ll get best results when you try the suggested settings or steps right away.
- Think light, not just location: at night, the light source is the subject. Frame around it.
Also, if you’re borrowing a DSLR/tripod, treat the equipment like a partner: set it up carefully, avoid touching it during exposures, and move only when the guide says it’s time. Those small actions are what separate a blurry result from a crisp one.
If you’re comparing this with longer photo trips to Victoria
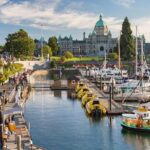
The description you may see for this experience includes broader ideas about using the day to practice skills and then applying them at night, and it even mentions a Victoria day outing with ferry time and stops like Fisherman’s Wharf, Chinatown/Fan Tan Alley, Market Square, and Beacon Hill Park. It also notes you can ask the guide to adjust plans in Victoria for activities like whale watching.
But your concrete scheduled start for this specific session is Gastown at 5:00 pm. So if you’re booking for the short night walk, plan on focusing your time in Gastown. If you’re ever unsure which version you’re booked on, check what the schedule confirms right before you go.
Who should book this night photo walk
You’ll enjoy this most if:
- You want to improve night photos without guessing.
- You have a DSLR you want to use more confidently—or you want phone-friendly night methods.
- You like learning from a guide while you’re actively shooting.
- You prefer a short, focused experience over a long day.
It’s also a good fit for travelers who don’t have a lot of time but still want something practical and memorable, not just a generic sightseeing stop.
Should you book this Gastown Night Photography Tour?
If your goal is sharper night photos with clear guidance in a compact timeframe, I think it’s a good booking. The strongest reason to go is the mix of practical night instruction and a guide who can connect what you’re photographing to where and how to frame it—whether you’re on a phone or using a borrowed DSLR and tripod. And with a small max group size, you’re not stuck behind anyone else while you learn.
Skip it only if you already have advanced night skills and you’re mainly after self-directed roaming. Otherwise, this is one of the easier ways to turn one hour in Vancouver into real photographic improvement.
FAQ
What time does the tour start, and how long is it?
The tour starts at 5:00 pm and is about 1 hour.
Where do I meet for the tour?
You meet at the Gastown Steam Clock at 305 Water St, Vancouver, BC V6B 1B9.
Is the tour group small?
Yes. The maximum group size is 7 travelers.
What camera gear is included?
A DSLR camera and tripod can be borrowed, and a photoshoot is included. You can also use your phone.
Is food and drink included?
No. Food and drinks are not included.
What language is the tour offered in?
The tour is offered in English.
What happens if weather is poor?
The experience requires good weather. If it’s canceled due to poor weather, you’ll be offered a different date or a full refund.