REVIEW · MONTREAL
Fatbike rental – Au Canal-de-Lachine
Book on GetYourGuide →Operated by Bruno Vélo · Bookable on GetYourGuide
Winter feels different on big tires.
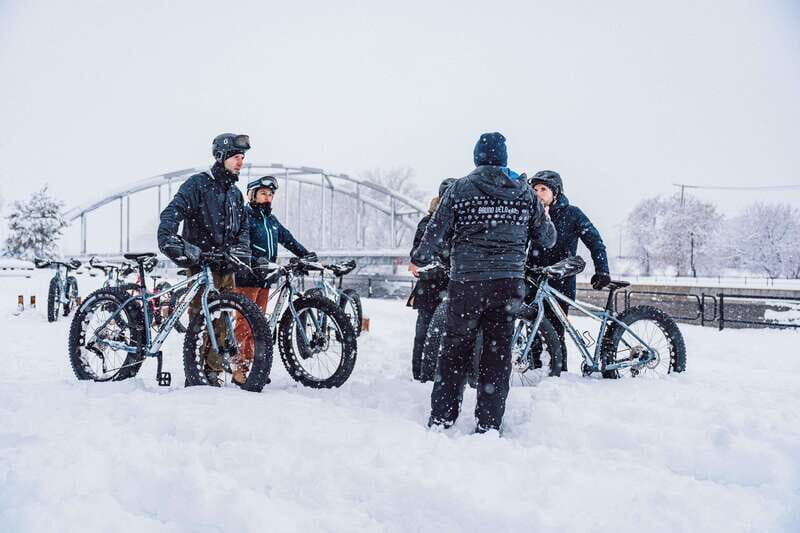
This fatbike rental in Au Canal-de-Lachine is a simple, high-fun way to see Montreal when everything is dusted in snow—an activity built around a 13 km winter trail linking Lock No. 5 (Ville Lachine) and the Old Port. I especially like that you get real coaching right away (bike fit, plus tips for riding in snow), and I also like that the outing is flexible: 1 or 2 hours means you can match it to your energy level without turning your day into a full expedition.
One consideration: fatbiking in snow isn’t for everyone, and the activity has clear no-go groups (like people with certain heart or respiratory issues, or children under 5), so check your comfort and health limits before you book.
In This Review
- Key highlights to know before you go
- Fatbikes in snow: why Lachine to the Old Port is such a fun match
- Meeting up at St-Ambroise Street (or right by the canal)
- What’s included: bike, helmet, phone holder, and a real briefing
- The ride itself: how the 1–2 hours fit the 13 km winter trail
- Instructor support: the difference between trying and actually enjoying
- Who this is best for: families, couples, friends, and team builders
- Price and value: $18 for a guided winter fatbike setup
- What to bring (and what to avoid) for a smooth winter ride
- Who shouldn’t book: the suitability rules you must take seriously
- Practical winter tips that make the whole thing easier
- Should you book the fatbike rental at Au Canal-de-Lachine?
- FAQ
- How long is the fatbike rental?
- Where does the ride go?
- What is included with the rental?
- Where do we meet?
- How much does it cost?
- What languages are available for the instructor?
- What should I bring for the ride?
- Can I cancel for a refund?
- Who should not book this activity?
Key highlights to know before you go
- A 13 km winter trail connection from Lock No. 5 (Ville Lachine) toward the Old Port
- Big tires + winter riding tips, with a short instructor briefing and bike adjustment
- Helmet and phone holder included, so you can focus on the ride (and snapping pics safely)
- Great group activity for families, couples, friends, and team building
- English, French, and Spanish instruction available
Fatbikes in snow: why Lachine to the Old Port is such a fun match
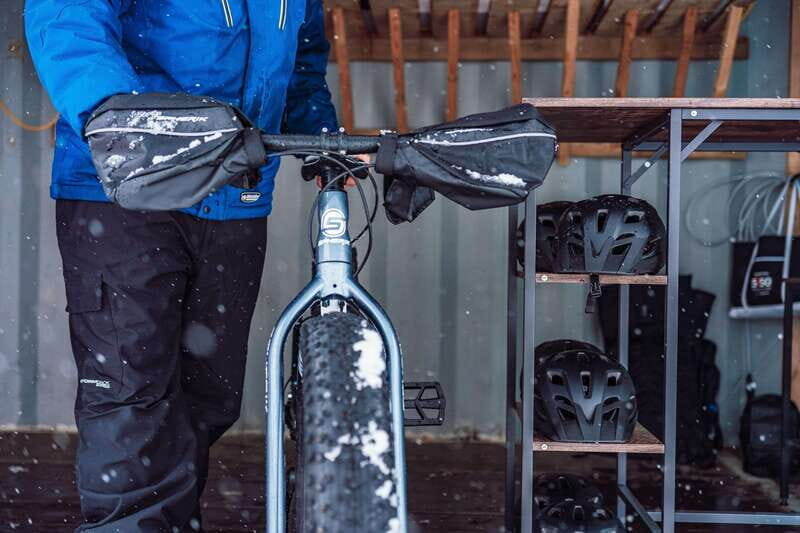
If your Montreal winter plans have mostly involved coffee runs and museums, this is the kind of change of pace that feels instantly worth it. A fatbike is made for soft surfaces, and in winter that means you’re not just walking—you’re actually moving through snow in a controlled, playful way.
What makes this route idea work is the sense of contrast. You start in the Ville Lachine area and you’re heading toward the Old Port zone, so you’re riding through a winter corridor that connects “city you know” with “outdoor winter you didn’t expect to find so close.”
Also, this is built for real-world fun, not performance. You’re out for 1 to 2 hours, which is long enough to feel like you did something outdoors, but short enough that you don’t have to commit your whole day to logistics.
You can also read our reviews of more tours and experiences in Montreal.



Meeting up at St-Ambroise Street (or right by the canal)
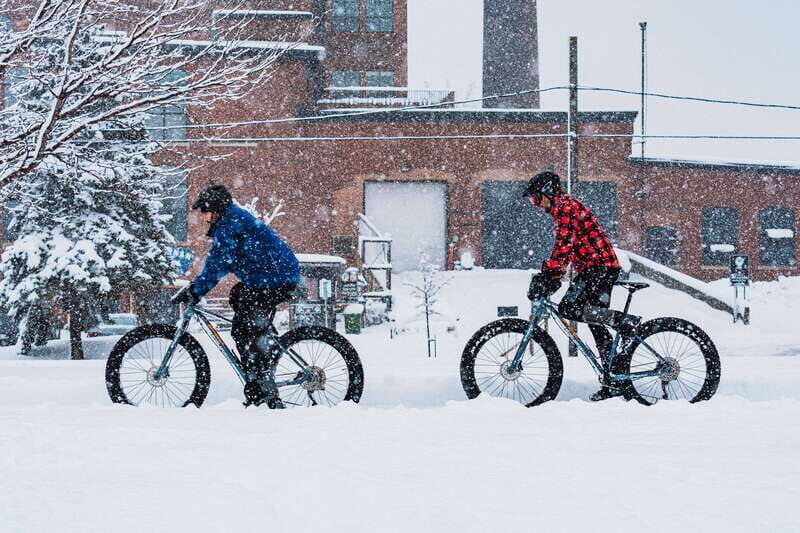
You’ll want to arrive a little early so you can get fitted without rushing. The meeting point is easy to identify: enter by the main entrance on St-Ambroise Street and look for shop #136, or you can enter directly by the Lachine Canal.
Why this matters: on a cold day, timing is everything. When you’re dressed for winter sports, you still don’t want to stand around waiting in the elements while your hands go numb.
Once you’re at the shop/canal entrance, the flow is straightforward: you get your bike and safety gear, then the instructor takes over to get you ready to ride.
What’s included: bike, helmet, phone holder, and a real briefing
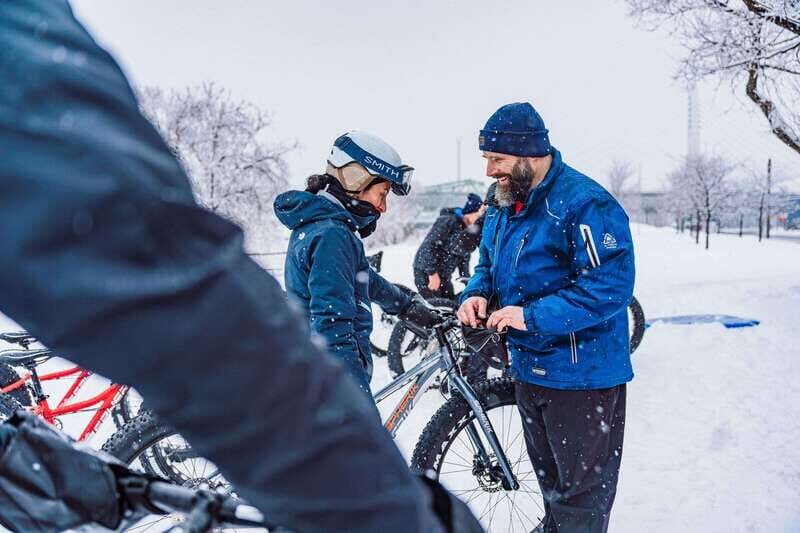
This rental doesn’t feel like a self-serve “good luck” situation. You get the fatbike, a helmet, and a phone holder—plus a briefing from the instructor.
Here’s what you can reasonably expect from that briefing:
- The instructor adjusts the bike for you (so you can pedal without feeling awkward or unsafe).
- You get quick tips for handling a big-tire bike in snow.
- You’re encouraged to ask questions before you start.
That “ask anything” part is important. Fatbikes look simple, but snow changes everything—traction, balance, and how you think about stopping. A good pre-ride explanation helps you enjoy the outing instead of spending the first minutes figuring it out the hard way.
The ride itself: how the 1–2 hours fit the 13 km winter trail
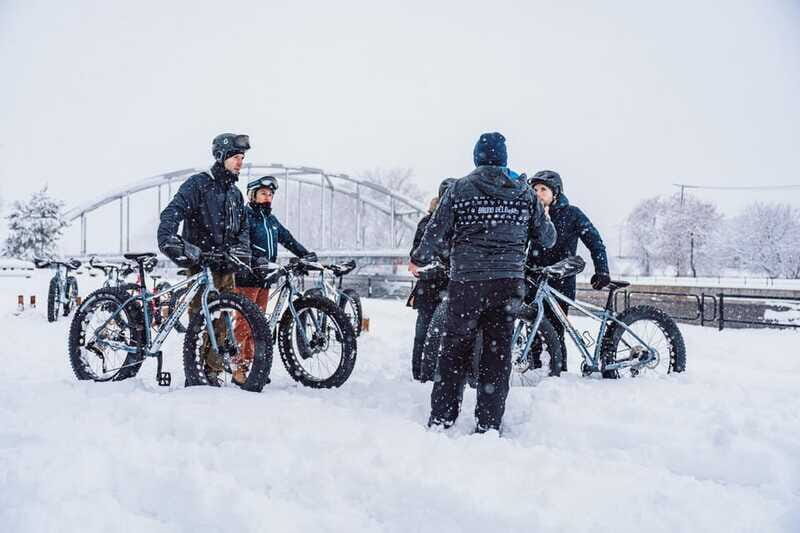
The route is described as a 13 km winter trail stretching from Lock No. 5 (Ville Lachine) to the Old Port of Montreal. In other words: you’re riding on a winter trail corridor designed for outdoor movement, not just a random path.
What I’d plan for, based on the time options:
- With 1 hour, you’re likely covering a smaller portion of the overall trail—enough to feel the “fatbike in snow” magic without turning it into a marathon.
- With 2 hours, you get more time to settle into the ride and go farther along that trail corridor.
No matter which duration you choose, the big win is that fatbiking lets you experience winter at riding speed. You see more than you would walking, but it still feels relaxed compared with a hard workout.
Instructor support: the difference between trying and actually enjoying
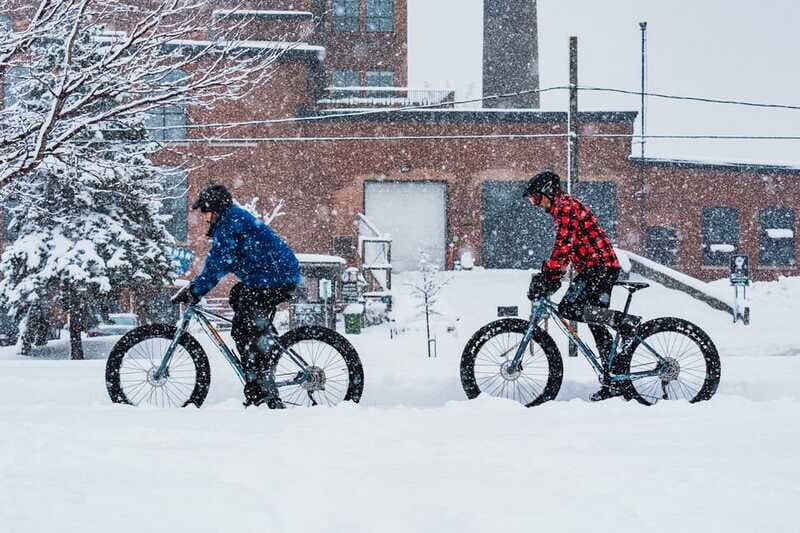
One of the best parts of this experience is the way the instructor sets you up. The bike fitting and the initial tips aren’t just formalities—they’re what make this activity approachable.
In plain terms, you’ll be learning how to:
- Ride comfortably after your bike is adjusted to your body
- Handle traction on snow using the fatbike’s big tires
- Use basic safety habits while moving outdoors in winter conditions
And yes, it sounds like the instructor will stick around through the early part of the ride (or at least be available with questions). That matters most for first-timers. If you’re even slightly unsure, ask right away—before you’re halfway down the trail.
This is also where group energy helps. For families, couples, and friends, having an instructor who explains clearly turns “maybe we’ll be nervous” into “we get it fast and have fun.”

Who this is best for: families, couples, friends, and team builders
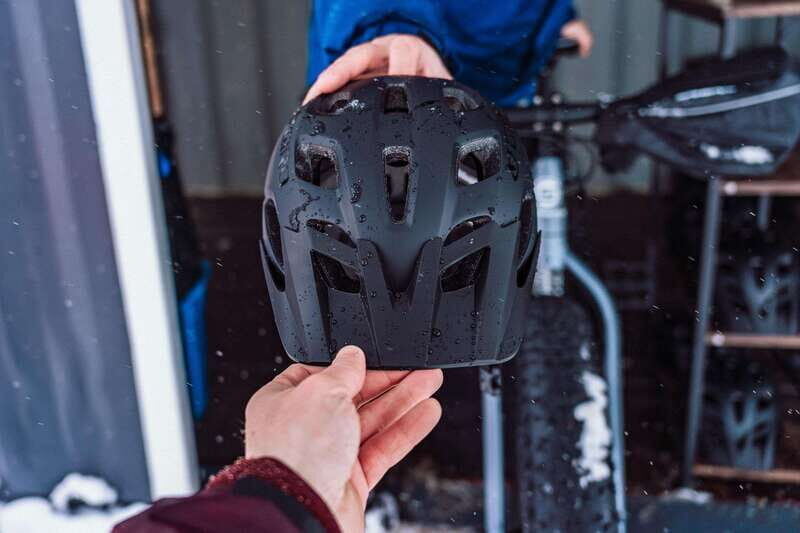
Fatbiking in winter is one of those activities that works across age and group types—if you fit the suitability rules.
It’s listed as a great fit for:
- Family outings
- Couples and friends
- Team building
For families: the big advantage is structure. You get gear, you get a briefing, and you have an outdoor activity that feels special without requiring technical skills you don’t already have. Just note the minimum age guidance: children under 5 are not suitable.
For couples and friends: the phone holder is a small detail, but it’s practical. You’ll likely be taking photos of snowy scenes, and having a place to secure your phone lets you enjoy the moment without juggling it in your hands.
For team building: the format is simple—rent, safety briefing, ride together. It’s the kind of shared winter challenge that creates conversation fast.
Price and value: $18 for a guided winter fatbike setup
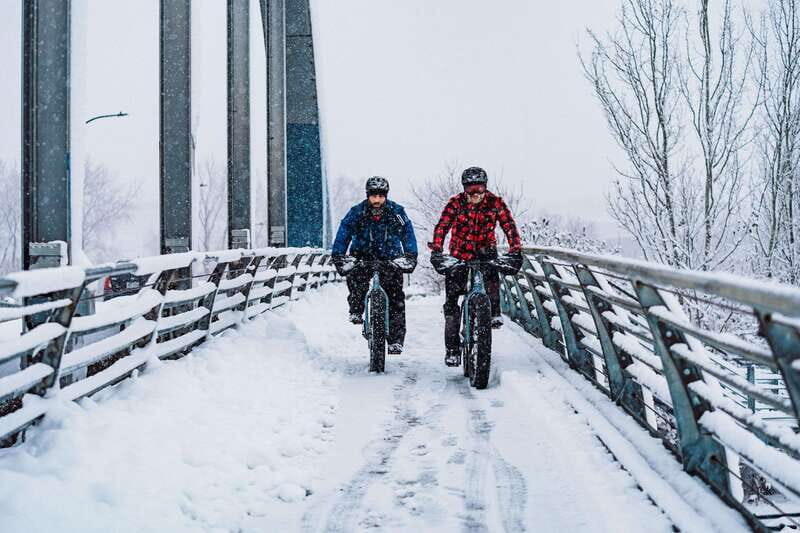
The price is $18 per person for 1–2 hours (check availability for starting times). Even without fancy add-ons, value here comes from what you don’t have to source yourself:
- Helmet (not something everyone packs for a spontaneous winter activity)
- Phone holder (a small but helpful piece)
- Instructor briefing and bike adjustment, which reduces uncertainty
If you’ve ever tried to improvise winter gear and equipment on the fly, you’ll understand why those inclusions matter. You’re paying to show up, get fitted, and ride with less hassle.
The other value factor is time. 1 hour is a great “taste test,” while 2 hours is a “let’s actually enjoy winter outdoors” plan.
What to bring (and what to avoid) for a smooth winter ride
Winter fatbiking can be as comfortable or as miserable as your clothing choices. Stick to the provided list so you’re not guessing.
Bring:
- Hat
- Gloves
- Snow clothing and outdoor clothing
- Winter sports gear
- Water
- Snacks
Even if you think you won’t get hungry, bring a snack. A cold-weather ride can work up appetite quickly, and having something on hand keeps energy steady.
Not allowed (important):
- Pets
- Weapons or sharp objects
- Baby strollers
- Alcohol and drugs
- Climbing
- Loose clothing
- Bare feet
That “loose clothing” line is a real safety point. In winter, loose fabric can snag or get in the way, especially when you’re focused on balance and steering.
Who shouldn’t book: the suitability rules you must take seriously
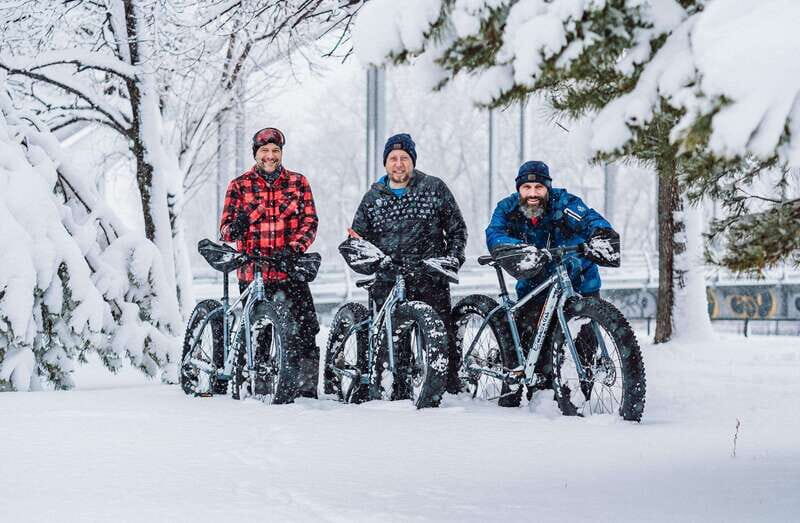
This activity lists several “not suitable for” categories. Don’t gloss over them.
Not suitable for:
- Children under 5
- Pregnant women
- People with back problems
- People with heart problems
- People who can’t ride a bike
- People with respiratory issues
- People with epilepsy
- People over 287 lbs (130 kg)
- People with pre-existing medical conditions
- People with recent surgeries
- People with motion sickness
If you’re unsure where you fit, I’d treat this as a safety-first situation. Cold outdoor movement plus balancing on snow is not the moment to gamble.
Practical winter tips that make the whole thing easier
Even with gear included, your comfort mostly comes from your prep. A few practical moves that help:
- Wear gloves you trust. If you can’t grip well, snow riding gets stressful fast.
- Bring a hat that covers well. Wind can be sneaky, even when the day looks calm.
- Pack water and at least one snack, even if you plan to keep it short.
- Expect to move in winter sports clothing, not just “warm clothes.” Snow changes how you feel heat and sweat.
- If you have any bike-riding hesitation, tell the instructor during the briefing. The whole point is to get adjusted and learn the basics so you can enjoy the ride.
Also, if your group includes first-timers, consider choosing 1 hour. It’s enough to get comfortable and take fun photos, and it reduces the chance of everyone feeling exhausted before the ride really clicks.
Should you book the fatbike rental at Au Canal-de-Lachine?
Book it if you want:
- A winter activity that feels playful and social
- A guided setup with helmet + bike fitting + instructor tips
- A simple plan that connects Lock No. 5 area and the Old Port corridor within 1–2 hours
- A group-friendly outdoor experience, including team building
Skip it (or think twice) if:
- You fall into one of the listed medical or suitability categories
- You can’t ride a bike comfortably already
- You don’t have the right winter clothing and you’d rather avoid cold discomfort
If you’re the type who likes getting outside in winter, this is one of the more practical ways to do it near Montreal’s classic areas—fast enough to be fun, guided enough to be safe, and different enough that you’ll remember it.
FAQ
How long is the fatbike rental?
The duration is 1–2 hours, depending on the time slot you choose.
Where does the ride go?
The experience is described as riding on a 13 km winter trail extending from Lock No. 5 (Ville Lachine) to the Old Port of Montreal.
What is included with the rental?
You get a fatbike, helmet, phone holder, and a briefing from an instructor.
Where do we meet?
Enter by the main entrance on St-Ambroise Street and look for shop #136, or enter directly by the Lachine Canal.
How much does it cost?
The price is $18 per person.
What languages are available for the instructor?
The instructor offers English, French, and Spanish.
What should I bring for the ride?
Bring a hat, gloves, snow clothing, outdoor clothing, and winter sports gear, plus water and snacks.
Can I cancel for a refund?
Yes. You can cancel up to 24 hours in advance for a full refund.
Who should not book this activity?
It’s not suitable for children under 5, pregnant women, people with heart problems, respiratory issues, back problems, and several other medical and mobility situations listed by the activity rules.