REVIEW · WHISTLER
3 Hour Wilderness Adventure Tour in Whistler
Book on Viator →Operated by Blackcomb Snowmobile Ltd · Bookable on Viator
Whistler gets wild fast. This 3-hour adventure is interesting because you roll from the base into the Callaghan backcountry with included winter gear and a small group that lets you ask questions without waiting your turn. I like the way the guide customizes the ride for your ability, and I also love the repeated photo pullouts aimed at big, dramatic peaks. The main consideration: you do need a moderate fitness level, and the tour is not recommended for pregnant women.
You’ll meet at the Blackcomb Dogsled Base (Callaghan Base #2) and head out with a local professional guide. Guides like Liam, Ryan, and Braidan show up in people’s stories for good reason: the vibe is confident, hands-on, and built for first-timers as well as more experienced riders.
Weather is always a factor in Whistler, but you’re not left guessing. Winter gear is included if conditions call for it, and if the tour is canceled due to poor weather, you’ll be offered another date or a full refund.
In This Review
- Key things to know
- Entering The Callaghan Backcountry: The Tour’s Real Magic
- Meeting at Blackcomb Dogsled Base (Callaghan Base #2) and Getting Moving
- Winter Gear Included When Conditions Call for It
- The Itinerary Stops: Black Tusk, Mount Fee, and Whistler Blackcomb From Brandywine Mountain
- Black Tusk: The Dark, Jagged Peak Moment
- Mount Fee: Snow-Capped Drama From the Callaghan Valley
- Brandywine Mountain: A Backside Perspective of Whistler Blackcomb
- Backcountry Cabin/Dome and Photo Lookouts: Where the Trip Slows Down
- Light BBQ Lunch: Simple Fuel for an Active 3 Hours
- Safety, Drivers, and the Mandatory $35 Collision Coverage
- Price and Value: Is $239.58 Worth It?
- Who This Whistler Snowmobile Tour Fits Best
- Should You Book This 3-Hour Wilderness Adventure Tour in Whistler?
- FAQ
- How long is the 3-Hour Wilderness Adventure Tour in Whistler?
- What is the group size limit for this tour?
- What’s included with the tour price of $239.58 per person?
- Is winter gear provided?
- Can I book a ride if I don’t have my own equipment?
- What do I need to know about driving requirements and collision coverage?
- What happens if the tour is canceled due to weather or if I cancel late?
Key things to know
- Small group (max 15): More room to learn, fewer people to manage, and easier back-and-forth with your guide.
- Winter gear included if needed: You may be provided snow pants, jacket, boots, gloves, helmet, and goggles.
- Mountain views at multiple stops: You’ll hit viewpoints aimed at Black Tusk, Mount Fee, and the backside perspective of Whistler Blackcomb.
- Backcountry cabin/dome + scenic lookouts: Built-in photo moments, not just a drive through.
- Light BBQ lunch: A simple warm meal to keep your energy up during the 3-hour window.
- $35 collision coverage per driver: Mandatory at check-in, so plan for it if you’re the driver.
Entering The Callaghan Backcountry: The Tour’s Real Magic
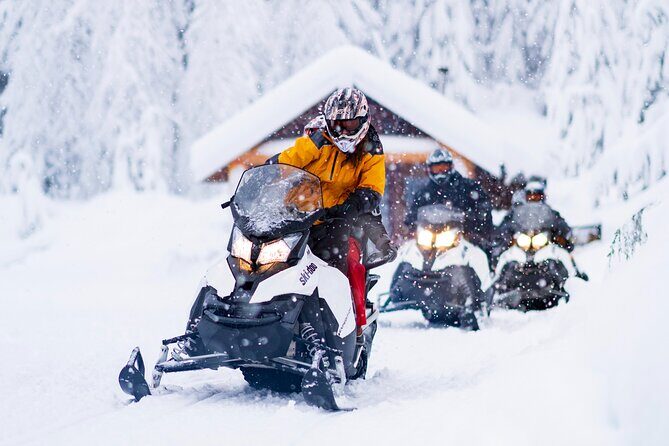
This is the kind of Whistler activity that feels like it gives you more than three hours should. You get the thrill of a snowmobile outing, but the best part is how the guide structures the experience around stops with purpose: mountain shapes, ridgelines, and vantage points that make your camera work harder than you do.
I also like that it’s not a one-size-fits-all ride. The tour is offered for all experience levels, and your guide adjusts the route and pace to match your ability. That matters, because snow conditions can change how fast you should go and how much attention you’ll want to keep on the trail.
The group size helps too. With a maximum of 15 travelers, you’re not swallowed by a crowd. You can ask questions about technique, safety, or what you’re seeing, and you’ll get answers while you’re actually out there.
You can also read our reviews of more tours and experiences in Whistler.
Meeting at Blackcomb Dogsled Base (Callaghan Base #2) and Getting Moving
Your tour starts and ends back at the same place: Blackcomb Dogsled Base – Callaghan Base #2 on Callaghan Rd. That’s convenient because you don’t have to solve a second logistics puzzle at the end of your ride.
A few practical perks make the start smoother:
- You’ll have FREE parking at the base facility.
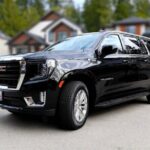
- There’s a shuttle service upon request if you want help getting there.
- You’ll get a mobile ticket, which cuts down on paper chaos.
In real terms, arriving early helps. Even if check-in is straightforward, it gives you time to get your gear sorted and take a last look at the day’s weather without feeling rushed.
Winter Gear Included When Conditions Call for It
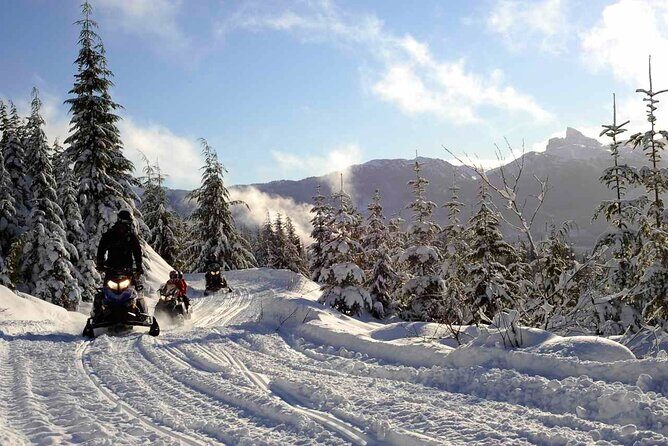
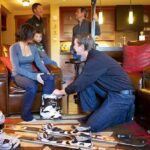
Whistler winters can be wet, cold, windy, or all three. That’s why I’m glad this tour includes winter gear if needed. Depending on conditions, you can be provided snow pants, jackets, boots, gloves, helmets, and goggles.
This part is more valuable than it sounds. Good gear doesn’t just keep you warm. It also helps you stay focused on the ride. If your hands are cold or your face is unprotected, you’ll spend the trip thinking about your comfort instead of the trail and the views.
If you don’t have the right stuff with you, the tour team is set up to help. One traveler specifically noted that if they didn’t have the adequate equipment, they were able to get what they needed.
The Itinerary Stops: Black Tusk, Mount Fee, and Whistler Blackcomb From Brandywine Mountain
The ride is built around viewpoints, and you’ll feel it in how often you slow down for photos. Here’s what you can expect from the major stops.
Black Tusk: The Dark, Jagged Peak Moment
Black Tusk is the dramatic one. From the viewpoint, you’ll see a towering, jagged silhouette, with dark, almost black volcanic rock that contrasts sharply with the surrounding winter scene. People often describe the top as a rugged spire, and that silhouette is exactly what makes it so photogenic.
Practical tip: when you stop here, take your time. The shape is the story, so don’t just grab one quick shot. Look for the angle where the peak’s dark rock reads clearly against the brighter snow.
Possible drawback: because it’s a photography stop, you’ll want to stay aware of where everyone is parking their snowmobile and where the group is moving. Guides typically keep things organized, but you’ll still be sharing space.

Mount Fee: Snow-Capped Drama From the Callaghan Valley
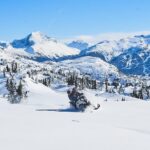
When you look at Mount Fee from the Callaghan Valley, you get a strong, high-contrast view of a jagged, rugged peak. Mount Fee is part of the Coast Mountain range in British Columbia, and it often looks snow-capped even when other areas might not.
What I like about this stop is the variety it adds. Black Tusk gives you volcanic-dark intensity, while Mount Fee reads more crisp and bright, especially when the peak looks dusted or snow-covered.
Practical tip: if it’s misty or low visibility, this is still worth the stop. The guides are bringing you to places that work visually in different light, not just when the sky is perfect.
Brandywine Mountain: A Backside Perspective of Whistler Blackcomb
Most Whistler views are frontal and postcard-friendly. This stop gives you a different angle: viewing the backside of Whistler Blackcomb from Brandywine Mountain.
Brandywine Mountain sits south of the Whistler Blackcomb resort area, and it offers a perspective that highlights a more rugged side of the ski terrain. It’s a nice change if you’ve spent your time around the main resort viewpoints.
Possible drawback: backside views can look less dramatic in photos if you’re expecting a single iconic peak. The payoff here is in seeing how the terrain is laid out and how the mountain mass fills the frame from the side.
Backcountry Cabin/Dome and Photo Lookouts: Where the Trip Slows Down
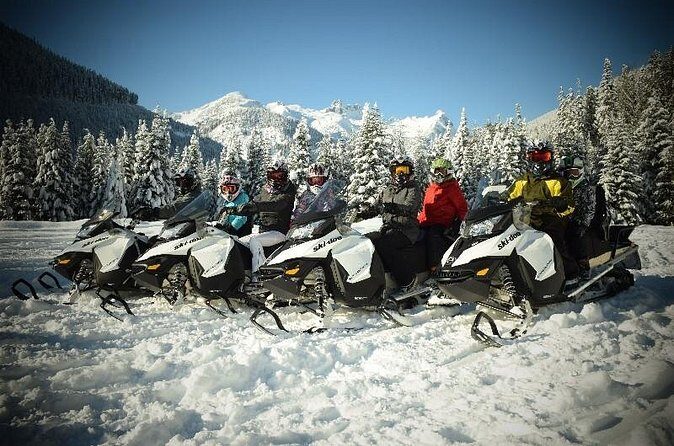
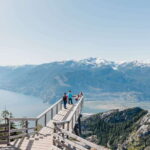
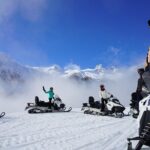
You’ll also stop at a backcountry cabin/dome and scenic lookouts for photos. These breaks matter because they give you a breather from riding and a chance to regroup as a group.
This is also where the tour feels more social and more relaxed. You’re not just riding from point to point. You’re stopping in places that give you a reason to look around, take photos, and ask questions of your guide.
One traveler mentioned the tour includes hot cider and cookies. That’s not listed in the core inclusions as written, but it matches the kind of small warmth-and-snack moment that makes a cold ride feel more welcoming. If they’re offering it on your day, take it and enjoy it slowly.
Light BBQ Lunch: Simple Fuel for an Active 3 Hours
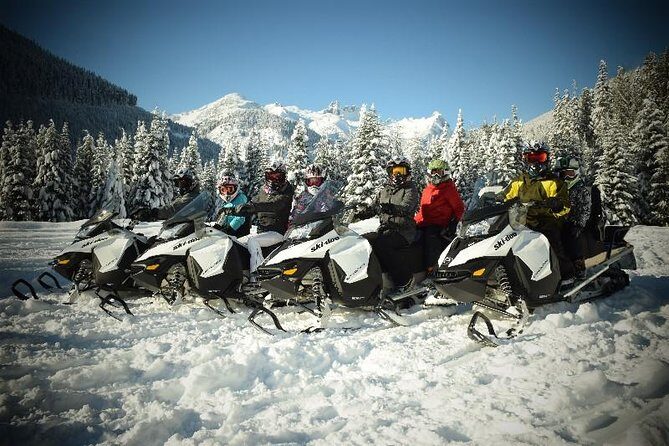
You’ll get a light BBQ lunch during the tour. In a winter adventure, that kind of meal is a big deal. It keeps your energy steady so you’re not hungry and cold halfway through the ride.
I like that it’s described as light. That signals you won’t feel weighed down, and you won’t have to time your hunger perfectly around the meal. For a 3-hour outing, it’s the right balance.
If you’re someone who gets cold easily, a warm lunch can also help your body recover between stops and maintain your comfort for the last stretch.
Safety, Drivers, and the Mandatory $35 Collision Coverage
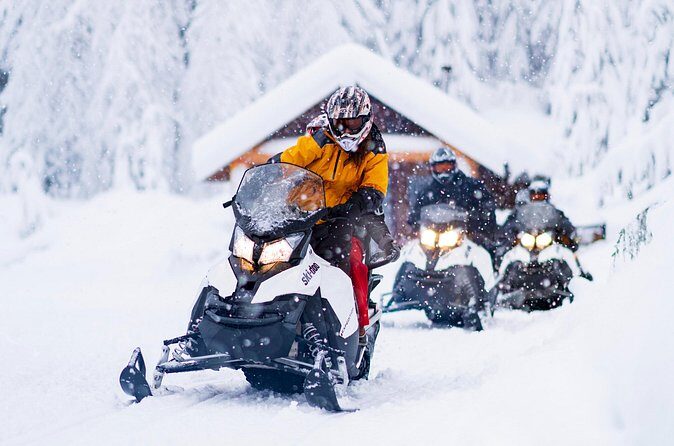
This tour is guided and built for real snowmobile conditions, not just a quick thrill ride. People have called it safe and professional, and I’d take that seriously given how busy and exposed winter roads can feel in the moment.
Here are the rules you should plan for:
- All drivers must be at least 19 years old and have a drivers license.
- A release of liability waiver is required prior to departure.
- $35 collision coverage per driver is mandatory, payable at check-in time.
That last point is the one people can miss when budgeting. The base price is $239.58 per person, but your total for a driving participant will usually be higher once that collision coverage is added.
Also note: this isn’t listed as recommended for pregnant women, and you should aim for moderate physical fitness. If you’re unsure how you’ll handle cold, time outdoors, and mounting or dismounting, consider that before booking.
Price and Value: Is $239.58 Worth It?
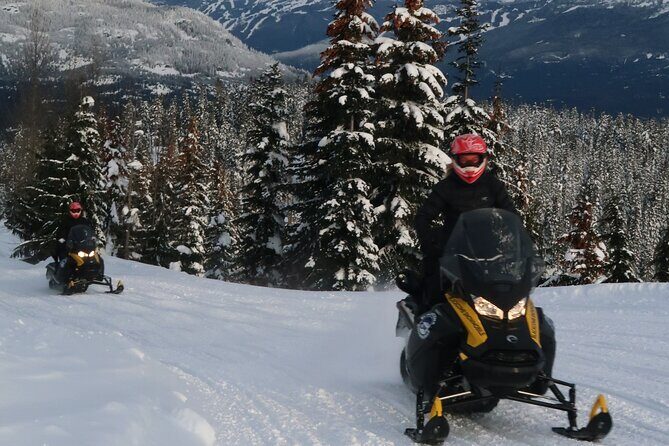
At $239.58 per person for an approximately 3-hour tour, the value comes from what you’re getting bundled into the time. You’re paying for:
- a professional local guide,
- winter gear when needed,
- a light BBQ lunch,
- photo stops at multiple scenic locations,
- and transportation support through free parking and shuttle service upon request.
A good way to think about it: you’re not just buying a ride. You’re buying guidance to the right viewpoints, plus safety support, plus warmth and food so you’re not building your own half-day plan.
Then consider the extras that affect your final cost:
- GST 5% tax applies.
- If you’re the driver, the $35 collision coverage at check-in is required.
Even with that, the experience still stacks up because it’s compact and structured. You spend your time riding and looking at peaks, not figuring out how to get there, where to park, and what to do once you arrive.
Who This Whistler Snowmobile Tour Fits Best

I think this tour fits best if you want a well-guided winter experience with strong scenery and minimal hassle. It’s also a smart pick if you want your guide to tailor the ride to your comfort level, since it’s offered for all experience levels.
It’s especially appealing if you:
- want mountain-focused photo stops (Black Tusk, Mount Fee, and Brandywine Mountain’s backside view),
- like the idea of winter gear handled for you,
- prefer a small group pace where you can ask questions,
- and appreciate a warm meal during cold outdoor time.
It may not be the best match if you:
- don’t have moderate fitness for winter outdoor activity,
- are pregnant (it’s not recommended),
- or you’re expecting a purely relaxed sightseeing walk. This is a ride, and the time outdoors is active.
Should You Book This 3-Hour Wilderness Adventure Tour in Whistler?
If you want a short, guided winter adventure that mixes snowmobiling with real viewpoint time, I’d say yes. The combination of small-group attention, included winter gear if required, and planned scenic stops is exactly what makes this kind of tour work.
Book it if you’re excited by dramatic peaks and want someone local to bring you to the good angles without you having to plan every turn. Skip it if winter riding sounds like too much physical effort for your comfort level, or if you fall into the not-recommended category.
If you do book, do yourself a favor: plan for the mandatory collision coverage if you’re driving, dress for cold even with gear provided, and show up with an easy schedule. This tour is at its best when you can focus on the ride and the mountains instead of rushing.
FAQ
How long is the 3-Hour Wilderness Adventure Tour in Whistler?
The tour runs for about 3 hours.
What is the group size limit for this tour?
The tour has a maximum of 15 travelers.
What’s included with the tour price of $239.58 per person?
Included are a professional local guide, a light BBQ lunch, winter gear if needed, fuel surcharge, and photo stops at a backcountry cabin/dome and scenic lookouts. There is also free parking at the base facility, and shuttle service is available upon request.
Is winter gear provided?
Yes. Winter gear is included if needed, which may include snow pants, jackets, boots, gloves, helmets, and goggles.
Can I book a ride if I don’t have my own equipment?
The tour includes winter gear when needed, and the team helps ensure you’re equipped for the conditions.
What do I need to know about driving requirements and collision coverage?
All drivers must be at least 19 years old and have a drivers license. Collision coverage of $35 per driver is mandatory and is paid at check-in time.
What happens if the tour is canceled due to weather or if I cancel late?
If the tour is canceled due to poor weather, you’ll be offered a different date or a full refund. You can cancel up to 24 hours in advance for a full refund; within 24 hours, the amount you paid will not be refunded.