REVIEW · VANCOUVER
Vancouver E-Bike Rentals – Premium Seawall Bike Path Location
Book on Viator →Operated by Alien Adventures · Bookable on Viator
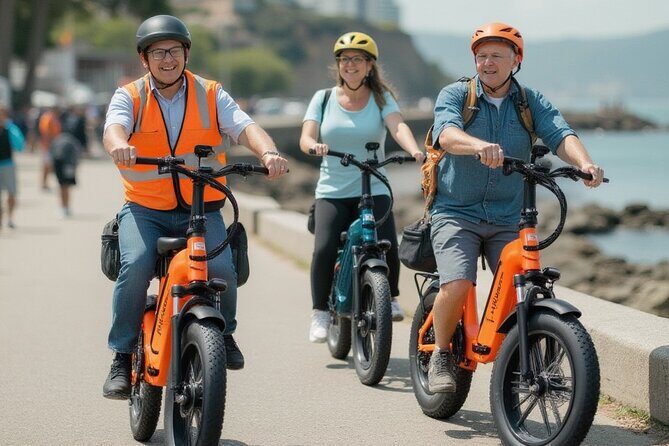
Seawall views on an e-bike are hard to beat. This 3-hour, self-guided ride from Plaza of Nations on the bike path keeps things simple and safe, with included bike locks and safety gear plus a self-guided map so you can hit the highlights like English Bay, Stanley Park’s totem poles, and the A-Maze-ing Laughter statues. One heads-up: e-bikes are heavier than normal bikes, so the first few minutes can feel a bit like getting used to a bigger, more powerful steering wheel.
What makes it especially fun is the mix of giant-city sights and laid-back coastal air. You’ll pedal with support along the Seawall, glide past Olympic Village and Granville Island, and stop whenever the views (or your snack schedule) call the shots. The route is designed for riders over 14 with a moderate fitness level, and the good news is you can practice before you roll so you feel in control.
In This Review
- Key things I’d plan around (before you go)
- Where to Start: Plaza of Nations on the AAA Bike Lane
- Picking the Right Pace: Trying the E-Bike Before You Commit
- What’s Included (and what you actually get from it)
- The Seawall Infinity Loop: Your 3-Hour Sightseeing Plan
- Zone 1: English Bay vibes and early waterfront views
- Zone 2: Lions Gate Bridge viewpoints and the long-water feel
- Zone 3: Granville Island and Olympic Village stops for coffee and browsing
- Zone 4: Stanley Park’s totem poles and the iconic photo stops
- Zone 5: A-Maze-ing Laughter statues and a whimsical closer
- How to finish without stress
- Keeping From Getting Lost: Using the Map Like a Local
- Riding Smarter: Safety and Real-World Comfort
- Price and Value: Is $63.84 for 3 Hours Fair?
- Who This Ride Suits Best
- Quick Practical Tips to Make Your Ride Go Smooth
- Should You Book This Seawall E-Bike Ride?
- FAQ
- How long is the e-bike experience?
- Is this tour guided or self-guided?
- Where do I meet for pickup?
- What’s included with the rental?
- What age and fitness level do I need?
- Do I need good weather?
- When should I book?
- Can I cancel for a refund?
Key things I’d plan around (before you go)
- Prime Seawall start point at Plaza of Nations: easy to find, right on the bike lane.
- Safety gear + bike locks included: you can focus on sightseeing, not “will we be safe?”
- Self-guided map that keeps you on track: less stress, more stops for photos and coffee.
- Seawall Infinity Loop highlights in one smooth circuit: English Bay, Lions Gate Bridge views, Stanley Park sights.
- Practice area for first-time comfort: helpful because e-bikes can feel weighty at first.
- Staff advice to tune your route: especially useful if you want the best pace for your day.
Where to Start: Plaza of Nations on the AAA Bike Lane
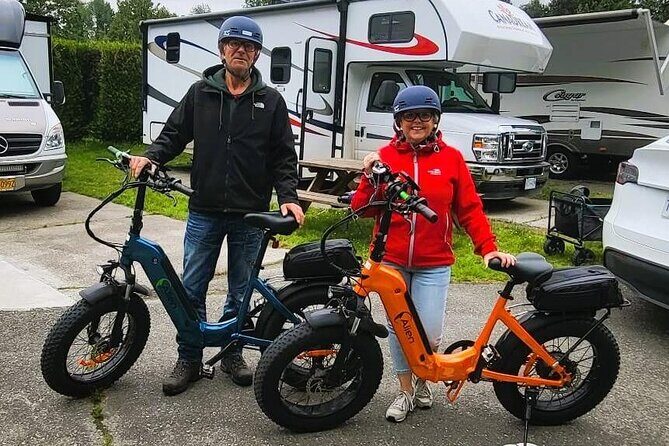
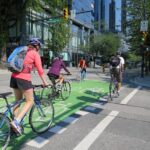
Your ride begins and ends at E-Bike Rentals Vancouver Powered by Alien at 750 Pacific Blvd, right at the Plaza of Nations. The big advantage here is location. Your shop sits on the bike path next to the Plaza Aqua Ferry Terminal, and you’re right on the AAA Bike Lane, so you’re not doing awkward “cross the street while holding a big heavy bike” moments.
This matters because the Seawall is one of Vancouver’s most bike-friendly corridors, but you still want a clean start. Starting directly on the path helps you settle in fast. You’ll also get the classic waterfront combo early: sea air, wide views, and that instant sense that you’re seeing the city the practical way.
You can also read our reviews of more cycling tours in Vancouver


Picking the Right Pace: Trying the E-Bike Before You Commit
E-bikes are popular for a reason, but they aren’t identical to regular bikes. One downside to keep in mind is that they can feel heavier and different to handle at first. It’s not scary, just noticeable.
The good part: there’s a large practice area at the shop so you can test the bike before you set off. I’d treat that time like your warm-up. Check your comfort with:
- starting and stopping smoothly,
- steering at low speed,
- how the assist feels when you pedal.
That small prep makes the whole 3-hour loop feel easier, especially if you’re not used to riding with extra weight. You only need moderate fitness, but you do need some basic balance and comfort on a bike.
What’s Included (and what you actually get from it)

This is a self-guided experience, which means you’re steering your own stops. The included stuff is what keeps it from feeling chaotic.
Here’s what you can count on:
- Safety gear included, plus bike locks so you can take breaks without fuss.
- A self-guided tour map designed to help you avoid getting lost.
- Staff guidance before you go. They’ll happily point you toward spots worth your time, and that’s handy because “worth it” changes depending on your interests (photos vs. snacks vs. a longer linger by the water).
You’ll also get a mobile ticket. That’s a small detail, but it’s one less thing to worry about while you’re outside enjoying the city.
One more practical note: the route is set up for riders over 14, so plan accordingly if you’re traveling with teens.
The Seawall Infinity Loop: Your 3-Hour Sightseeing Plan
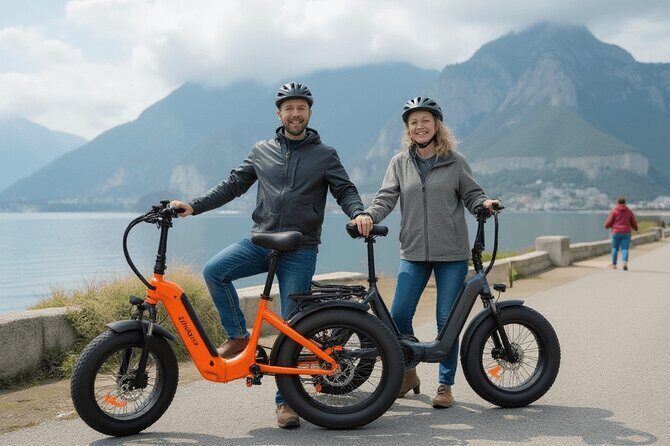
The ride is about 3 hours (approx.), and the overall theme is simple: follow the waterfront rhythm, take breaks where the view is best, and use your map to keep the loop logic straight.
You’ll want to think of the Seawall Infinity Loop as a set of “view zones,” not a strict checklist. If you’re the type who likes to stop often, you’ll still fit it in. If you prefer a faster cruise, you can keep moving and still catch the major sights.
Zone 1: English Bay vibes and early waterfront views
After pickup at Plaza of Nations, you’ll start moving along the Seawall with big-sky coastal scenery. Expect classic English Bay energy—open water views and photogenic angles that don’t require hiking or luck.
If you like skyline photos, this is where you’ll get them without the effort. The Seawall also gives you a “moving panorama,” which is perfect for getting comfortable on the e-bike while you ease into your pace.
A few more Vancouver tours and experiences worth a look

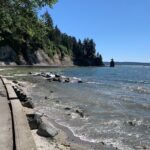



Zone 2: Lions Gate Bridge viewpoints and the long-water feel
As you continue, you’ll find those iconic bridge sightlines that Vancouver is famous for. You won’t just see the bridge—you’ll see it from the kind of angles you miss when you’re stuck in a car window.
This stretch is great when you want a breather. Take a minute to scan for benches or spots to pause without blocking traffic. The whole point of the e-bike is that you can ride longer, then enjoy the scenery like a normal person instead of rushing.
Zone 3: Granville Island and Olympic Village stops for coffee and browsing
The route also runs through city highlights like Granville Island and Olympic Village. This is where the trip becomes more than scenery. You’ll have chances to hop into the “things to see” side of Vancouver—cafes, casual bites, and shopping along the way.
Granville Island is especially good for a short stop if you want a quick snack and a walk-about between bike moments. Olympic Village brings a different look and feel, and it helps break up the long waterfront stretch so you don’t feel like you’re on rails for the entire ride.
Zone 4: Stanley Park’s totem poles and the iconic photo stops
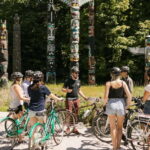
Then it’s time for the Stanley Park highlights. You’ll work your way toward Stanley Park’s totem poles, a must-see Vancouver marker that pairs perfectly with a bike route because you can get around without fighting hills or long distances.
Stanley Park also delivers that classic “we’re out in nature, but we’re still in the city” feeling. Use this part of the ride for slower pauses and photos. You’ll want a little extra time here because it’s one of those spots where the scenery is the point, not just the background.
Zone 5: A-Maze-ing Laughter statues and a whimsical closer
Near the end of the loop area, you’ll pass by the A-Maze-ing Laughter statues—surreal, playful, and very Vancouver. It’s a good change of pace from the more formal-looking landmarks.
Some riders also mention small surprises like a heated pool sighting and geese that may act like they own the Seawall. That’s not something you should plan around, but it’s a reminder that this route can feel light and quirky in the best way.
How to finish without stress
The experience ends back at the meeting point. Since it’s self-guided, your biggest job is timing your breaks so you’re not rushing back at the end. A simple trick: when you stop for something, ask yourself if you can finish in 15–20 minutes. That keeps the loop from sliding into a sprint.
Keeping From Getting Lost: Using the Map Like a Local
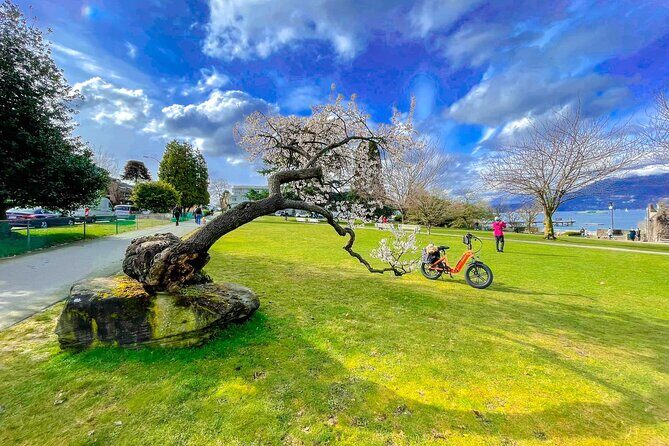
You won’t be “guided” turn-by-turn by a person in a group, but the included self-guided map is meant to keep you on track. I like this style because it respects how people actually move when they’re sightseeing: slow when something grabs your attention, quicker when you’re just passing through.
Here’s how I’d use the map:
- Do a quick scan before you start so you know the big zones.
- Treat smaller stops as optional. The main loop is what matters.
- When you take breaks, make sure you’re returning to the route logic, not wandering too far.
The other helpful element is staff advice before you roll. If you’re unsure about what to prioritize—bridge views vs. Stanley Park sights vs. Granville Island browsing—that conversation can save time.
Riding Smarter: Safety and Real-World Comfort
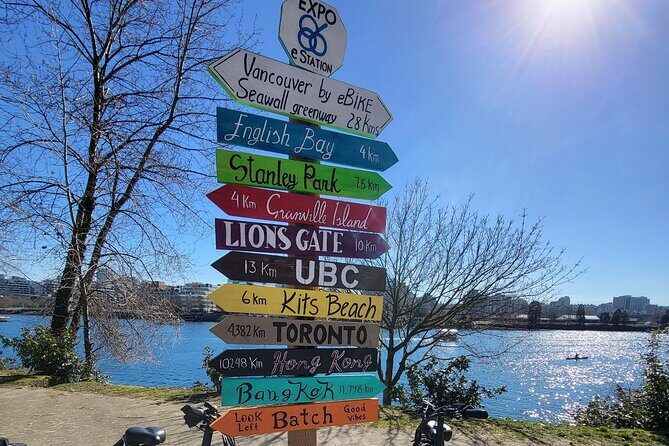
The highlights promise not to worry about safety, and there’s good reason: you get safety gear and bike locks, plus the shop is set up right where you want to be—on the bike path. That reduces the chaotic parts of riding in an unfamiliar city.
Still, keep your own comfort front and center:
- E-bikes are heavier; start slow the first time you mount it.
- Give yourself extra space when stopping or starting, especially near busy areas.
- Use the included gear. It’s there because this is a fun ride, not a test of bravery.
Also, since the experience requires good weather, you’ll want to check conditions before heading out. If it’s rainy or unpleasant, your ride quality drops fast.
Price and Value: Is $63.84 for 3 Hours Fair?
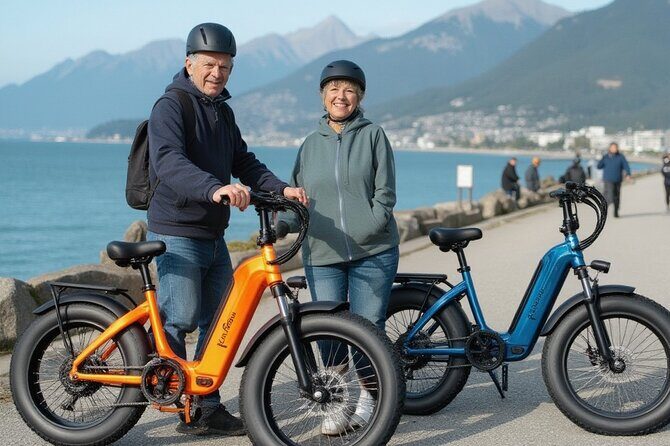
At $63.84 per person for about 3 hours, you’re paying for more than “a bike.” You’re paying for:
- an easy, premium starting location on the Seawall bike path,
- the included map that keeps a self-guided route from becoming guessing,
- safety gear and bike locks,
- and the e-bike assist that lets you cover more waterfront without burning yourself out.
This is the kind of value that shows up in your schedule. Instead of spending half your day on transport or parking stress, you get a long ribbon of sightseeing that fits a single afternoon.
One practical budgeting tip: if you plan to stop for coffee or snacks, build that into your day. The ride is easy to enjoy slowly, and those breaks are part of the charm.
Who This Ride Suits Best
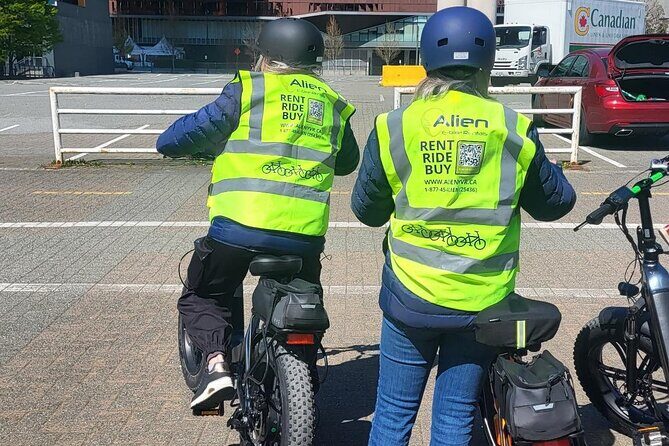
This e-bike loop is a strong match if you want:
- waterfront scenery without walking long stretches,
- an easy way to reach major Vancouver highlights in one go,
- a self-guided plan with enough structure to keep you confident.
It’s also a good choice if you’re traveling with teens (since it’s for ages 14+) who like being out and moving, but you still want comfort and support built into the trip.
If you prefer a fully guided tour with strict pacing, you might find a self-guided format gives you too much freedom. But if you like controlling your own stops, this works well.
Quick Practical Tips to Make Your Ride Go Smooth
- Use your practice time. Feel the braking and turning before you leave the shop area.
- Plan for photos. The Seawall and Stanley Park parts are naturally camera-friendly.
- If you want the best balance of sightseeing and snacks, save a chunk of time for Granville Island.
- Bring layers. Coastal weather can change fast, even when the day looks good.
Also, this is something people plan ahead for. On average it gets booked about 29 days in advance, so if you’re visiting in peak season, booking earlier helps.
Should You Book This Seawall E-Bike Ride?
I’d book it if you want a low-stress way to see Vancouver’s waterfront highlights in one afternoon. The combination of a Seawall path start at Plaza of Nations, included safety gear and bike locks, and a self-guided map makes it feel guided without forcing group pacing. Add in the iconic stops—Stanley Park totem poles and the A-Maze-ing Laughter statues—and you get a route that’s both scenic and fun.
I’d think twice only if you know you hate handling heavier bikes, or if the weather looks shaky. The ride depends on decent conditions, and e-bikes do take a moment to feel natural.
If you want a practical, scenery-first Vancouver day that doesn’t require a car, this is a solid pick with good value for the time you’ll spend on the Seawall.
FAQ
How long is the e-bike experience?
It’s about 3 hours (approx.), and it ends back at the starting point.
Is this tour guided or self-guided?
It’s a self-guided experience. You’ll have an included self-guided tour map to help you stay on route.
Where do I meet for pickup?
You meet at the E-Bike Rentals Vancouver Powered by Alien location at 750 Pacific Blvd, Vancouver, BC, at the Plaza of Nations bike path area next to the Plaza Aqua Ferry Terminal.
What’s included with the rental?
You receive bike locks and safety gear, plus a self-guided tour map.
What age and fitness level do I need?
The route is for riders over 14, and travelers should have a moderate physical fitness level.
Do I need good weather?
Yes. The experience requires good weather. If it’s canceled due to poor weather, you’ll be offered a different date or a full refund.
When should I book?
On average, it’s booked about 29 days in advance, so earlier booking is smart if you have specific dates.
Can I cancel for a refund?
Yes. Cancellation is free up to 24 hours in advance for a full refund. If you cancel less than 24 hours before the start time, the amount paid won’t be refunded.