REVIEW · VANCOUVER
Photography & Sightseeing in Whistler & Squamish
Book on Viator →Operated by Nature PhotoHikes · Bookable on Viator
Golden views start on the drive.
This day packs the Sea to Sky Highway scenery into a smooth, photo-friendly plan: waterfall stops, an easy trail, and a Whistler window for lunch and a quick look around, all led by a professional photographer guide.
I really like two things about it. I love the photography focus—you’re not just sightseeing, you’re guided to better angles and smarter spots. I also love the small group size (max 7), which makes it easier to move together and get your bearings fast. The one potential drawback is that the tour calls for a strong physical fitness level, so even with easy walking, it’s not a sit-and-stare day.
In This Review
- Key highlights worth your attention
- A Sea to Sky drive that actually feels like part of the hike
- Stop 1: Sea to Sky Highway photo moments (2 hours, no entry fees)
- Stop 2: Shannon Falls Provincial Park—short stop, big reward (20 minutes)
- Stop 3: Brandywine Falls Provincial Park—scenery that supports your waterfall photos (30 minutes)
- Stop 4: The Whistler Train Wreck Trail—easy walking, strong photo payoff (45 minutes)
- Stop 5: Whistler for lunch and a quick tour (1 hour)
- Why the photographer guide changes the whole experience
- Transportation, group size, and the feel of the day
- Price and value: what $151.36 buys you in real terms
- Weather and physical readiness: the two realities to plan around
- Who this tour fits best (and who it might not)
- Should you book this photo hike day?
- FAQ
- How long is the Whistler and Squamish photography and sightseeing tour?
- What is included in the price?
- Is lunch or food included?
- What are the main stops on the itinerary?
- Do I need to pay for admission at the stops?
- How many people are in the group?
- When does the tour start, and where does it end?
- What happens if the weather is bad or I need to cancel?
Key highlights worth your attention
- A professional photographer guide who gives practical shooting tips, not just commentary
- Small group (max 7) for a calmer pace and better photo positioning
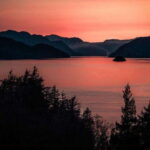
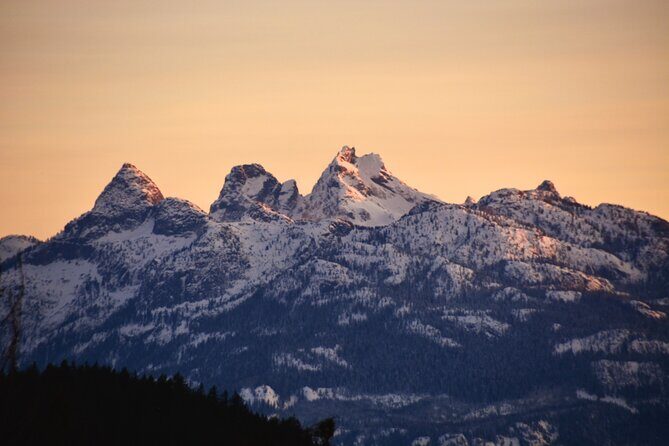
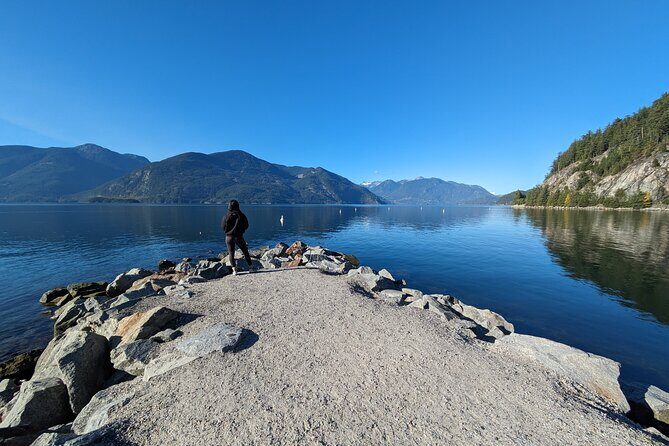
- Sea to Sky Highway views of ocean, mountains, and rocky forest in one long scenic stretch
- Two waterfall hits in quick succession: Shannon Falls and Brandywine Falls
- Easy Train Wreck Trail with a classic photo-worthy destination
- Whistler time for lunch and a quick tour so the day feels complete, not rushed
A Sea to Sky drive that actually feels like part of the hike
I’ve seen enough tours where the best views get treated like a quick photo stop. This one treats the drive as the intro to the day—like warming up your eyes before you ever step out.
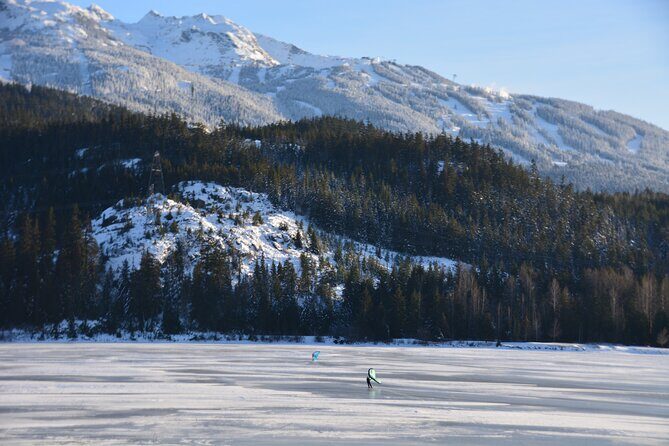
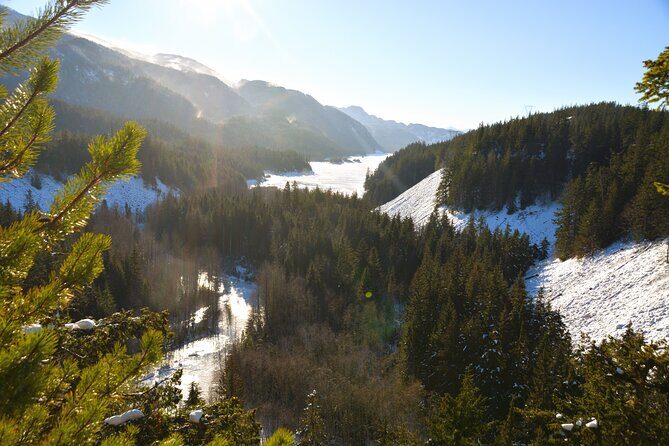
You’ll roll along the Sea to Sky Highway with big, layered scenery: ocean glimpses, mountain drama, and that rocky forest look that’s so Northern British Columbia. The payoff is simple. By the time you hit the first trail areas, you already know what kind of light and framing the guide will be looking for. That matters for photos, but it also matters for your brain. You’re not just chasing stops—you’re learning how to see this region efficiently.
Also, you start at 9:00 am and run about 8 hours total. That timing is useful. Morning light tends to be softer, and you’re usually not dealing with peak-time stress in Whistler. Add pickup (downtown hotel or rental location in Vancouver, or at the Hyatt Hotel), and the day feels organized from the first moment.
You can also read our reviews of more photography tours in Vancouver
Stop 1: Sea to Sky Highway photo moments (2 hours, no entry fees)
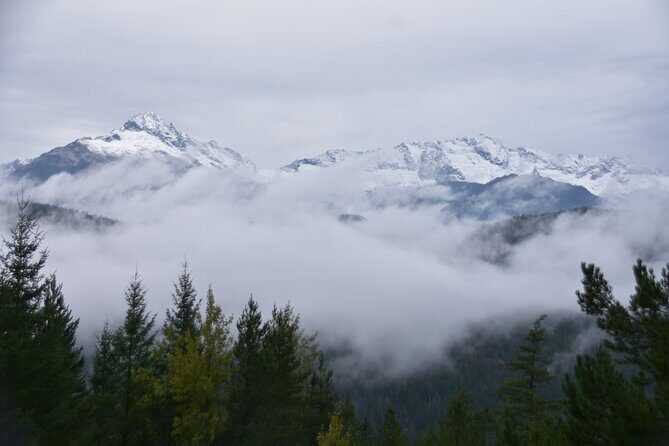
The first stretch is where the tour earns its name. The Sea to Sky Highway isn’t one single sight; it’s a sequence of view points. You’ll keep passing ocean-and-mountain scenes, with enough time to actually notice the details instead of sprinting out of the vehicle.
What makes this section valuable is the pacing. Two hours gives the guide room to pause when a view improves—especially when the light shifts or when there’s a better angle for a photo. This is where a photographer guide earns their keep. It’s not about fancy gear. It’s about teaching you how to frame what you’re already seeing from the road.
A practical tip for you: wear layers and keep your camera ready. Even when you think the view will be the same around the next curve, it often changes—cloud cover, angle, and foreground all shift quickly here.
Stop 2: Shannon Falls Provincial Park—short stop, big reward (20 minutes)
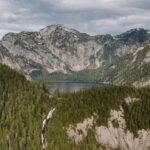
Next up are waterfalls, and Shannon Falls is the first knockout. It’s described as the 3rd largest falls in BC, and that size shows up in photos immediately. You don’t need a long walk to get a satisfying view, which makes this a great stop if you want maximum visual impact without a major physical commitment.
The stop is only about 20 minutes. That’s intentional. It keeps the day moving, and it prevents waterfall fatigue. In other words, you’ll still be excited when you reach the next falls—because you didn’t spend an hour standing in one spot trying to recreate the same shot.
For photos, the main thing is choosing your angle. If you’re shooting waterfalls, the difference between a snapshot and a keeper is usually foreground and perspective: how much of the surrounding scene you include, and whether you place the falls as the main subject or part of a larger view. The guide’s tips here can save you time, because you’ll know where to stand rather than wandering.
Stop 3: Brandywine Falls Provincial Park—scenery that supports your waterfall photos (30 minutes)
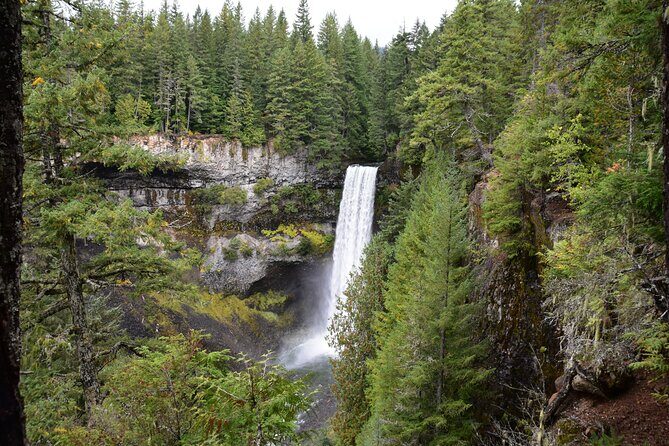
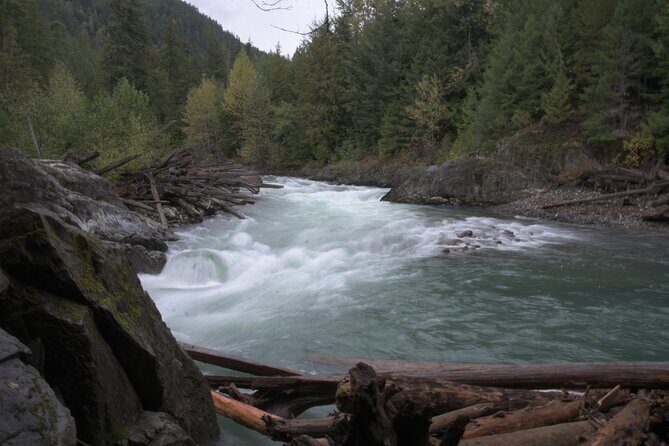
Brandywine Falls follows, and the key detail is what makes it more than just another waterfall: you get great scenery around it. The tour gives you about 30 minutes here—long enough to try more than one viewpoint.
This is also where you can start mixing photo styles. One shot can be straightforward and dramatic: falls as the star. Another can be more environmental, using the surrounding rock and vegetation to tell a fuller story about the place. The photographer guide’s role becomes clearer at this point, because you’ll likely get direction on how to adjust your framing as you move.
If you’re traveling with friends or family, this stop tends to work well. Everyone gets their waterfall moment, but people can still choose different priorities—some want the easy wide angle, others want closer compositions.
Stop 4: The Whistler Train Wreck Trail—easy walking, strong photo payoff (45 minutes)
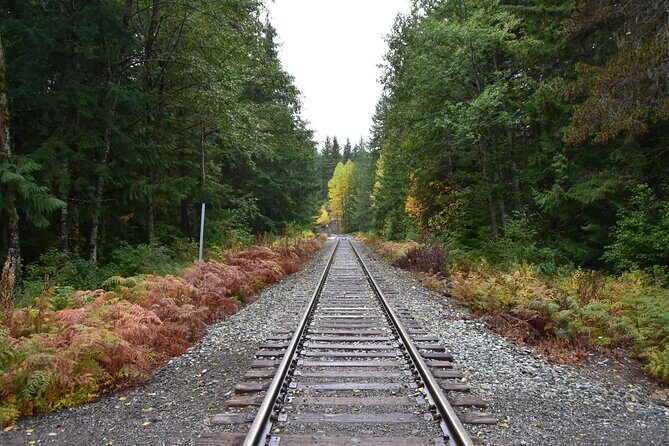
Now for the fun part: the Whistler Train Wreck Trail. It’s described as an easy trail, and the time block is about 45 minutes—enough to get comfortable without turning the day into a long hike.
The name sounds dramatic (and it is memorable), but the value here is practical: you get a specific destination tied to the area’s character, and you’re outdoors long enough to come away with different types of photos than you did at the falls. Waterfalls are all vertical energy. The trail gives you more natural lines and depth—great for wider frames and for composing shots that feel more “you were there” than “I saw this from the roadside.”
Because the trail is easy, it pairs well with the requirement of strong physical fitness. That requirement likely relates to doing multiple outdoor segments in one day and being able to handle walking between viewpoints. In plain terms: if you can handle day hiking pace in cool outdoor air, you’ll be fine. If you’re expecting a super casual shuffle, you may feel it by the end.

Stop 5: Whistler for lunch and a quick tour (1 hour)
After the nature focus, you get a breather: about an hour in Whistler for lunch and a quick tour. This is the part that helps the day feel balanced. You’re not just passing through; you get time to refuel, browse, and reset before you head back.
One important detail for planning: food and drinks are not included. You’ll want to bring cash or a card and decide how you want to handle lunch. If you’re serious about photos, you may also want to keep your phone or camera charged for any brief street scenes or viewpoints you spot in town.
Whistler time can go fast, so I suggest using the hour strategically:
- Eat first so you’re not rushed and distracted.
- Then walk a short loop for a couple quick shots and basic orientation.
- Don’t try to do a full day of Whistler during this window.
This stop is mainly about completing the day, not turning it into a separate vacation inside your vacation.
Why the photographer guide changes the whole experience
What really separates this tour from generic sightseeing is the professional photographer guide. The guide isn’t just there to point at things. They help you convert “I saw it” into “I got better photos.”
From the experience feedback, the guide named Nafees is specifically mentioned for being helpful, patient, and giving photography tips. That kind of teaching matters most when you don’t have time to research each location on your own. In a single day, the guide can effectively remove guesswork.
You’ll get guidance that tends to be about real-world photo choices:
- where to stand for a stronger composition,
- how to frame waterfalls and scenic pulls,
- and how to slow down just enough to capture the moment without missing the next stop.
Even if you’re not a serious photographer, this is still valuable. Better framing means you look at the scene differently, and you remember it longer. Photos become a tool for learning the region, not just a pile of images.
Transportation, group size, and the feel of the day
The tour maxes out at 7 travelers, which is a big deal. Small groups move with less noise and fewer delays. It also makes the schedule feel smoother, because you’re less likely to lose people between viewpoints.
Pickup is offered in Vancouver—downtown hotel or rental location, plus a pickup option at the Hyatt Hotel. Ending back at the meeting point keeps the day from turning into a logistical puzzle. If you’ve ever tried to stitch together Sea to Sky sightseeing on your own, you know how much easier it is to have transportation handled.
There’s also a practical time rhythm: scenic driving, short timed stops, and one longer trail segment. That rhythm helps you avoid the classic tour problem where you spend half the day waiting. You also get enough variety—highway scenery, waterfalls, trail, then town.
Price and value: what $151.36 buys you in real terms
At $151.36 per person for about 8 hours, you’re paying for three things at once: transportation, a guided small-group experience, and a photographer guide. The math is usually harder when you do it alone—because you either rent a car, pay for gas and parking, or you cobble together multiple buses and ride shares.
You also get value in the way the day is designed. Most stops have free admission ticket noted for the segments in the itinerary. That keeps the cost focused on the guide and logistics, not on entry fees.
Is it “cheap”? No. But it’s also not priced like a private chauffeur with no guidance. For the money, you’re buying time saved, route planning done for you, and photo coaching that can actually improve your results. If you care about photography even a little, the guide component makes this price easier to justify.
If you’re the kind of traveler who just wants to sit and look without walking or aiming your camera, you might decide it’s more than you need. But for people who like active sightseeing with a clear plan, it’s a strong value.
Weather and physical readiness: the two realities to plan around
This tour needs good weather. That doesn’t mean bad weather ruins everything forever, but it does mean you should choose travel dates with flexibility. If the weather doesn’t cooperate, you’ll be offered a different date or a full refund.
On the fitness side, the tour notes that you should have a strong physical fitness level. The trail portion is described as easy, yet the overall day includes multiple outdoor stops and walking. So think of it like this: it’s not a technical hike, but it is still a real outing.
If you’re unsure, be honest with yourself about how you handle a day with continuous walking, cold air, and short transitions. This is one of those tours where “I’m fine for an hour” can turn into “I’m fine…until the last stop.”
Who this tour fits best (and who it might not)
This tour is a great fit if:
- you want Sea to Sky highlights in one organized day,
- you like waterfall scenery and short trail walking,
- you care about improving your photos with real guidance,
- you enjoy small groups and a smooth pace.
It’s less ideal if:
- you’re very sensitive to weather changes,
- you need a fully sedentary day,
- you’re not interested in hiking segments at all,
- or you’re traveling with a very strict schedule for Whistler beyond lunch.
Should you book this photo hike day?
If your goal is one high-impact day—scenic drive, two waterfalls, an easy trail destination, and Whistler time—this is an easy yes. The small group size (max 7) plus the photo-focused guidance from Nafees-style coaching is the big selling point. You’ll come away with more than just views; you’ll have a better way to photograph what you’re seeing.
But if you’re traveling on fixed dates with no flexibility and weather uncertainty worries you, plan carefully. This tour leans on good conditions to deliver its best version of the day.
If that sounds like you, book it. You’ll be glad you did—especially if you want photos you’ll actually look at later.
FAQ
How long is the Whistler and Squamish photography and sightseeing tour?
It runs about 8 hours.
What is included in the price?
The tour includes a guided small-group hiking experience, a professional photographer guide, and transportation.
Is lunch or food included?
No. Food and drinks are not included, and you’ll have time for lunch during the Whistler stop.
What are the main stops on the itinerary?
You’ll visit the Sea to Sky Highway, Shannon Falls Provincial Park, Brandywine Falls Provincial Park, the Whistler Train Wreck Trail, and then Whistler.
Do I need to pay for admission at the stops?
The itinerary lists admission tickets as free for each of the included stops.
How many people are in the group?
The tour has a maximum of 7 travelers.
When does the tour start, and where does it end?
It starts at 9:00 am, begins at BurrardVancouver, BC V6C 0A4, Canada, and ends back at the same meeting point.
What happens if the weather is bad or I need to cancel?
The experience requires good weather. If it’s canceled due to poor weather, you’ll be offered a different date or a full refund. You can cancel up to 24 hours in advance for a full refund.