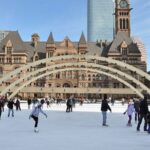
Toronto looks good on camera—if you have the right plan.
This 1-hour photowalk is built for quick wins: three iconic photo stops with a real photographer keeping things smooth from start to finish. I like that it starts near major sights and ends near Union Station, so it fits cleanly into a day of sightseeing. I also like the focus on actual photo time—each stop gets its own short window—plus the guide, Bijoy, is known for being friendly and adaptable when people have specific photo requests (including big life moments). One thing to consider: it’s outdoor photos only, and you won’t go inside the CN Tower, so don’t expect classic indoor views or included admissions.
In This Review
- Key things I’d zero in on
- Capture Toronto in One Hour: The Photowalk’s Real Value
- CN Tower Photos Outside Only: Starting Strong at 10-Minute Frames
- The Toronto Sign Stop: A Quick, Iconic Background That Photographers Know
- Gooderham (Flatiron) Building: Where the Photos Start Looking More Artistic
- Price and Value: What You’re Actually Paying For
- Where You Start and End: Nathan Phillips Square to Union Station
- What This Small-Group Route Means for Your Photos
- Practical Tips to Get More From Each Stop
- Is This the Right Fit for You?
- Should you book Capture Toronto on a Photowalk?
Key things I’d zero in on
- Small group size (up to 8) keeps attention on getting you great frames
- Outdoor-only at the CN Tower area means you’ll shoot from the outside, not inside
- Quick 10-minute stop windows are great when you want results without a long day
- Free photo stops at the Toronto sign and Gooderham Building help the value feel straightforward
- Meet near Nathan Phillips Square, end by Union Station for easy onward travel
Capture Toronto in One Hour: The Photowalk’s Real Value

If you have limited time in Toronto, this kind of shoot-style walking tour makes a lot of sense. You’re not trying to “figure it out” at three of the city’s most recognizable backdrops. Instead, you get a simple route, a photographer’s eye, and enough structure to turn a normal tourist stop into something you’ll actually want to print or share.
The duration is about 1 hour, and that brevity matters. Toronto can be big, and sight-seeing days can balloon fast. Here, you can keep momentum. You also get the benefit of having someone guide your timing—so you’re not spending half your time deciding where to stand.
It’s also a small group experience, capped at maximum 8. That tends to make a noticeable difference in how your photos come out. With fewer people, there’s less waiting around, and your photographer can adjust directions without rushing you.
The other “value angle” is that you’re getting photography included with a planned route. Even if you’re a casual camera user, having someone frame the shot, suggest poses, and choose angles usually beats solo photos where you end up with the same tired composition over and over.
You can also read our reviews of more tours and experiences in Toronto.


CN Tower Photos Outside Only: Starting Strong at 10-Minute Frames
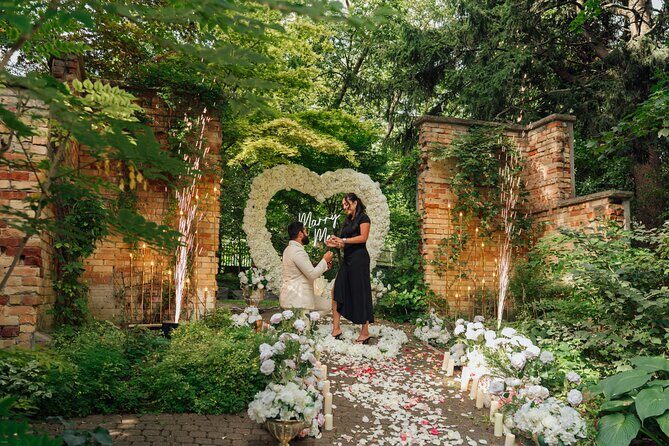
The first stop is the CN Tower area. You’ll be photographed in front of the CN Tower, and it’s explicitly an outdoor experience. That’s good news if your goal is skyline shots right away, without extra time inside.
Here’s the important practical point: admission for the CN Tower isn’t included, and you’re not going inside. So if your dream day is about going up to the observation levels, this won’t cover that. But if you just want the iconic tower presence in your photos, this stop is exactly what you’re looking for.
The stop is about 10 minutes, which is long enough to get a few different poses and angles, but short enough that the walk stays efficient. If you care about getting photos where everyone in the group looks engaged and not “just standing there,” those quick direction cues can help a lot.
You’ll also be outdoors, so come prepared for real weather. In Toronto, that can mean anything from brisk wind to sudden rain. The good part? The photos are taken at street level and in open air, so being ready with layers improves your comfort fast.
The Toronto Sign Stop: A Quick, Iconic Background That Photographers Know
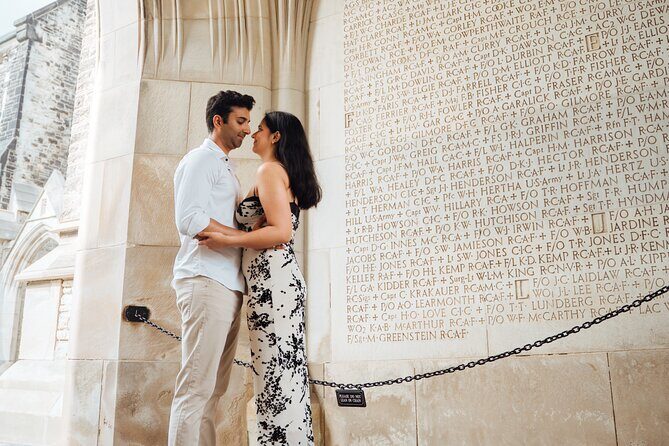
Next up is the Toronto Sign. This is a classic modern Toronto photo backdrop, and the tour handles it smartly. You get another roughly 10-minute photo window, focused on getting you framed with the sign where it looks right in a camera.
The sign stop includes a key value detail: admission ticket is free. That doesn’t mean there’s no work—good photos still require the right position, angle, and timing. But it does keep your day simpler and prevents that annoying “wait, is there an extra fee?” moment.
This is also where a photographer’s instructions pay off. The Toronto sign looks good from certain angles and less good from others, depending on height and perspective. When someone helps you pick the spot and adjust how you face the camera, your photos look more intentional and less like a quick selfie.
If you’re the type who likes clean, recognizable landmarks in your images, you’ll probably love this stop. It’s easy for photos to feel “Toronto-specific,” which is exactly why people want it.
Gooderham (Flatiron) Building: Where the Photos Start Looking More Artistic
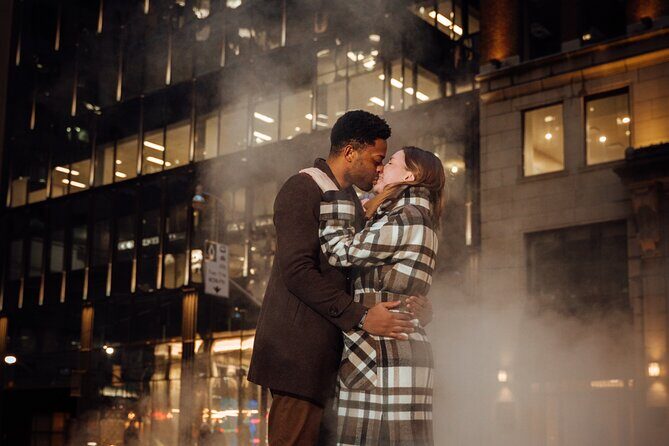
The final major backdrop is the Gooderham (Flatiron) Building. You’ll get photographed right in front of it, again with about 10 minutes of dedicated time.
This stop is also listed as admission ticket free, which adds to the value. But the bigger reason this stop matters is the look. The Flatiron shape gives you more visual variety than the CN Tower does. It’s a different kind of geometry, and photos often turn out more graphic and stylish here.
One practical bonus: with three stops and short time at each, you’re not stuck spending your whole shoot at one location. The route forces variety, and variety is what makes a photo set feel like a “day in the city” rather than three similar pictures.
So for your photo album, this usually becomes the place where you get the shots that look slightly more creative. Even if your first instinct is to pose the same way at every stop, the building’s shape can naturally lead to different body angles, different lines, and better framing options.
Price and Value: What You’re Actually Paying For
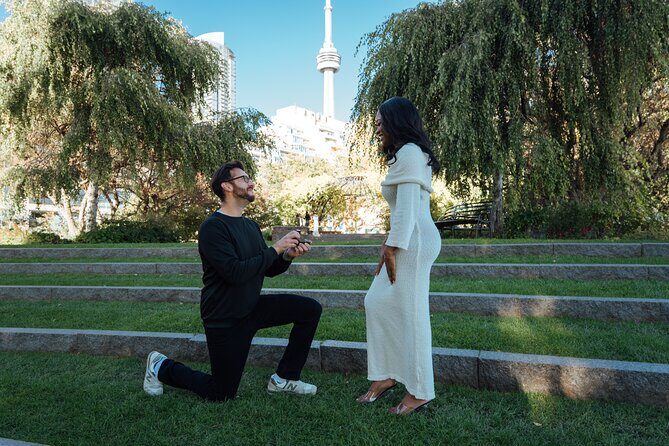
This kind of photowalk can feel like a “nice-to-have,” until you think about what you’re buying. You’re not paying just for access to landmarks. You’re paying for someone to:
- direct your stance and face the right way for the camera
- help you get a flattering angle at each stop
- keep the timeline moving so you don’t lose the day
With photography included, the value comes down to the balance between what’s free (like the Toronto sign and Gooderham stop) and what may cost extra (like the CN Tower admission not being included, plus the fact that you’re staying outdoors).
Also, the group size cap matters for value. When a shoot has too many people, quality often drops because the photographer has less time for each person. A small group supports better pacing and more individualized direction.
The photo sessions are short (ten minutes at each listed stop), so you’re not buying an all-day production. You’re buying a concentrated set of iconic Toronto frames. If that’s your goal, it’s strong value. If you want a slow, wandering, deep-photo session with lots of stops beyond the main landmarks, you might find the structure a bit tight.
Finally, the tour language is English, and confirmation happens at booking. That usually reduces friction when you arrive in the city.



Where You Start and End: Nathan Phillips Square to Union Station
You start at Nathan Phillips Square, at 100 Queen St W. That’s a convenient “big landmark” meeting point, which helps your day stay simple. If you’re arriving by transit, this kind of central location usually makes it easier to show up on time without stress.
You end near Union Station, at 55 Front St W. Ending close to Union Station is more than just convenient—it helps you keep your day flowing. You can head to your next activity without dragging your route farther across the city.
Because the tour ends near Union Station, it often pairs well with classic post-sightseeing plans: grabbing food, connecting to another neighborhood, or simply getting back on transit. If you’re trying to squeeze this into a packed itinerary, that “easy exit” is a real benefit.
What This Small-Group Route Means for Your Photos
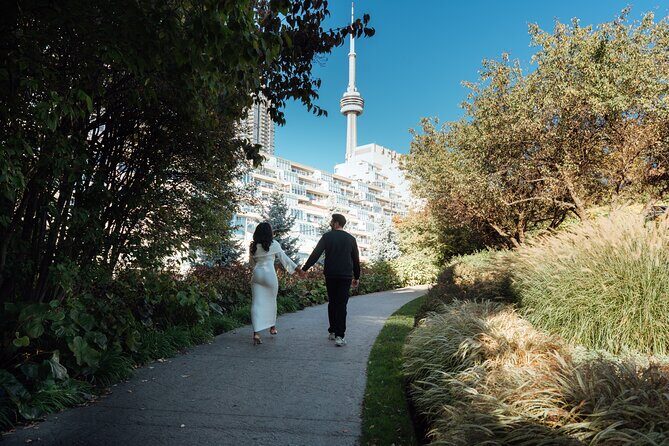
This photowalk is built around momentum. You’re doing three major stops—CN Tower area, the Toronto sign, and Gooderham (Flatiron)—with short time windows at each. That structure changes the type of photos you get.
Instead of long waits, you get action. Instead of spending your mental energy deciding where to stand, you spend it looking natural while the photographer guides the angles. That’s exactly why this works well for couples, proposals, and anyone who wants more than a basic souvenir snapshot.
In the feedback I reviewed, the guide Bijoy gets praised for being friendly and accommodating, especially when people want photos that match a specific moment. One standout theme was how he captures major personal events with care, not just generic landmark shots. That tells me the process is more attentive than a hurried “stand here, smile, next” style.
If you like having direction—where to face, how to shift your pose, when to step—this will feel comfortable. If you prefer a fully self-directed shooting adventure, you might feel the time boxes at each stop a little constraining.
Practical Tips to Get More From Each Stop
Because this is an outdoor walk with quick sessions, a little prep goes a long way. I’d plan like this:
- Wear shoes you can move in. You’ll want to reposition fast when the photographer asks for a slightly different angle.
- Bring a layer. Even if Toronto is sunny, wind around big landmarks can change how comfortable you feel in minutes.
- Plan for photos even if you don’t feel “model-ready.” The short, guided structure is designed to get you results without overthinking.
- If you have a specific request (proposal, couple shots, family photo), mention it early. The feedback on Bijoy emphasizes that he’s accommodating when people bring real intentions into the session.
You’re also allowed service animals, which is helpful information if you’re traveling with one.
And one more thing: the experience requires good weather. If it’s canceled due to poor weather, you’ll be offered another date or a full refund. So treat this like a flexible plan rather than a rigid appointment.
Is This the Right Fit for You?
I think this photowalk is a smart booking if you want iconic Toronto photos without building a complicated self-guided route. It’s especially good if:
- you only have a short window in the city
- you want recognizable landmarks handled efficiently
- you prefer small-group attention over large-tour chaos
- you want a photographer to direct you so the results look intentional
It might be less ideal if:
- you specifically want to go inside the CN Tower (this is outside only)
- you’re hoping for a long, meandering photo safari with many extra locations
- you’re traveling only on days with very unstable weather and don’t want to gamble
Given the overall rating of 3.7 from 3 reviews, I’d keep expectations grounded. The praise is real—especially around Bijoy’s friendly, high-quality results—but the review count is small. That doesn’t mean it’s bad. It just means you should decide based on your goals: quick iconic photos, guided direction, and minimal time commitment.
Should you book Capture Toronto on a Photowalk?
If your goal is classic Toronto images taken well—CN Tower presence, Toronto sign, and the Gooderham Flatiron—in about an hour, this is a strong fit. It’s also good value because two of the stops are free for admission, and photography is included.
Just go in knowing the CN Tower part is outdoor-only and that you need good weather to run. If that matches your expectations, I’d book it and spend the rest of your day exploring on your own from Union Station.