REVIEW · CALGARY
Banff: Beginner Canyoning Half-Day Tour
Book on GetYourGuide →Operated by Bow Valley Canyon Tour · Bookable on GetYourGuide
Banff canyoning is one of those rare activities that feels thrilling and instructional at the same time. This half-day Heart Creek setup is a smart first step, with progressive rappels and a huge wet waterfall rappel that brings the whole day into focus. The main catch? You’ll get cold fast if you’re not ready for wet, chilly mountain water.
I like the way this tour teaches you by doing. You start with shorter, confidence-building moves and work downstream step-by-step, so you’re not thrown into the deep end. I also love that you’re in a small group of up to 8, with gear that’s built for the cold instead of the brochure version of canyoning.
In This Review
- Key points you’ll care about
- Heart Creek Canyoning: A Calm First Step Into a Wild Sport
- Meeting at the Heart Creek Trail Parking Lot (and Timing Your Day)
- Gear Is Included for a Reason: You Don’t Want to Rent This the Hard Way
- What You Bring (and What You Absolutely Shouldn’t Wear)
- Safety Briefing: How You Learn to Rappel Without Guessing
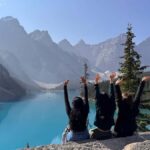
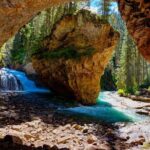
- The Hike In: Wet Feet, Big Views, and a Breathing Warm-Up
- Break Time for Reset: The Long Pause That Helps You Finish Strong
- Two Canyon Sections: Progressive Rappels That Build Real Confidence
- The Wet Waterfall Finale: The Rappel That Turns the Day Into a Story
- How Long It Really Takes (About 4–5 Hours Car to Car)
- Price and Value: What You’re Paying For at $142
- Who This Tour Is For (and When to Choose Another Option)
- Should You Book Beginner Canyoning in Banff?
- FAQ
- Where is the meeting point for the Banff beginner canyoning tour?
- How long is the tour?
- What time do tours start?
- What should I bring to the tour?
- Are sandals or open-toed shoes allowed?
- Is food and drink included?
Key points you’ll care about
- Small-group pace (max 8): less rushing, more individual attention during skills practice
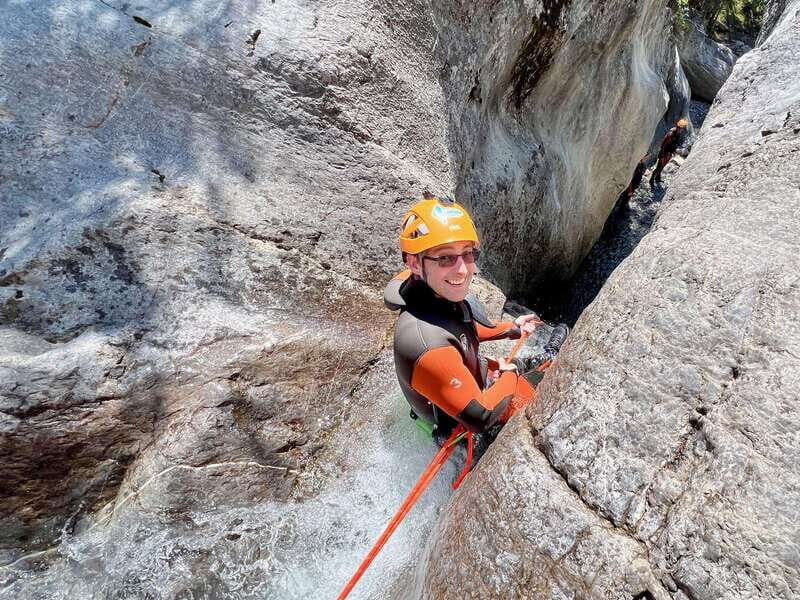
- Beginner progression: short rappels first, then bigger drops as you build confidence
- Thick wetsuit kit included: wetsuit, neoprene socks, helmet, harness, rappel device, rope gear
- Real waterfall moment: a wet waterfall rappel listed around 60–70 ft (and described as 80 ft+ in the route notes)
- Two canyon sections: your day feels like two chapters, not one long stunt
- You can change the finale plan: there’s a possible hiking route around the final waterfall
Heart Creek Canyoning: A Calm First Step Into a Wild Sport
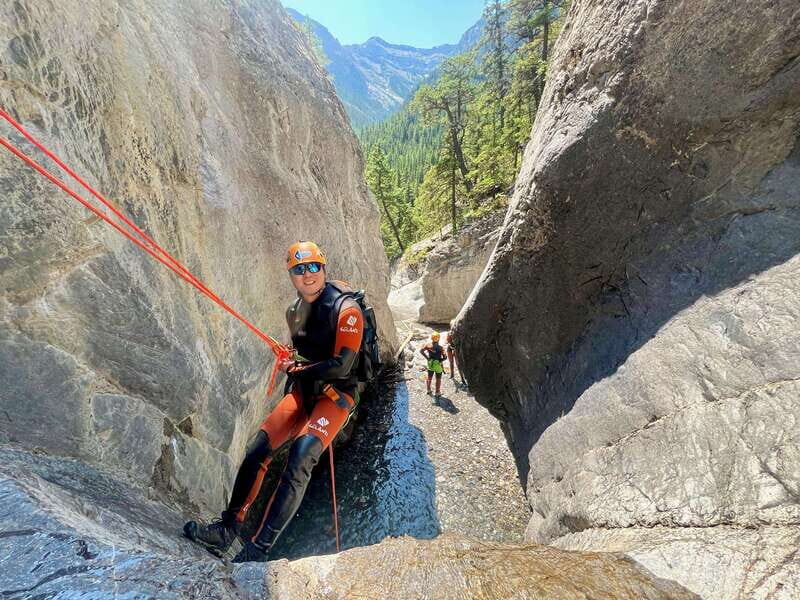
If you’ve been curious about canyoning but worried it would be all chaos, this is the version that makes sense. Heart Creek is close to Canmore and within easy reach of Banff, and the route is designed to teach you how the sport works before you’re asked to trust your gear at height.
The biggest win is the progression. You don’t just arrive and jump into a dramatic rappel. You build skills along the way—how to move on wet rock, how the harness and rappel setup feels on your body, and how to manage your nerves when the drop finally gets tall.
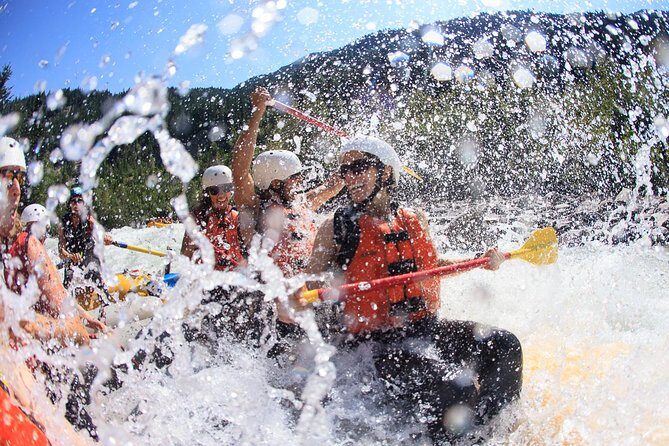
Now, the realism check: canyoning is physically demanding in a low-gravity way. Even though it’s only a half day (about 5 hours car-to-car), you’ll hike, wear heavy wet gear, and stay alert on slick footing. And yes, you’ll likely feel cold, even with the thick suits.
You can also read our reviews of more tours and experiences in Calgary.



Meeting at the Heart Creek Trail Parking Lot (and Timing Your Day)
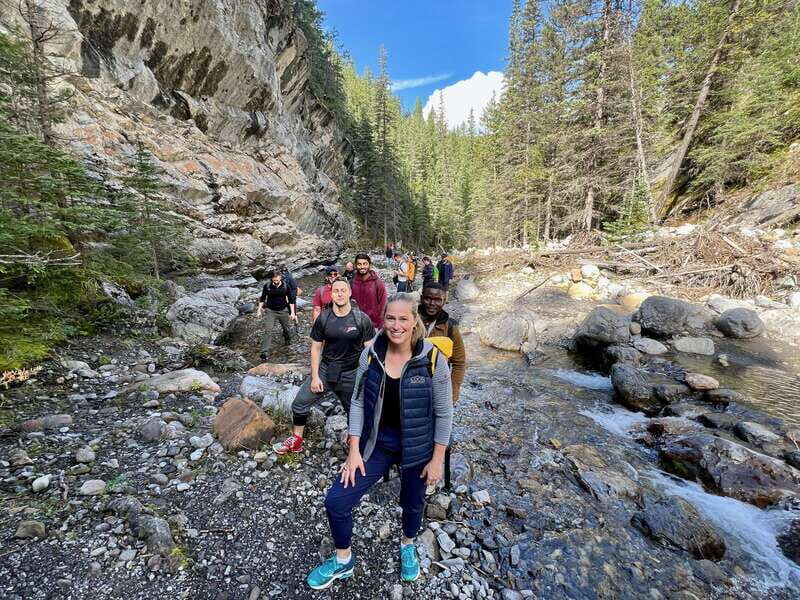
This tour runs from a single meeting base: the Heart Creek Trail Parking Lot. You’re looking for the Bow Valley Canyon Tour meeting sign, and the trail exit is the reference point.
Start times run at 9:00 am, 10:30 am, 12:00 pm, and 1:30 pm. The day itself is built around a safety briefing (about 30 minutes) plus canyon time and breaks, so I’d treat this as your main activity block rather than squeezing it between two other big stops in Banff.
No hotel pickup is included. So if you’re relying on public transit or shuttles, plan on your own transport to Canmore’s outskirts. The good news: it’s only about 10 minutes from Canmore and roughly 25 minutes from Banff, so you’re not giving up your whole day to driving.
Gear Is Included for a Reason: You Don’t Want to Rent This the Hard Way
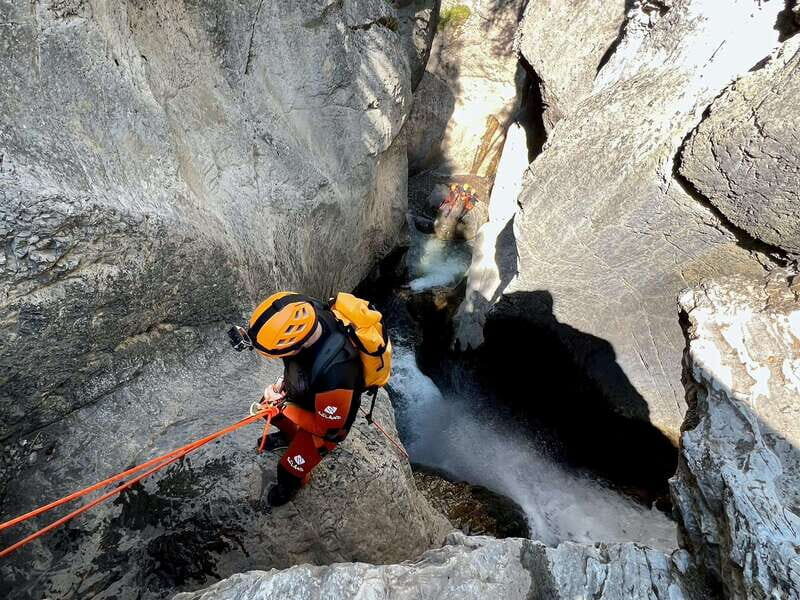
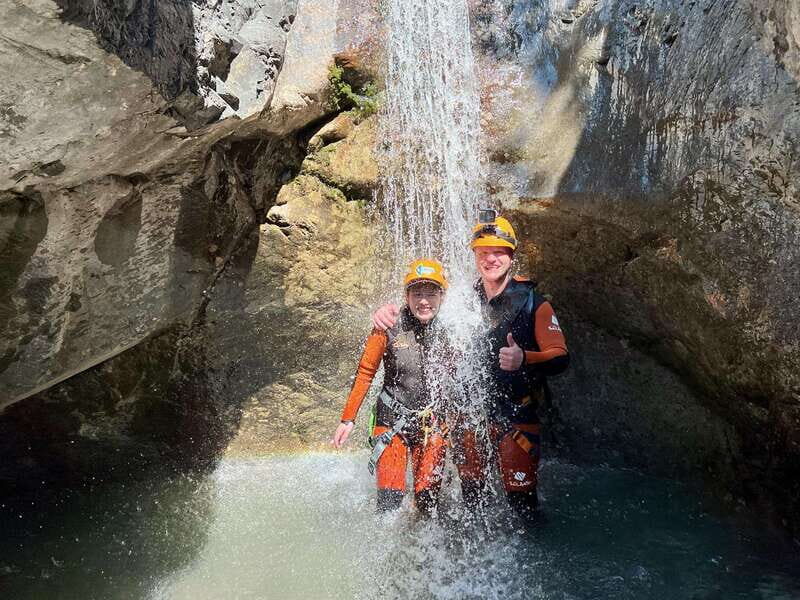
What you wear matters a lot in canyoning. You’re in water, on wet rock, and often exposed to cold air between moves. This tour includes the stuff that makes a bigger difference than people think.
Here’s what you get:
- Thick canyoning wetsuits (the thickest on the market, according to the tour notes)
- Neoprene socks
- Helmet
- Canyon-specific harness
- Canyon-specific rappel device
- Rope and rappelling equipment
- Dry bags for keeping clothes and possessions dry
That “thick wetsuit” detail is not marketing fluff. In cold water, the difference between tolerable and miserable is usually insulation and fit. Neoprene socks help too, because wet shoes alone won’t solve the cold.
One thing to plan around: you still need to bring your own clothing layers for after you warm up. You’ll be carrying a change kit, even if you think you’ll just air-dry in the car.
What You Bring (and What You Absolutely Shouldn’t Wear)
The tour is clear about what works and what doesn’t. Here’s the practical checklist:
Bring:
- Swimwear
- Change of clothes
- Towel
- Sports shoes (closed-toe)
- Weather-appropriate clothing for hiking up and cooling down
Wear:
- Closed-toe outdoor shoes with a good tread
Don’t bring:
- Sandals or flip-flops
- Open-toed shoes
Also, don’t assume you can wear “whatever hiking shoe you own.” The shoes you use to hike up will also get wet in the canyon. Plan for a wet return. The tour notes even suggest a second pair of dry shoes or sandals for the car—kept in your vehicle so you can change fast and avoid the long-cold blues.
Safety Briefing: How You Learn to Rappel Without Guessing
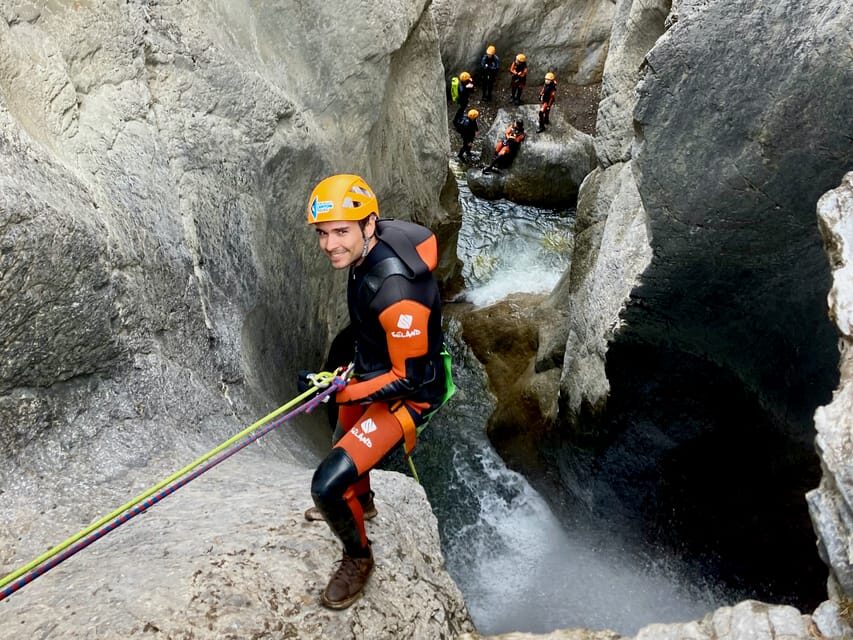
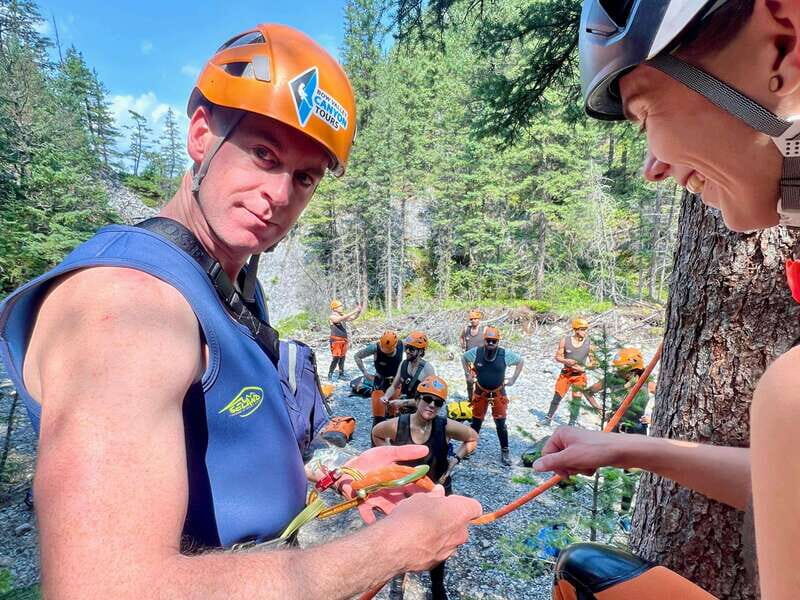
The day starts with a 30-minute safety briefing at the Heart Creek Trail area. This matters more than most people expect. In canyoning, the equipment isn’t complicated, but it’s specific. Harness fit, rappel setup, and how you move your feet on wet rock all need to be second nature before you drop in.
This briefing is also part of the confidence-building approach. You’re not just being told rules. You’re given a framework for what’s coming next—so when you’re standing at the top of a rappel section, you know why you’re doing what you’re doing.
And if you’re new, the guide approach is a major part of the value. Past groups have praised guides for being patient and for pushing you at your pace while still keeping everyone safe. Names that have led groups include Max, Marc, Chris, Pablo, and Lawrence—so you can expect experienced, calm instruction, not a “good luck” vibe.



The Hike In: Wet Feet, Big Views, and a Breathing Warm-Up
After the briefing, you head on foot for about an hour along Heart Creek Trail. This isn’t just transit. It’s your warm-up and your orientation.
You’ll be learning what wet canyon footing feels like, how the group moves together, and how quickly conditions can change. The pace is set to keep you progressing, not sprinting. It’s a nice section for soaking in the mountain scenery without committing to technical moves right away.
Practical tip: treat this hike like part of the training. If you start out exhausted, the cold later will feel worse. Bring a steady effort and you’ll be in a better headspace when the rappels begin.
Break Time for Reset: The Long Pause That Helps You Finish Strong
Then comes a longer break time (about 2.5 hours) back along the trail. That sounds long on paper, but for beginners it often makes the whole day work.
During this reset you’re likely to:
- recover from the hike,
- handle gear checks and transition between sections,
- and warm up between technical moves.
Also, canyoning has a rhythm. The waiting between moments can feel longer when you’re cold. One past group note pointed out that group size can affect how long you sit and wait during chilly conditions. Since this tour caps at 8, the waiting should be manageable, but you still want to dress smart and get ready for downtime in cool air.
If you run hot, this break is your chance to chill without rushing. If you run cold, this break is where you should tuck layers in and use your towel and dry bag plan.
Two Canyon Sections: Progressive Rappels That Build Real Confidence
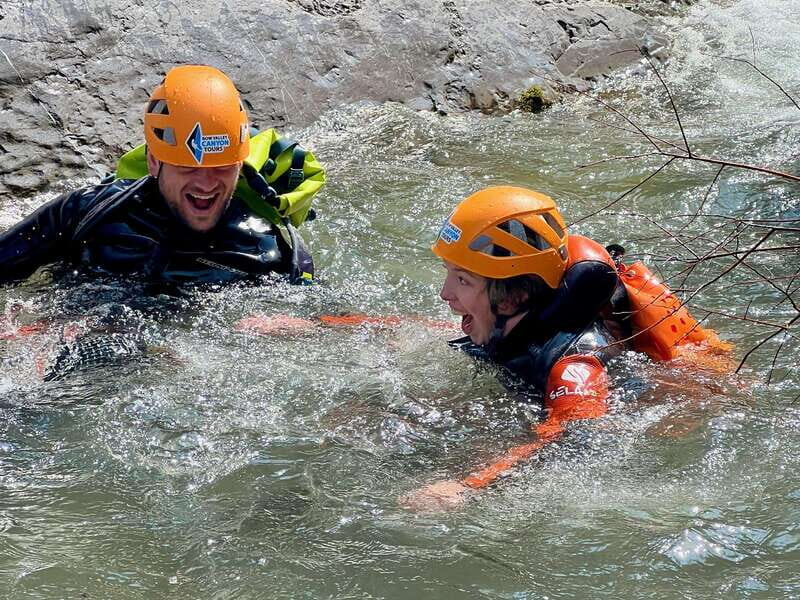
This is where the tour earns its “beginner” label. The canyon setup uses an upstream-to-downstream flow, with rappels that gradually increase in height as you go.
What you can expect:
- You’ll start with shorter, confidence-building rappels.
- As you continue, the rappels become more serious.
- You keep moving along the canyon so the day feels like a guided skill arc, not a single stunt.
This progression is the difference between “I survived that” and “I learned how to do this.” When you build up step-by-step, you’re more likely to enjoy the technical bits instead of just bracing for them.
You also get a mix of movement styles. The route notes describe hiking segments plus canyon sections with rappelling, and the overall day is built around learning while still feeling like adventure.
The Wet Waterfall Finale: The Rappel That Turns the Day Into a Story
Every beginner canyoning tour lives or dies on its final moment. Here, the finale is the reason people book.
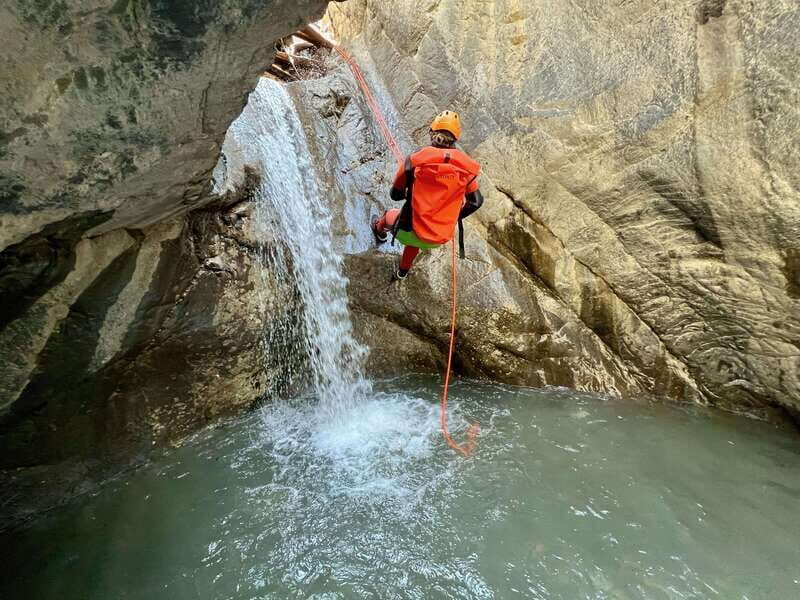
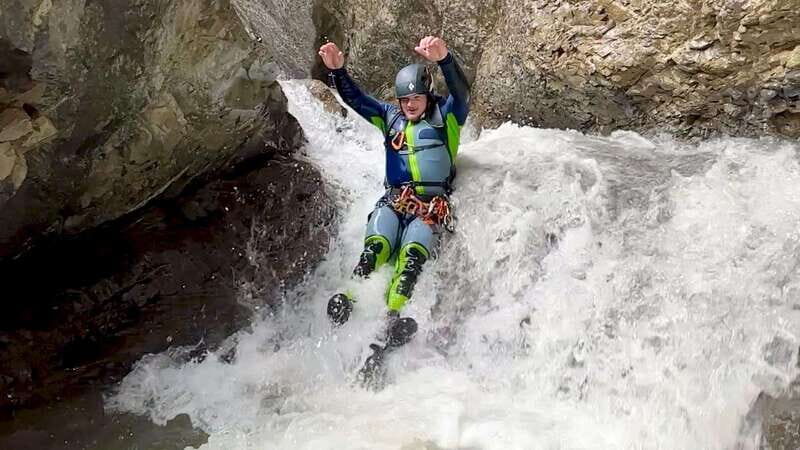
You’ll reach a wet waterfall rappel that’s described as 60–70 feet in the tour highlights, and as an 80-foot-plus drop in the route description. Either way, it’s tall enough to feel like the main event.
The description also notes a playful slide at the bottom. That’s a fun way to end the day that doesn’t require extra technical skill—just courage, then fun.
One important detail: the route notes say it’s possible to take a hiking route around the final waterfall. That matters if you’re new and worried about the last drop, or if conditions make the rappel less appealing that day.
So you’re not trapped in a one-size-fits-all finale. The tour is built to teach, and that includes having options at the point where it matters most.
How Long It Really Takes (About 4–5 Hours Car to Car)
The duration is listed as 5 hours. The highlights suggest about 4–5 hours car to car, which tracks with the reality of meeting, briefing, hiking, breaks, and the final technical section.
Plan your day like this:
- Don’t schedule a flight or far-off tour right after.
- Do one flexible activity earlier in the day or build in a relaxed late afternoon.
- If you’re staying in Banff, you’ll likely want a buffer for the drive back, changing out of wet gear, and getting warm again.
This tour also makes a solid “first active day” if you’re trying to balance adventure with downtime. It’s long enough to feel like a real outing, but short enough to keep you from turning your entire vacation into one long workout.
Price and Value: What You’re Paying For at $142
At $142 per person, this isn’t a casual add-on. But it also isn’t overpriced for what you get.
You’re paying for:
- a small guided group (max 8),
- technical canyoning instruction tailored for beginners,
- and the full kit that matters in cold water: thick wetsuit, helmet, harness, rappel device, rope equipment, and dry bags.
The big value is that you don’t have to figure out canyoning gear logistics yourself. If you’ve ever tried to rent the right gear for a technical activity, you know how easy it is to get it wrong. Here, you’re set up for warmth and safety from the start.
Food and drinks aren’t included, so budget for a simple plan: something easy before you go, and snacks you can eat after. That way you’re not stuck deciding what to grab while you’re still damp.
Who This Tour Is For (and When to Choose Another Option)
This is a beginner-friendly tour, but it still has real requirements.
You’ll be a strong fit if you:
- want your first canyoning experience,
- like guided learning with progressive challenges,
- enjoy the outdoors and don’t mind being in cold water,
- are okay with hiking plus technical moments.
You should think twice if you:
- feel uneasy with physical effort on wet rock (even if the steps are beginner-sized),
- get very cold easily,
- or fall into the stated limitations: children under 12 and pregnant women are not suitable.
If you’re the kind of traveler who likes learning how to do something safely—then getting to do it for real—you’ll likely love this tour format.
Should You Book Beginner Canyoning in Banff?
Book it if you want a first canyoning day that’s structured, guided, and built around confidence. The small group size, the included thick wetsuit setup, and the progressive rappel approach make it feel like a real introduction rather than a one-time adrenaline hit.
Don’t book it if you hate cold water or you’re looking for an easy “pretty hike.” This is a hands-on sport day. Expect wet gear, a serious waterfall moment, and a bit of physical strain.
If you’re ready for something new and you want a guided adventure that actually teaches you, this Heart Creek canyoning half-day is a smart choice near Banff and Canmore. Plan your wardrobe for warmth, bring a towel and dry shoes, and you’ll be set up to enjoy the waterfalls and the skills you’ll carry into your next adventure.
FAQ
Where is the meeting point for the Banff beginner canyoning tour?
You meet at the Heart Creek Trail Parking Lot. Look for the Bow Valley Canyon Tour meeting sign and the Heart Creek Trail exit.
How long is the tour?
The tour duration is listed as 5 hours. The highlights also describe it as about 4–5 hours car to car.
What time do tours start?
Meeting times are 9:00 am, 10:30 am, 12:00 pm, and 1:30 pm.
What should I bring to the tour?
Bring swimwear, a change of clothes, a towel, and closed-toe sports shoes that will get wet. Also wear weather-appropriate clothing for hiking and staying warm.
Are sandals or open-toed shoes allowed?
No. Sandals, flip-flops, and open-toed shoes are not permitted. You need closed-toe outdoor shoes with good tread.
Is food and drink included?
No. Food and drinks are not included, so plan to eat before or after the tour.